

I was well into my twenties when I first had creme brulee, and I was into my thirties when I finally had a good creme brulee. But it was only when I started to cook for myself that I discovered the perfect sous vide creme brulee recipe. Now I can’t get enough of it.
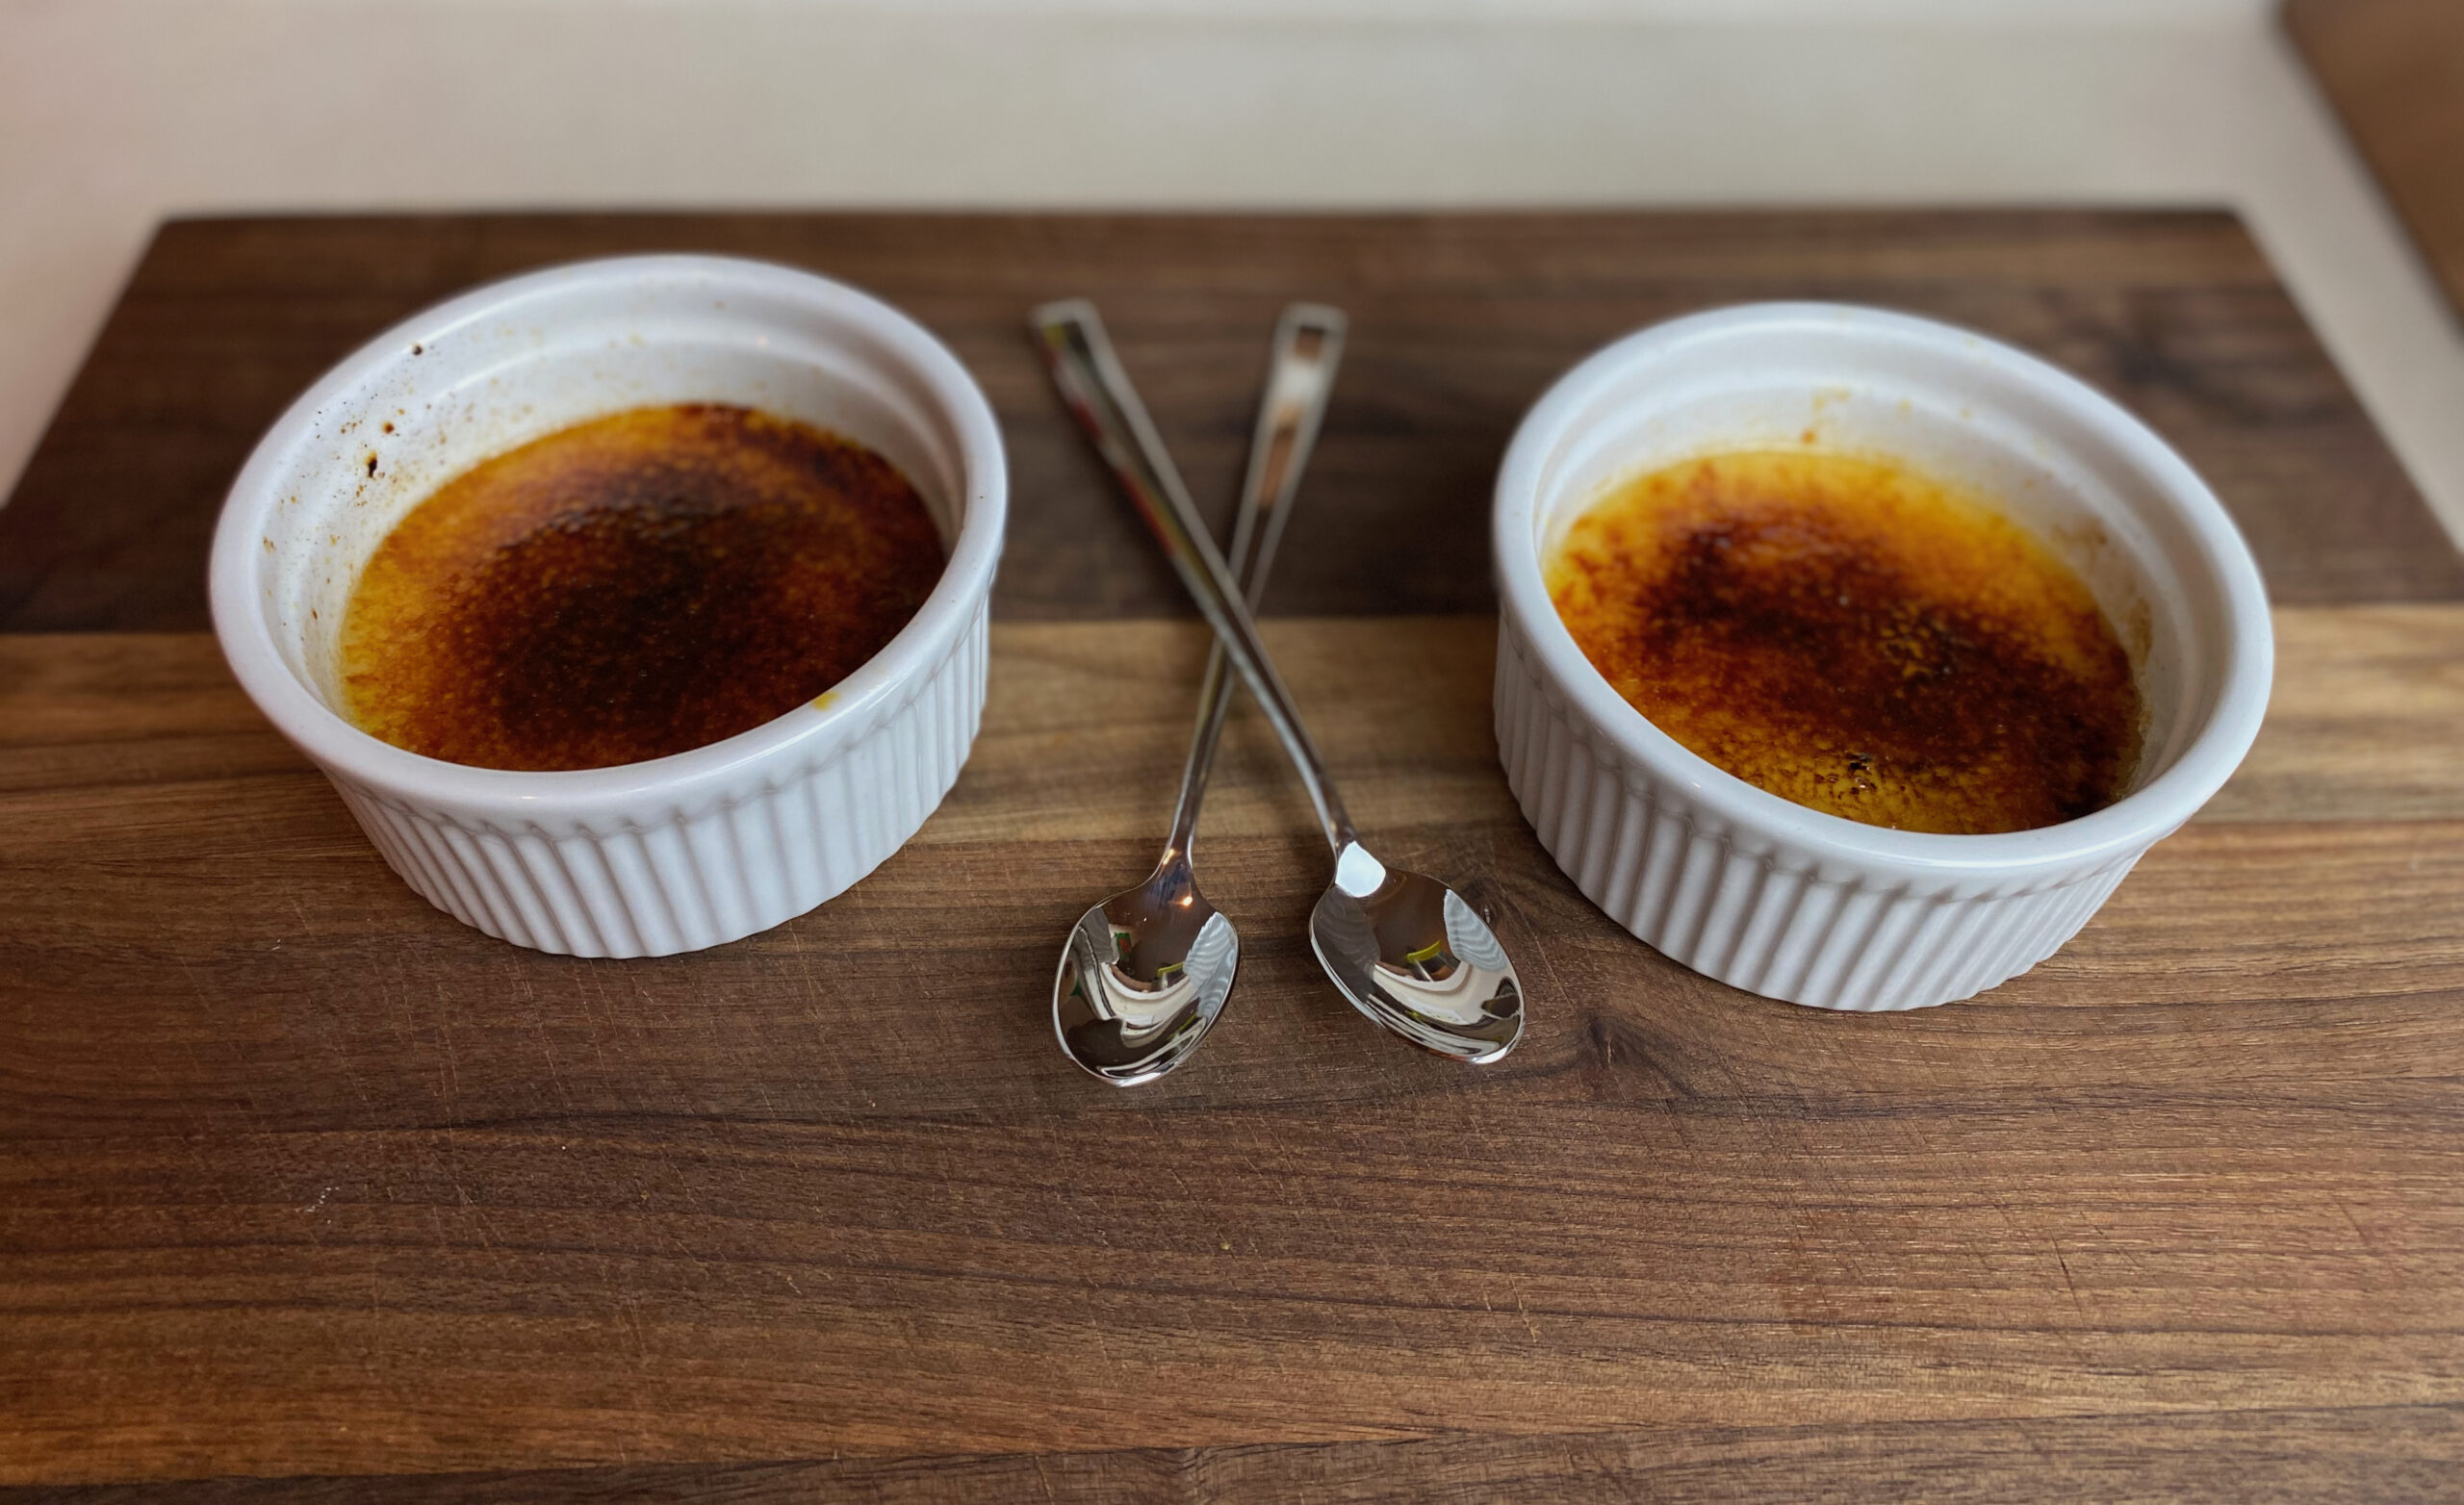
There are two parts to this dish – the vanilla custard and the burnt sugar. Burnt as in burned. Some people settle for caramelization of the sugar, which does not add the bitter contrast that this dessert really needs. So make sure that you really get a good dark, nearly black layer before you stop toasting that sugar. This will result in some of the best creme brulee you’ve ever had.
Benefits of the sous vide method
Preparing custard is much more easy when you have a sous vide. Instead of utilizing ice baths, stirring, and constantly checking for doneness, you can basically set it and forget it until it’s ready. That is because the precise nature of a sous vide takes all the guesswork out of the process.
Once the ingredients are mixed, simply place the uncooked custard into a plastic bag and drop it into the water bath until it has cooked to the perfect temperature. After that, we’ll cool it down so that when we toast the sugar on top it won’t overheat the custard.
For information about the sous vide equipment I use, check out my Sous Vide Spicy Chicken Thighs recipe.
Methods for toasting the sugar
A key aspect of creme brulee is the burning of the sugar. This provides a hard, crunchy shell over the top which has bitter tones to contrast with the soft, sweet vanilla custard underneath.
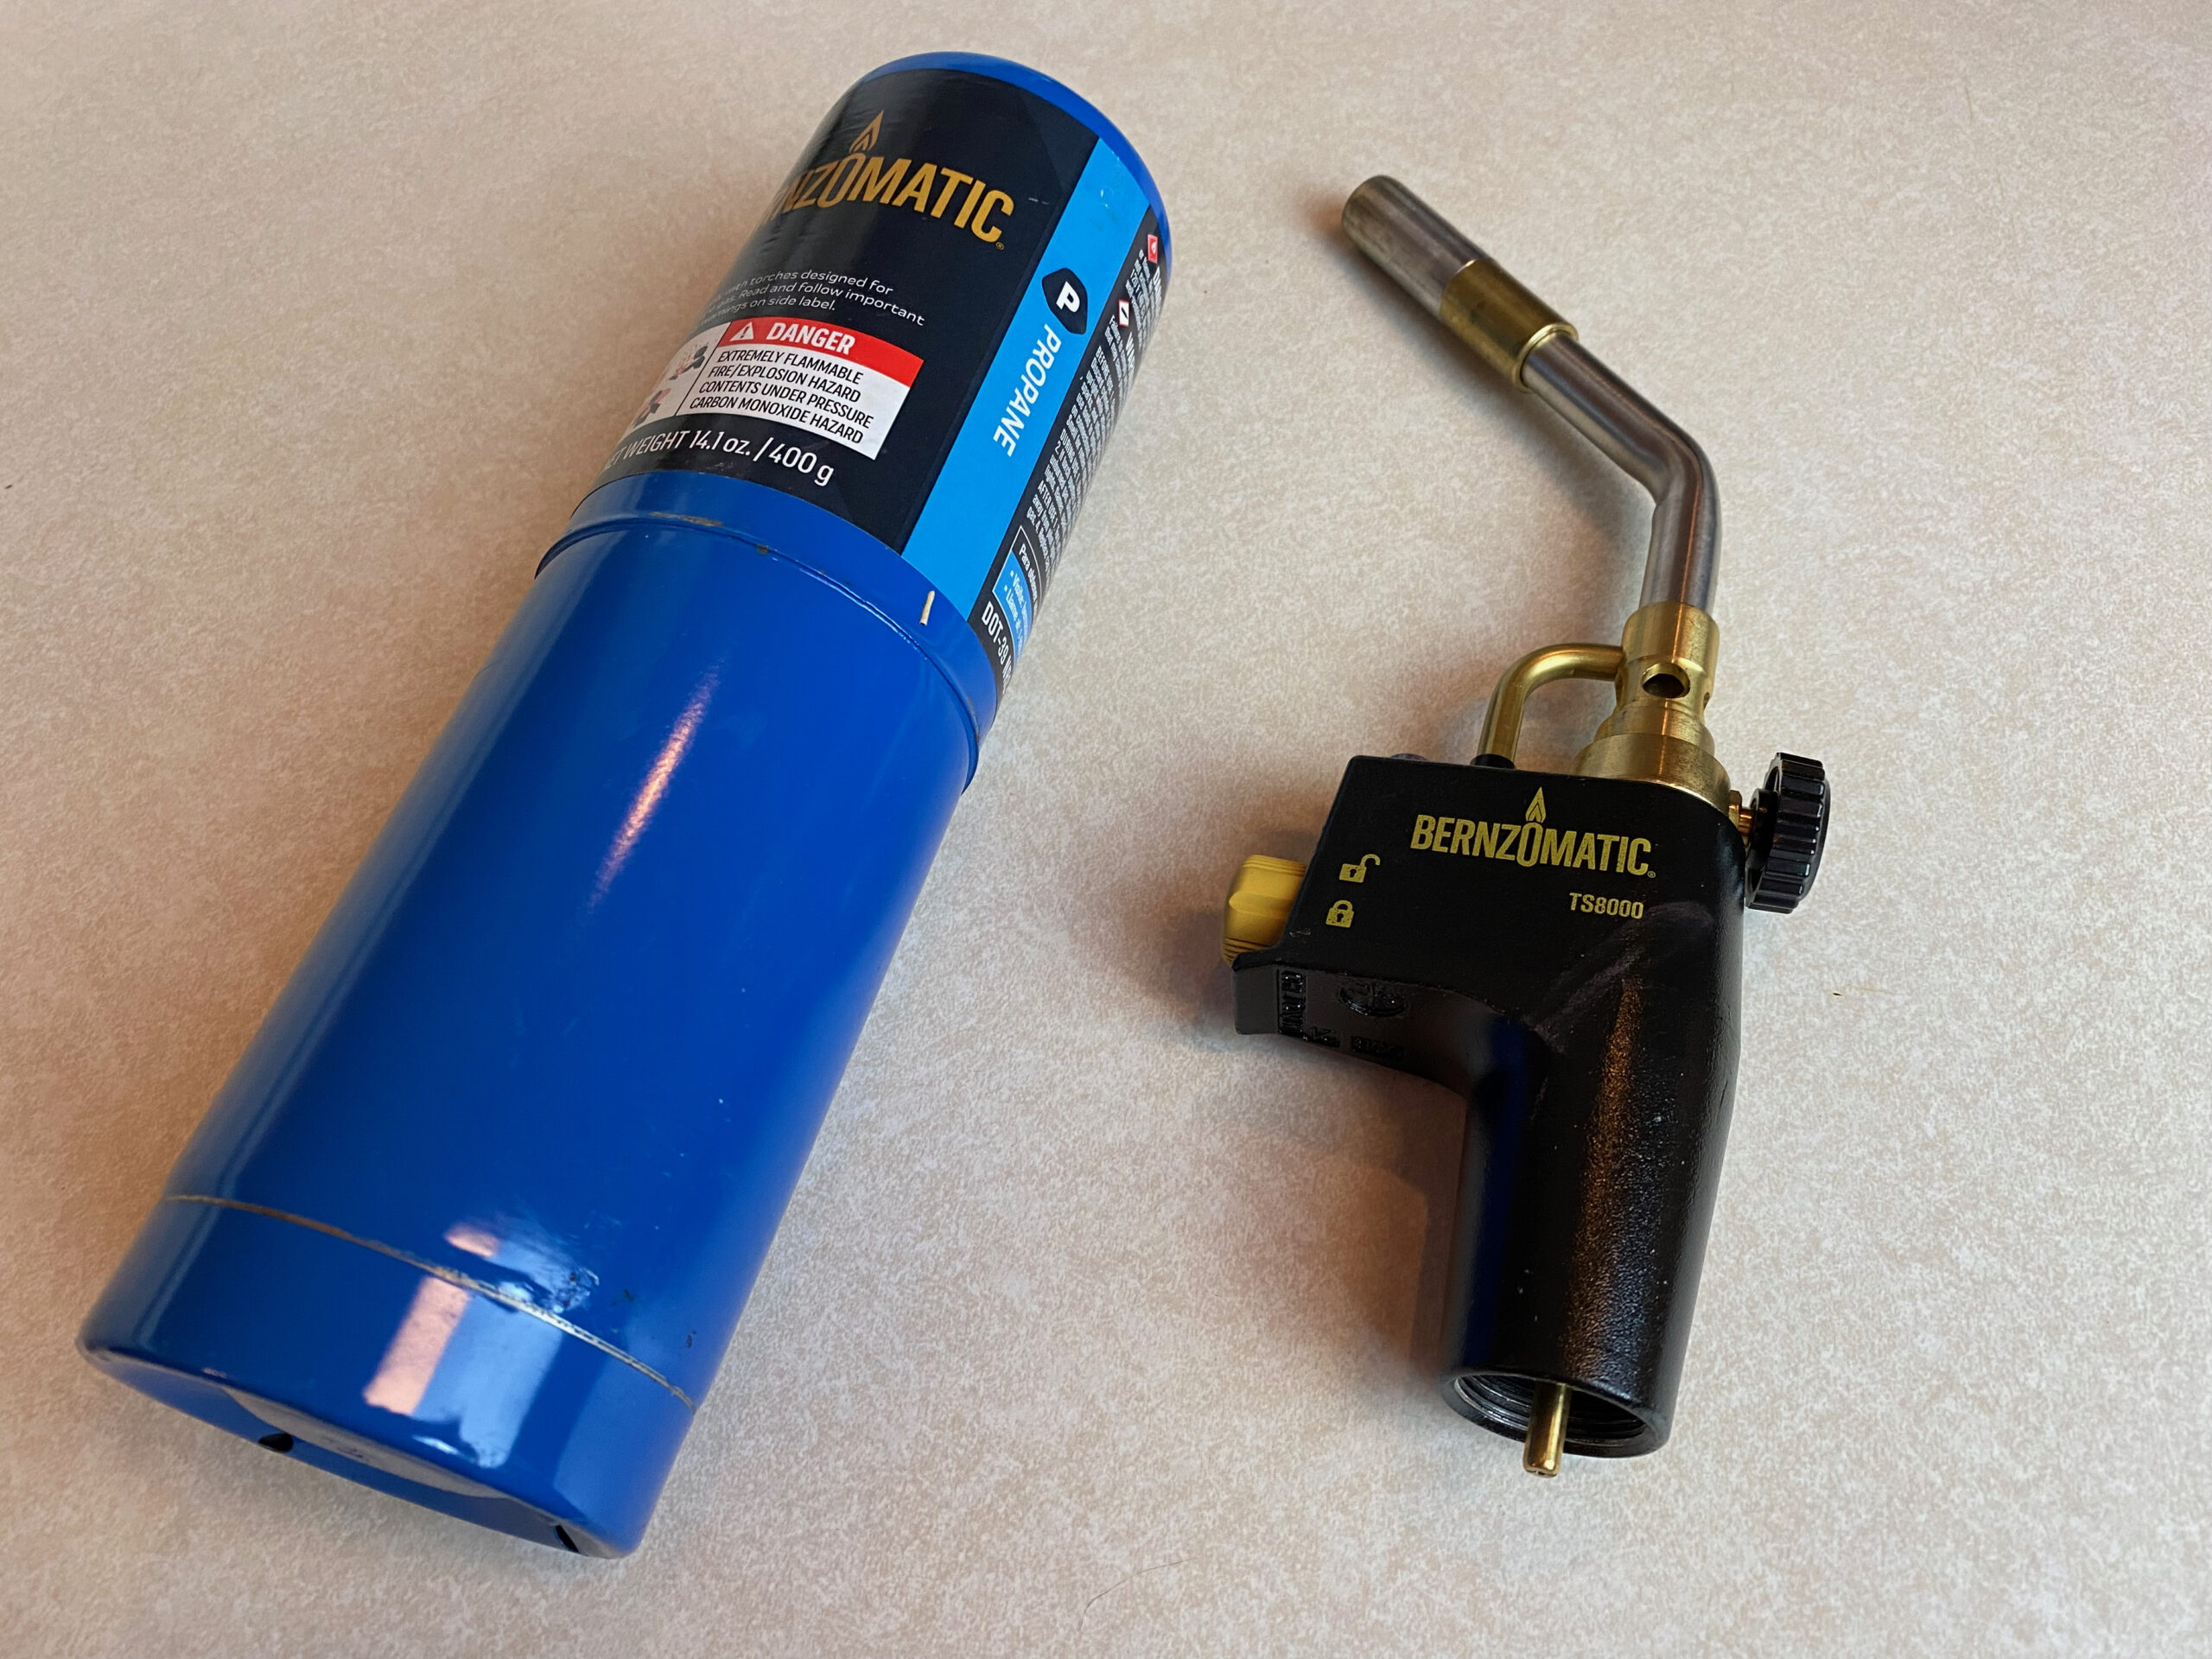
While it is possible to use a your oven’s broiler to burn the sugar, this method has many drawbacks compared to using a kitchen torch. Smaller torches are also not recommended. What you need is a larger torch which can produce a large amount of heat. I use this Bernzomatic TS8000 torch with a small propane tank I purchased at Home Depot. At $60, this is not a cheap device, but you may find it useful for a variety of common kitchen activities like searing a sous vide steak or fighting off an attacker.
Choosing the right ramekin
Since this recipe involves high heat, you’ll need quality cookware that can handle those high temperatures. Most people use ceramic ramekins, and that really is the best choice. As always, you’ll want to pay particular attention to safety when it comes to lead in the paint of your cookware. I like these Tuxton ramekins because they are a quality brand that I trust to not use unhealthy safety practices when choosing their materials.

Instructions
Once you have the right equipment, this is a simple dessert that requires much less effort than you might think. There are two steps – making the custard and then toasting (burning) the sugar. Between these two steps, it is a good idea to let your custard rest in the refrigerator so it comes to the correct, pudding-like consistency and also so that it won’t overheat when you toast the sugar on top of it.
Step 1: making the custard
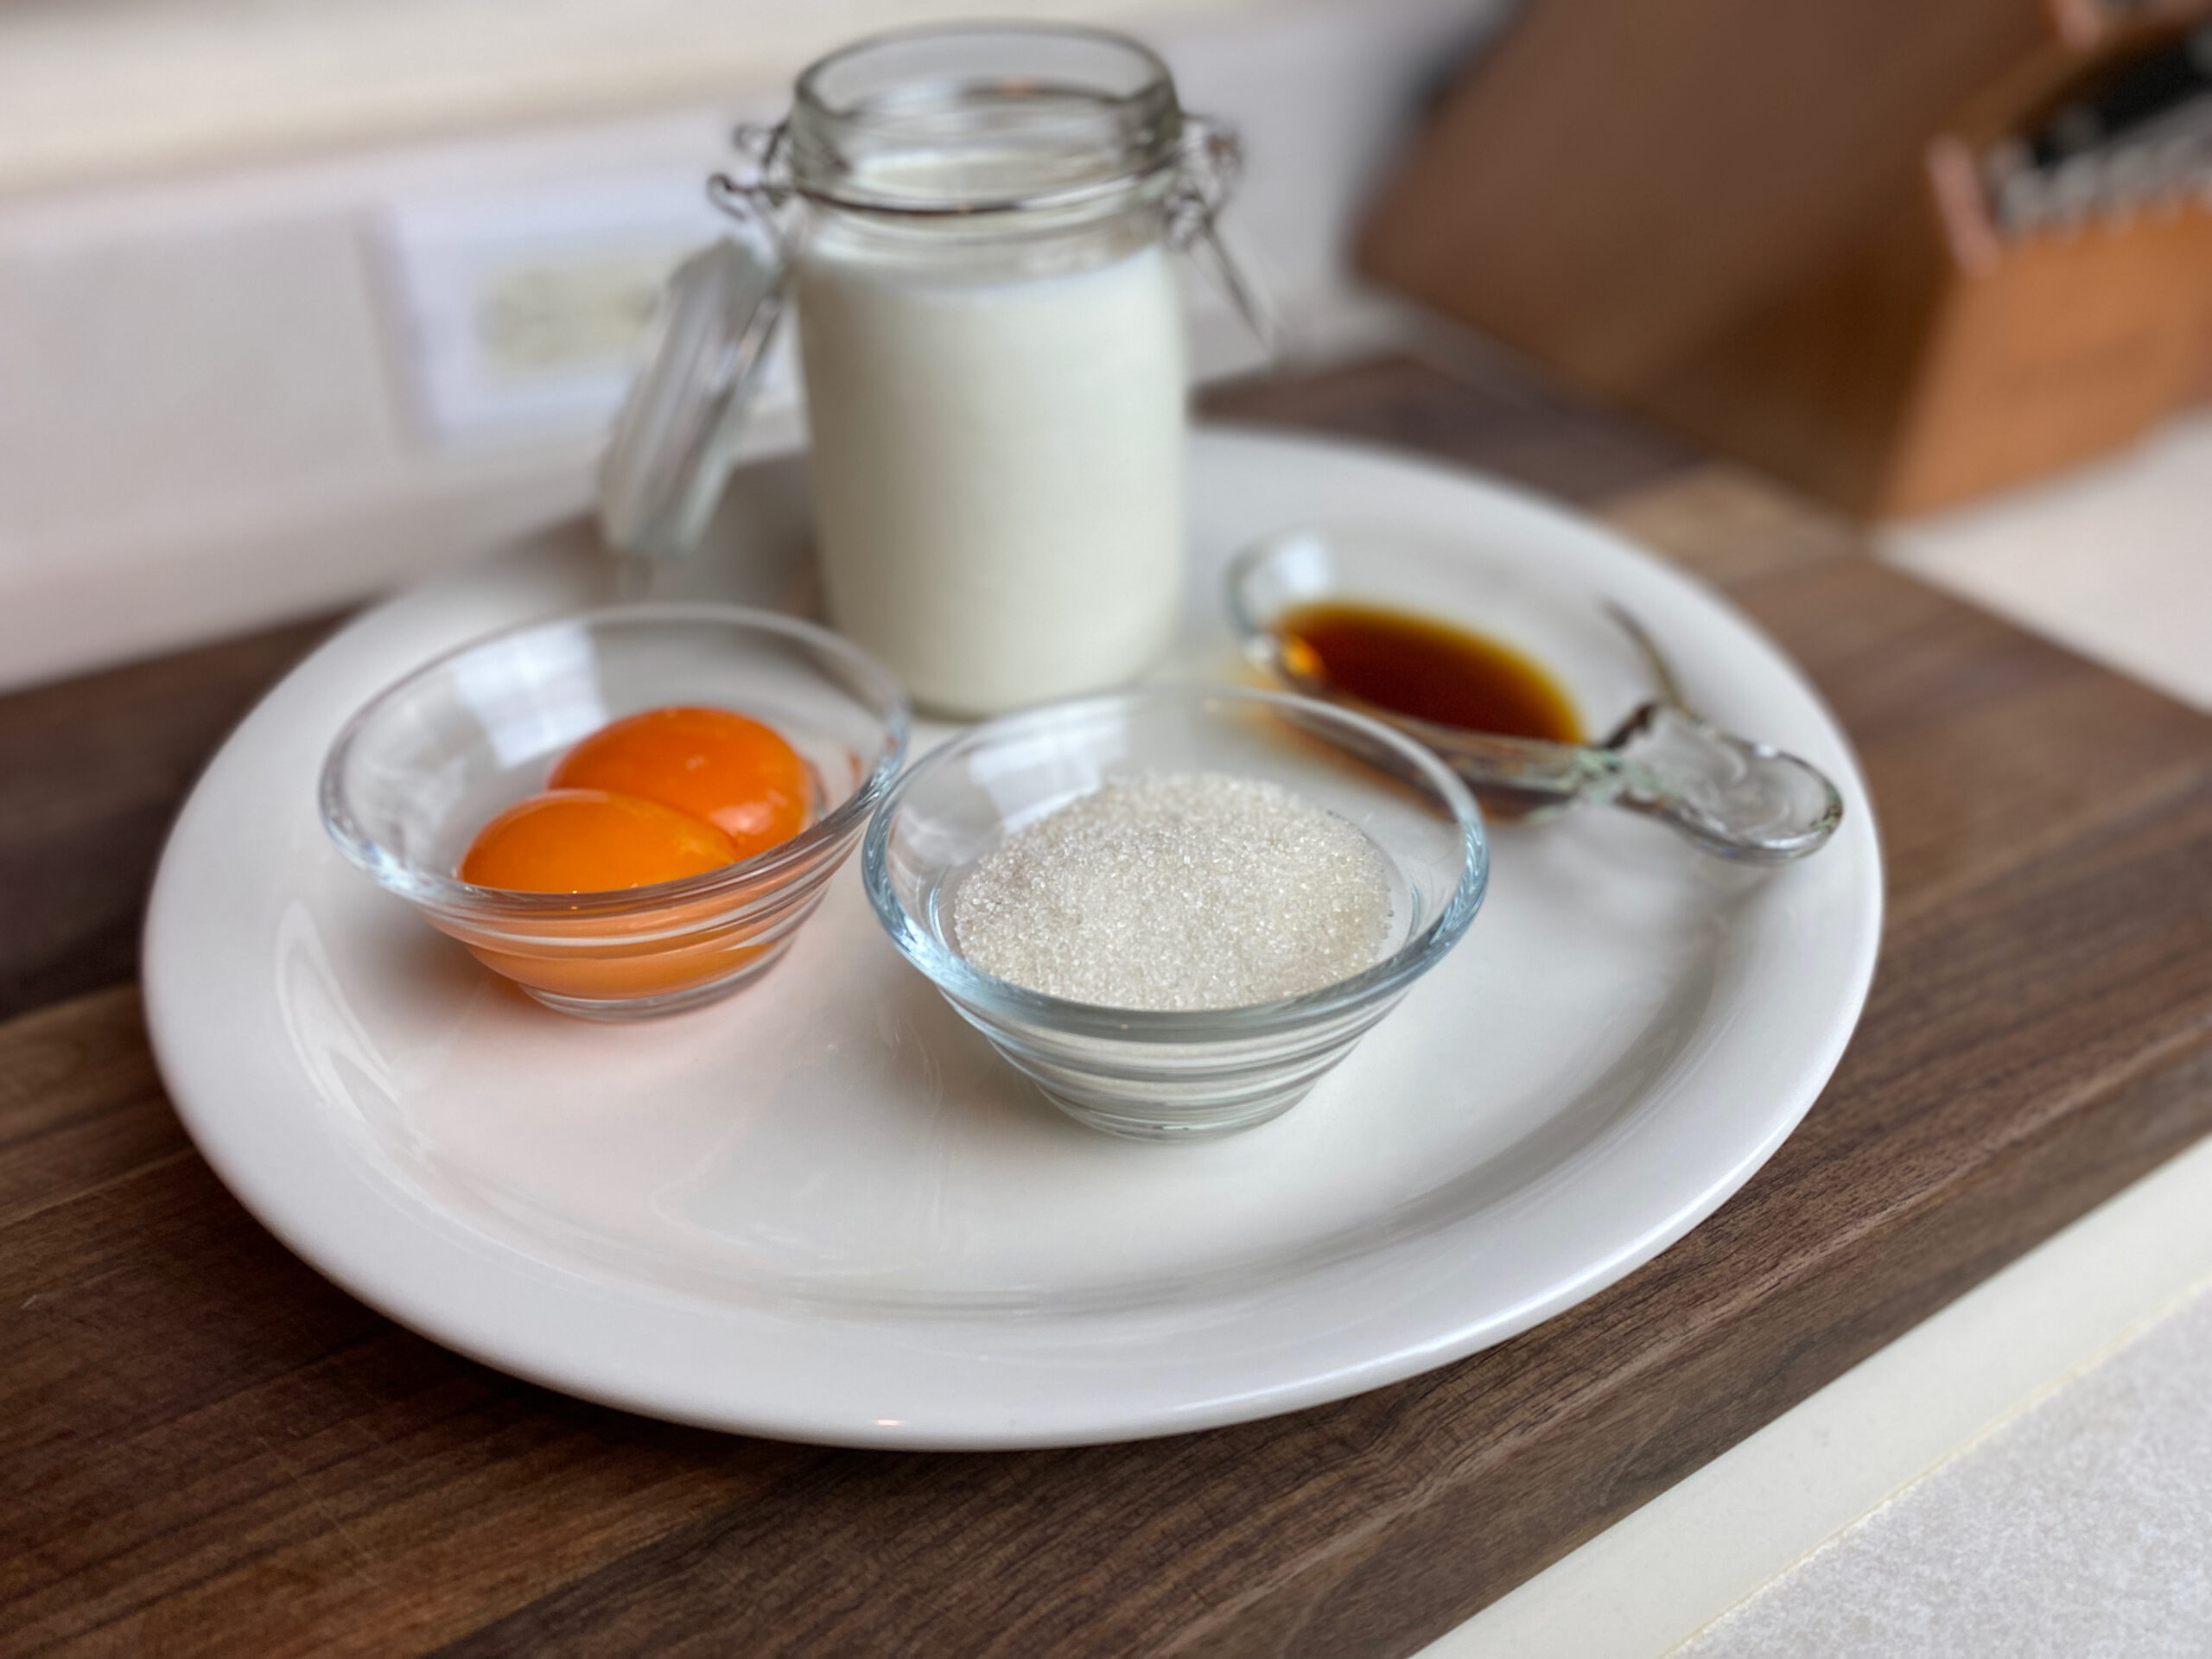
Start by separating your egg yolk and discarding the egg white. I like to use my hand, letting the white slide between my fingers, and rolling the yolk around until all that extra slime has fallen off.
Next, add the yolk, sugar, and vanilla to a bowl and mix well.
You’ll then add heavy cream to this mixture until the total volume is 1/2 cup per serving. In my experience, this means 3/8 cup of cream since the rest of the ingredients come out to roughly 1/8 cup.
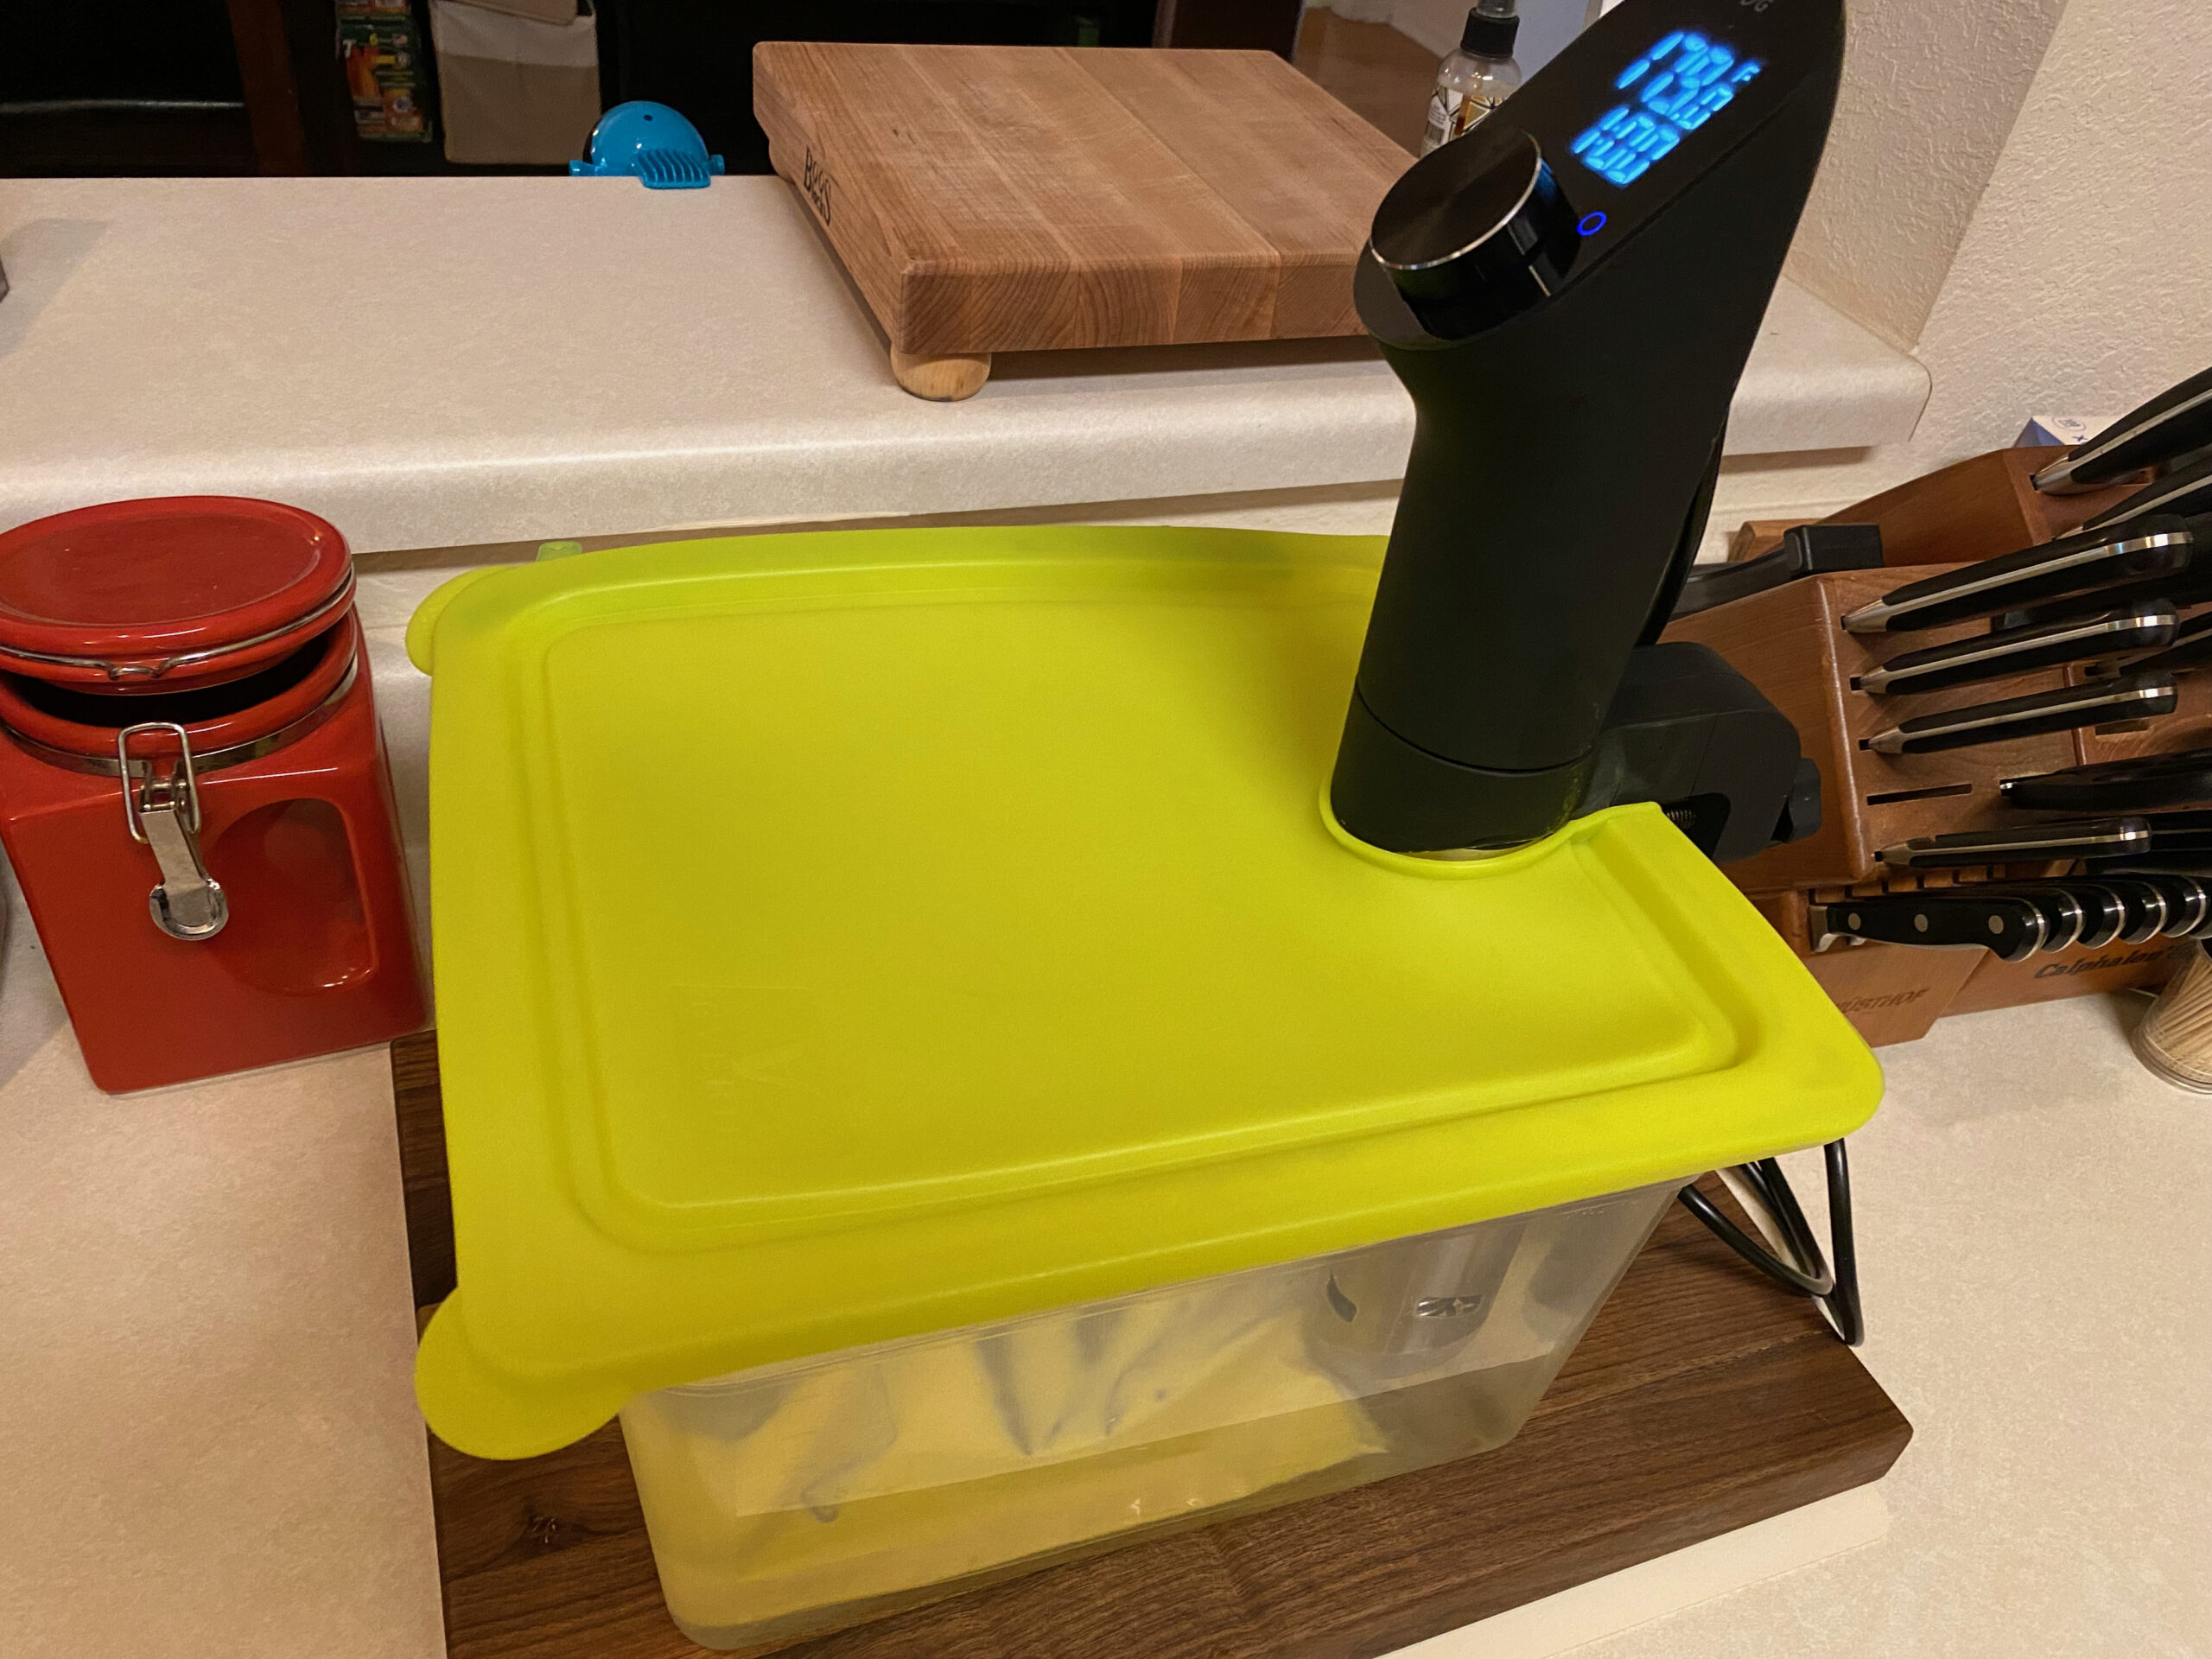
Mix thoroughly and place in a sous vide bag. Instead of using a vacuum sealer, I use the water displacement method, which mean that I will place the still open bag in the sous vide cooker slowly, allowing the weight of the water to push out the air. Once the water has sealed off the top and I have pushed the air out, I will seal the plastic bag and attach it to the side.

Set the sous vide cooker for 179 degrees and cook for exactly 1 hour.
Immediately remove the bag and place it on the counter. Now it’s time to move the custard into the ramekins.
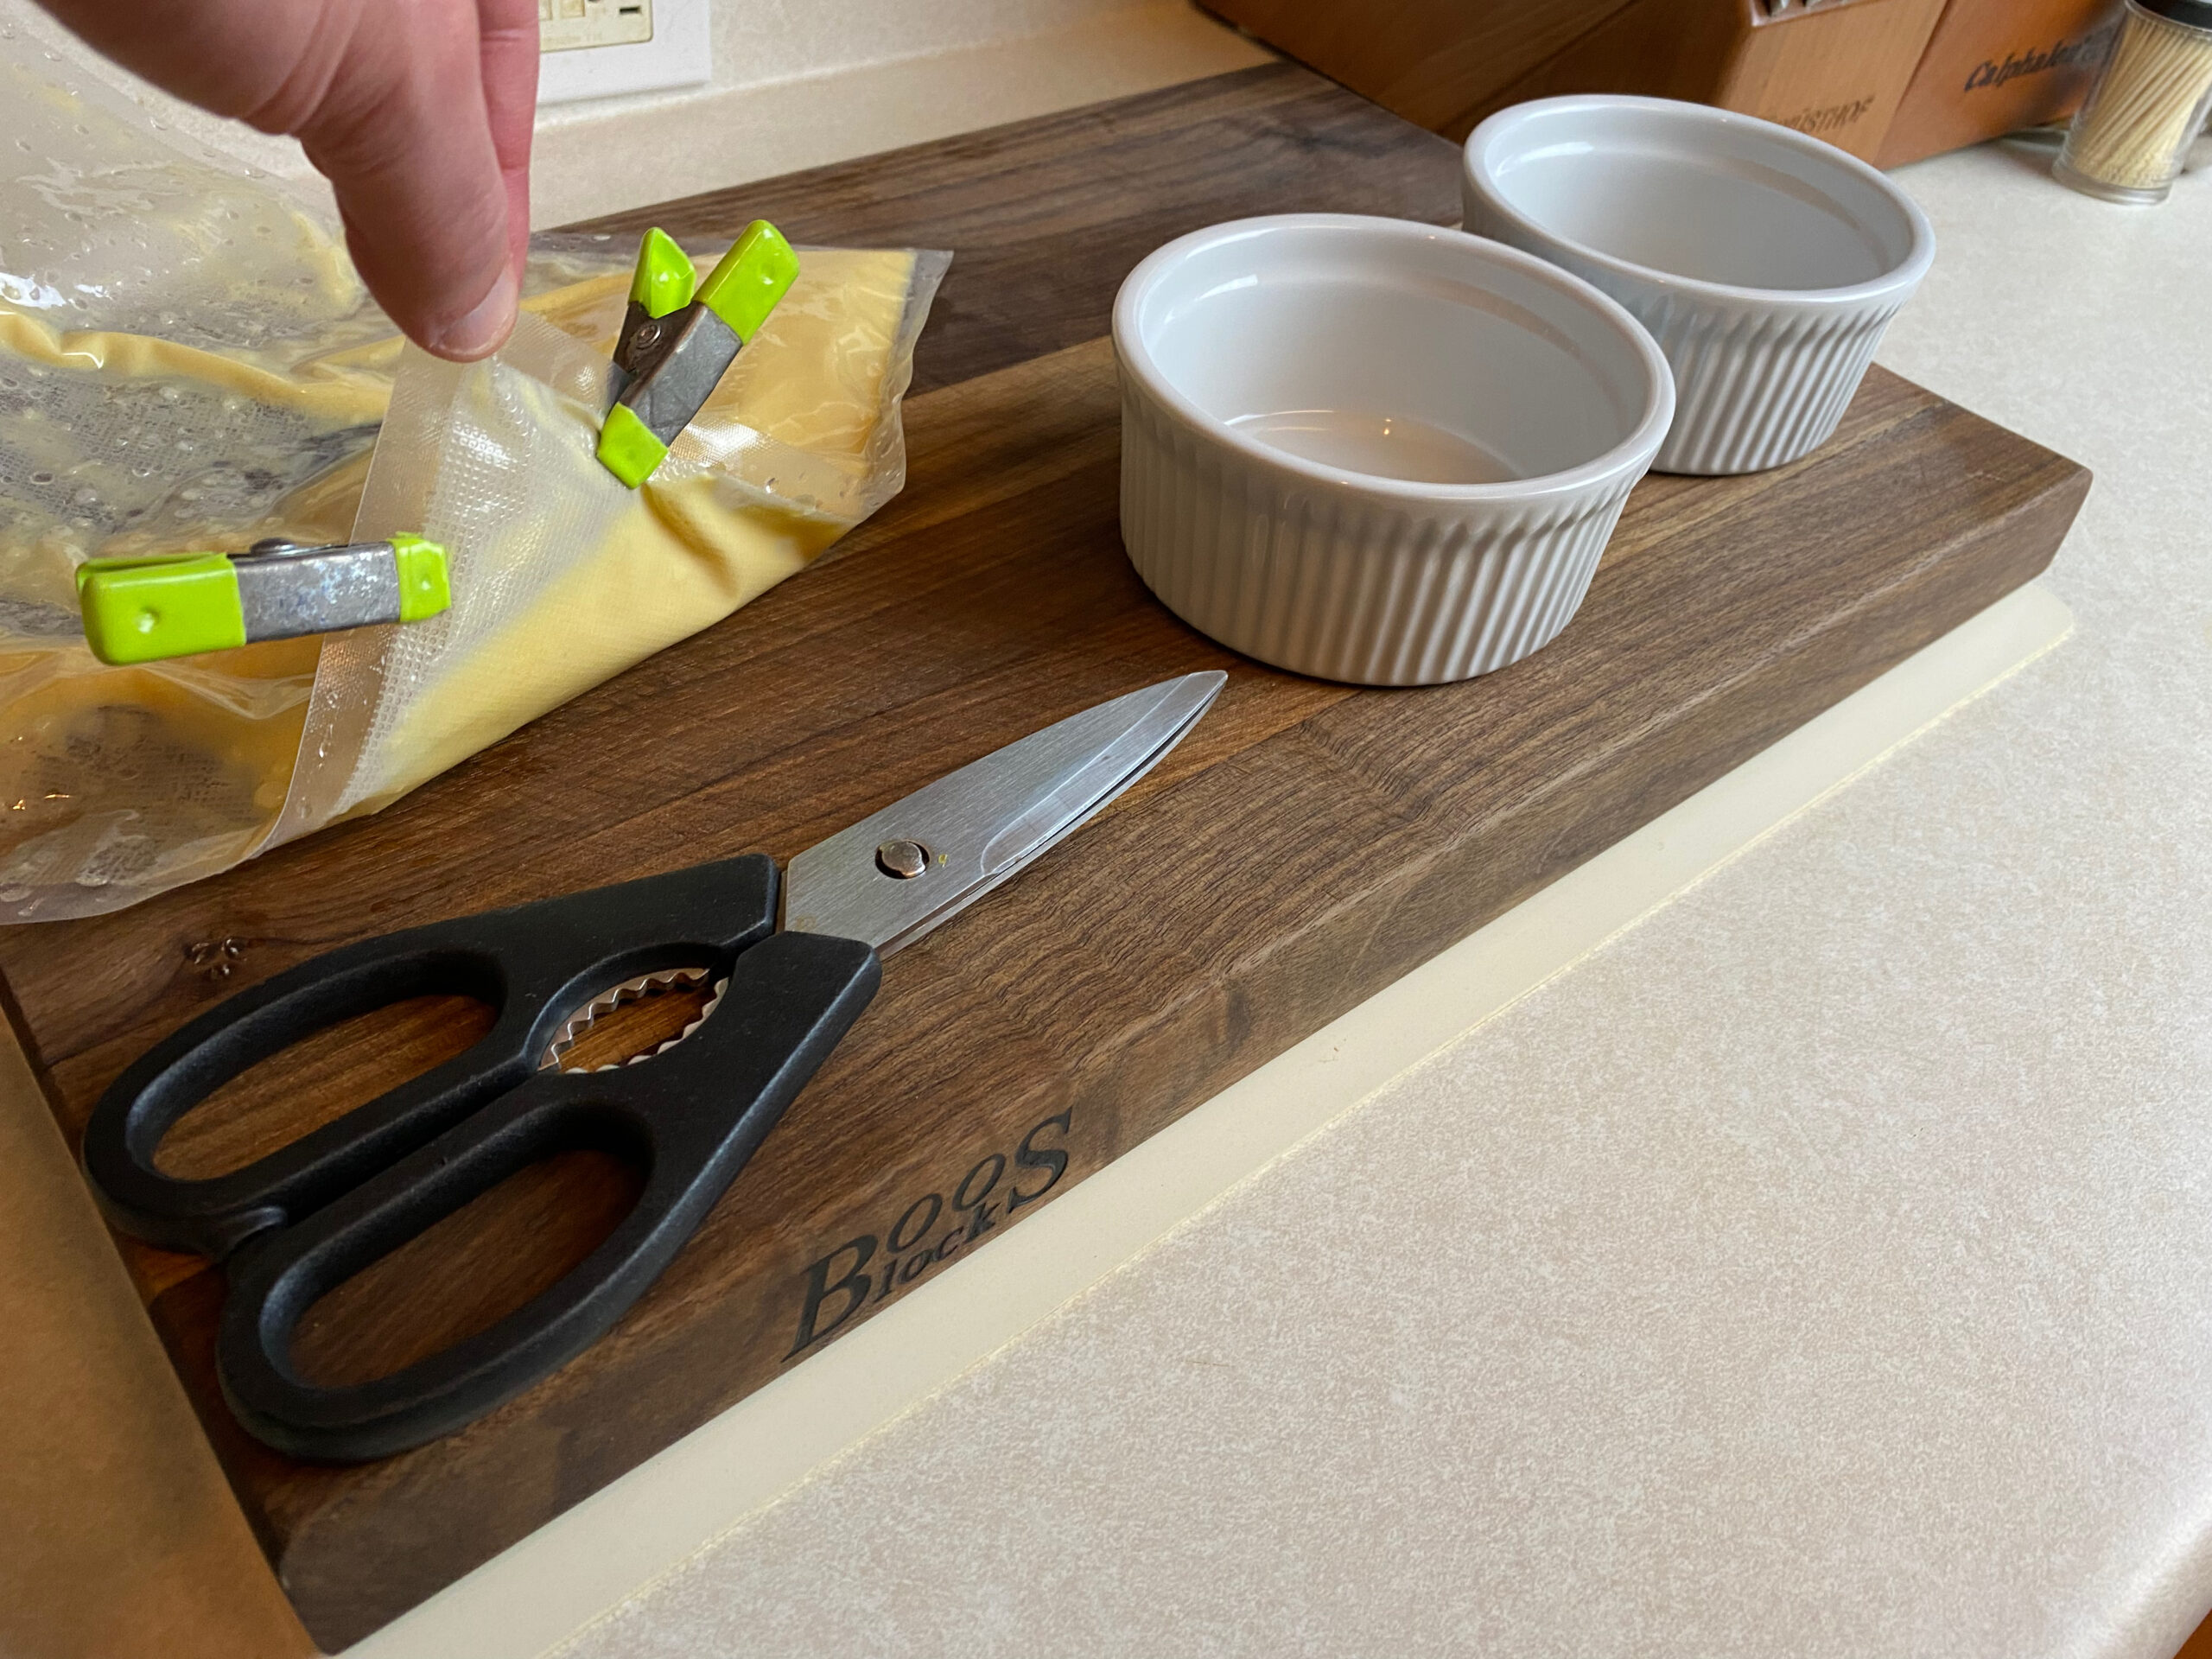
I like to use the bag as a flute, but if you simply cut a corner off you will very likely spill your custard all over the counter. For that reason, I drain all of the custard from one corner of the bag before cutting it. Sometimes I even use clips to assist. Once you begin pouring with this method, there is no good way to stop – so make sure you have all your ramekins out and arranged so you can quickly transition between them.
Once poured, simply wrap your ramekins and place them in the fridge. You’re going to want it to rest in there for at least four hours before you move on to the next step.
Step 2: toasting (burning) the sugar
Remove ramekins from the fridge and sprinkle a layer of sugar on top. Just about 1 tbsp total. Don’t overdo it or your sugar layer will be too thick when it hardens. If it’s too thick, it will not taste right and will be harder to mix small chunks of sugar with the custard for a perfect bite.

Once you’ve poured the layer of sugar, place your ramekins on a fireproof surface. Now hold your flame over it and try to move from place to place, getting the sugar to turn a dark, nearly black color before moving on. If you don’t toast it dark enough, the sugar will not change flavor and you won’t experience the goodness of a perfectly done creme brulee. Brulee means “to burn” in French, and burning the sugar really is a must with this dish.
*remember to run your venting fan when you toast the sugar to avoid setting off any fire alarms!
Once the sugar has cooled and hardened – you’re done. Don’t burn yourself on the ramekin though. The flame treatment will have made it very hot, so use gloves until it cools down.
I find it’s best to eat this soon after completion because over time the hardened sugar may become soft or chewy.
Print
The Perfect Sous Vide Creme Brulee
Description
This simple recipe has four ingredients and makes the absolute best creme brulee.
Ingredients
1 Egg Yolk
1 tbsp White Sugar
1 tsp Vanilla Extract
3/8 cup Heavy Cream
Instructions
Mix the egg yolk, sugar, and vanilla.
Add heavy cream and mix well.
Move to sous vide and cook for 1 hour @ 179 degrees.
Pour into ramekins and refrigerate, covered, for at least 4 hours.
Remove ramekins and pour a thin layer of sugar on top, approximately 1 tbsp.
Burn sugar with a kitchen torch until it turns dark brown/black.
Allow to cool for at least 30 seconds, then serve.
Notes
Be very careful when torching the sugar! Make sure you set the ramekins on a fireproof surface and exercise caution when handling the equipment.
It is possible to brulee the sugar using an oven broiler if you don’t have a kitchen torch, but it won’t work as well.