

These oven baked sweet potato fries are not only healthy and easy to make – they taste great too.
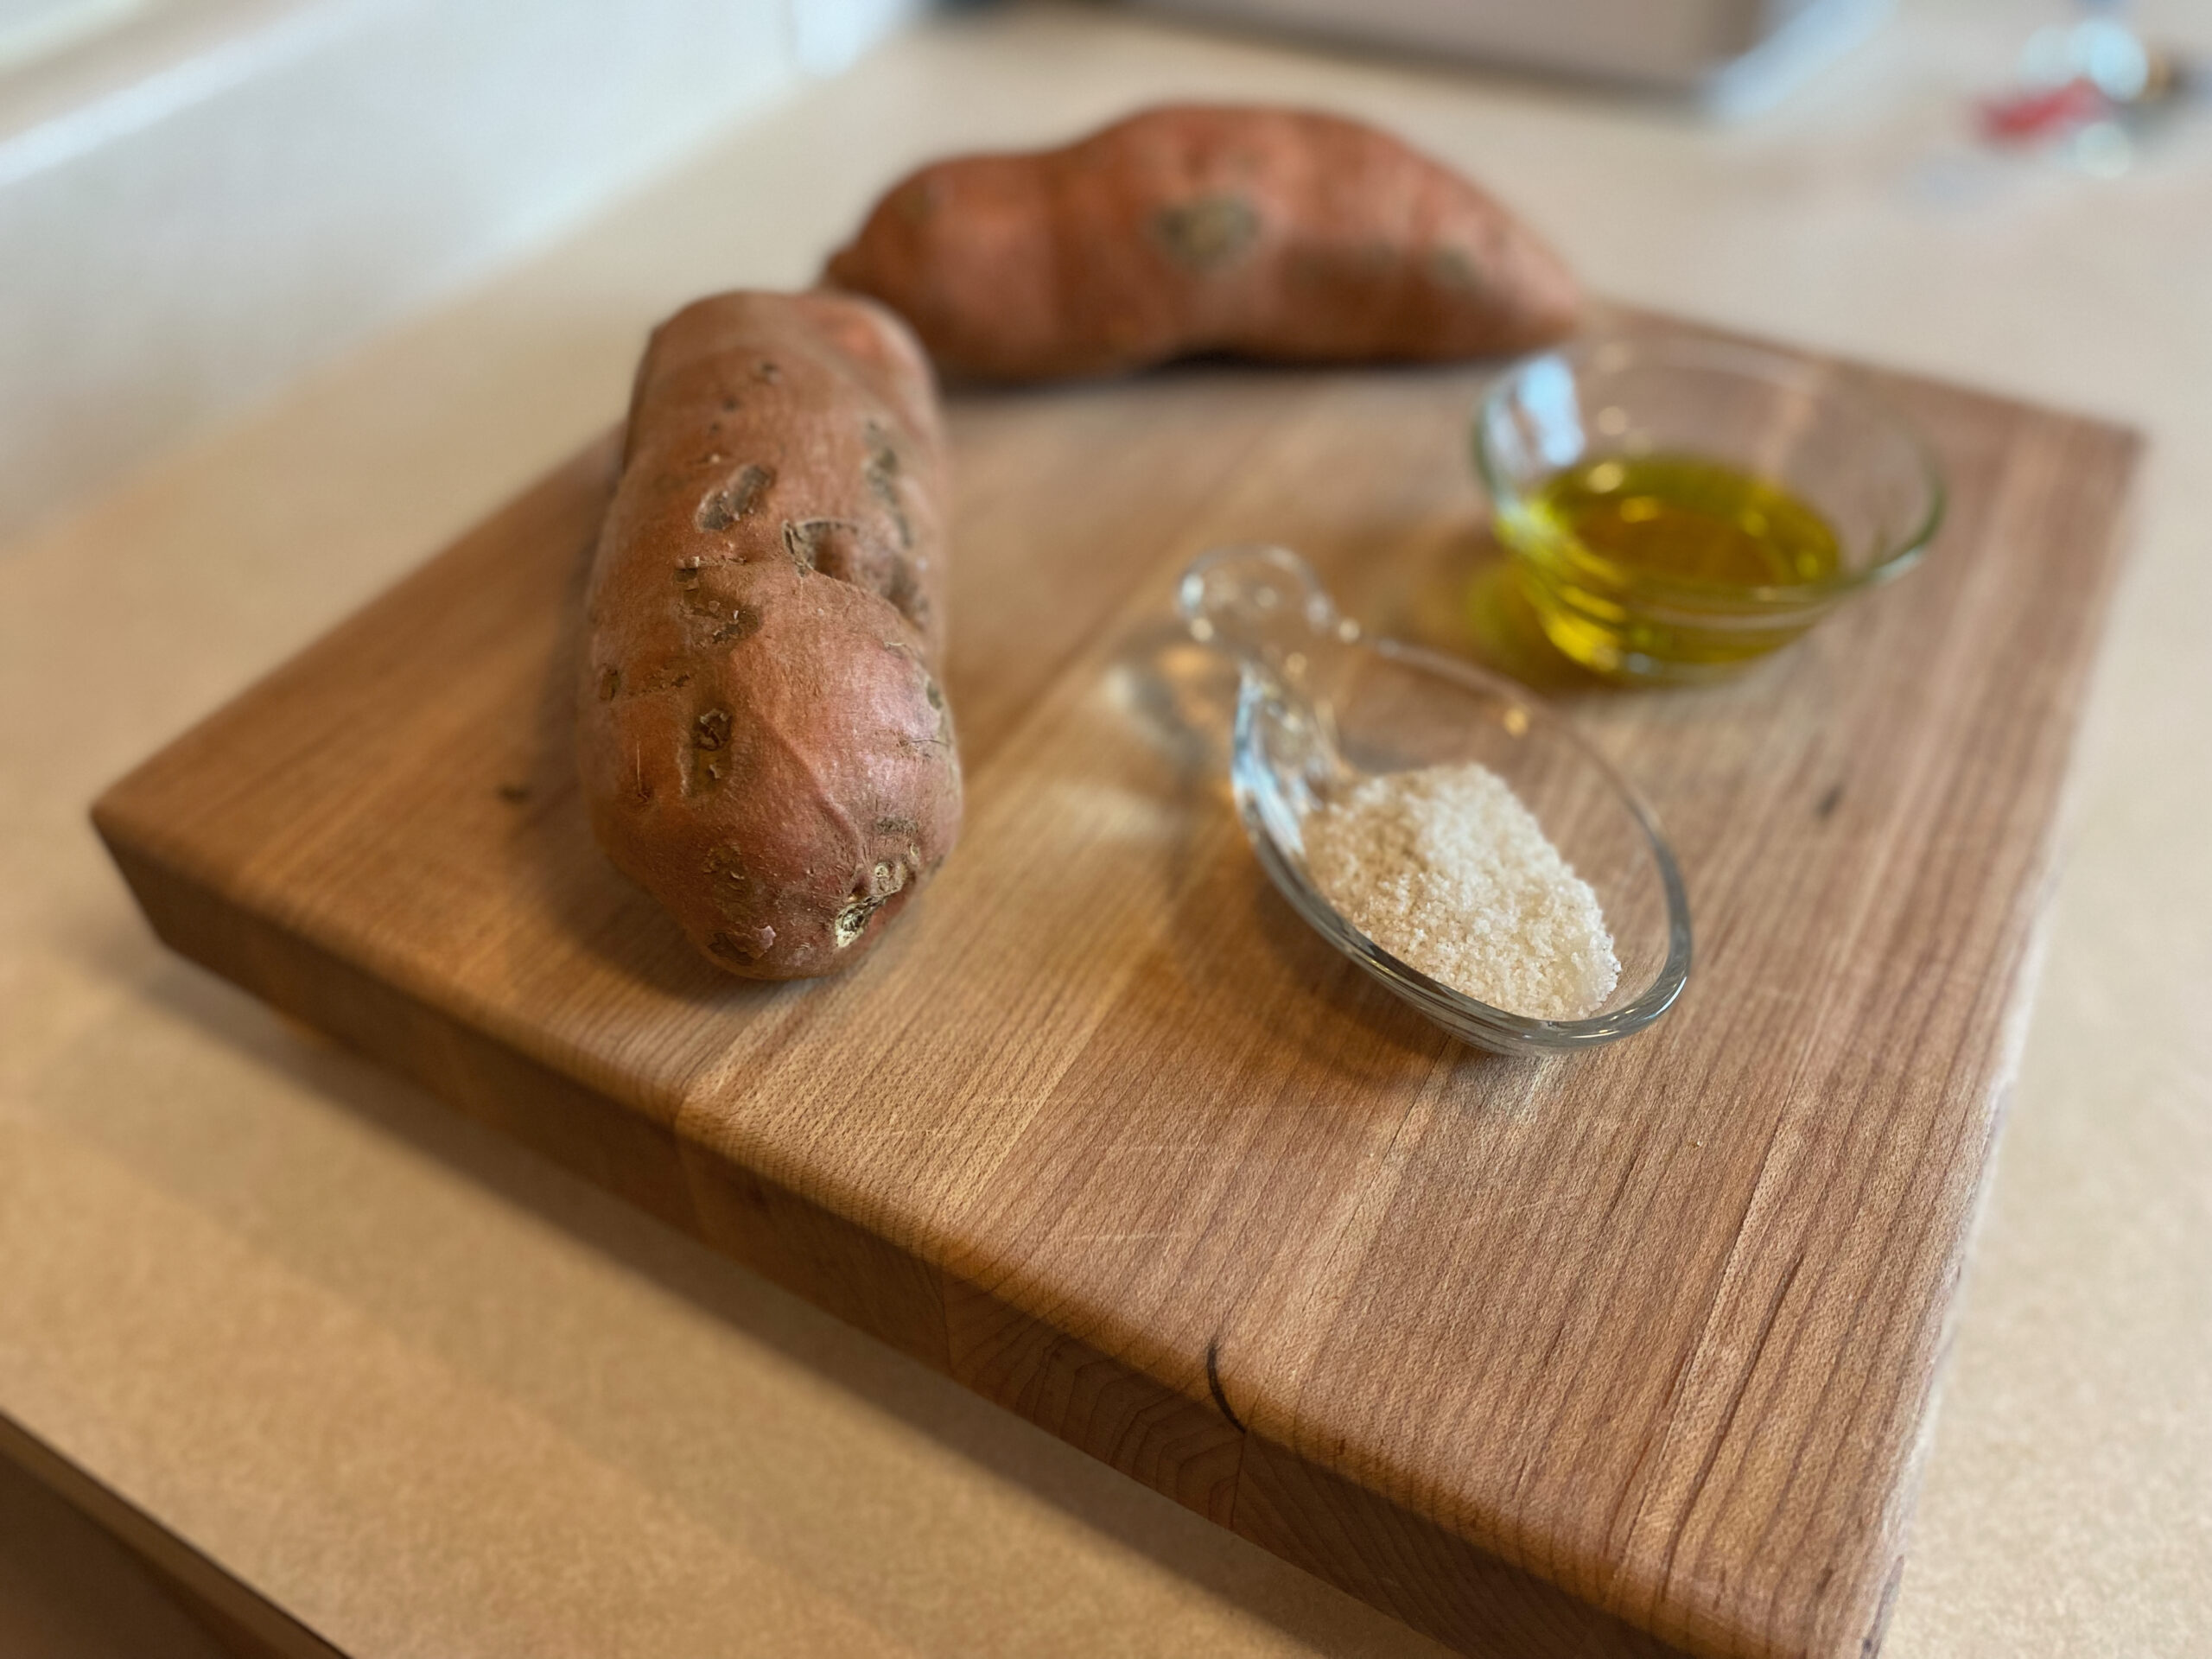
And all you need is just three healthy ingredients. Salt, olive oil, and sweet potato. That’s it.
You’re going to want one large sweet potato per person, so for two people we’ll cook two potatoes. This is a pretty significant amount of food and realistically provides about 2-4 sides.
But since they have to cook on a single layer, you can only fit about two potatoes worth of fries on a standard baking sheet anyway. So that’s how much we’ll cook.
Making these fries will take about ten minutes of prep time and thirty minutes of cooking.
How to get the sweetest fries
Undercooking will result in a more bland and less sweet fry. It may not be hard or raw, but it just won’t taste all that good.
So don’t be impatient. These fries may require the full recommended time.
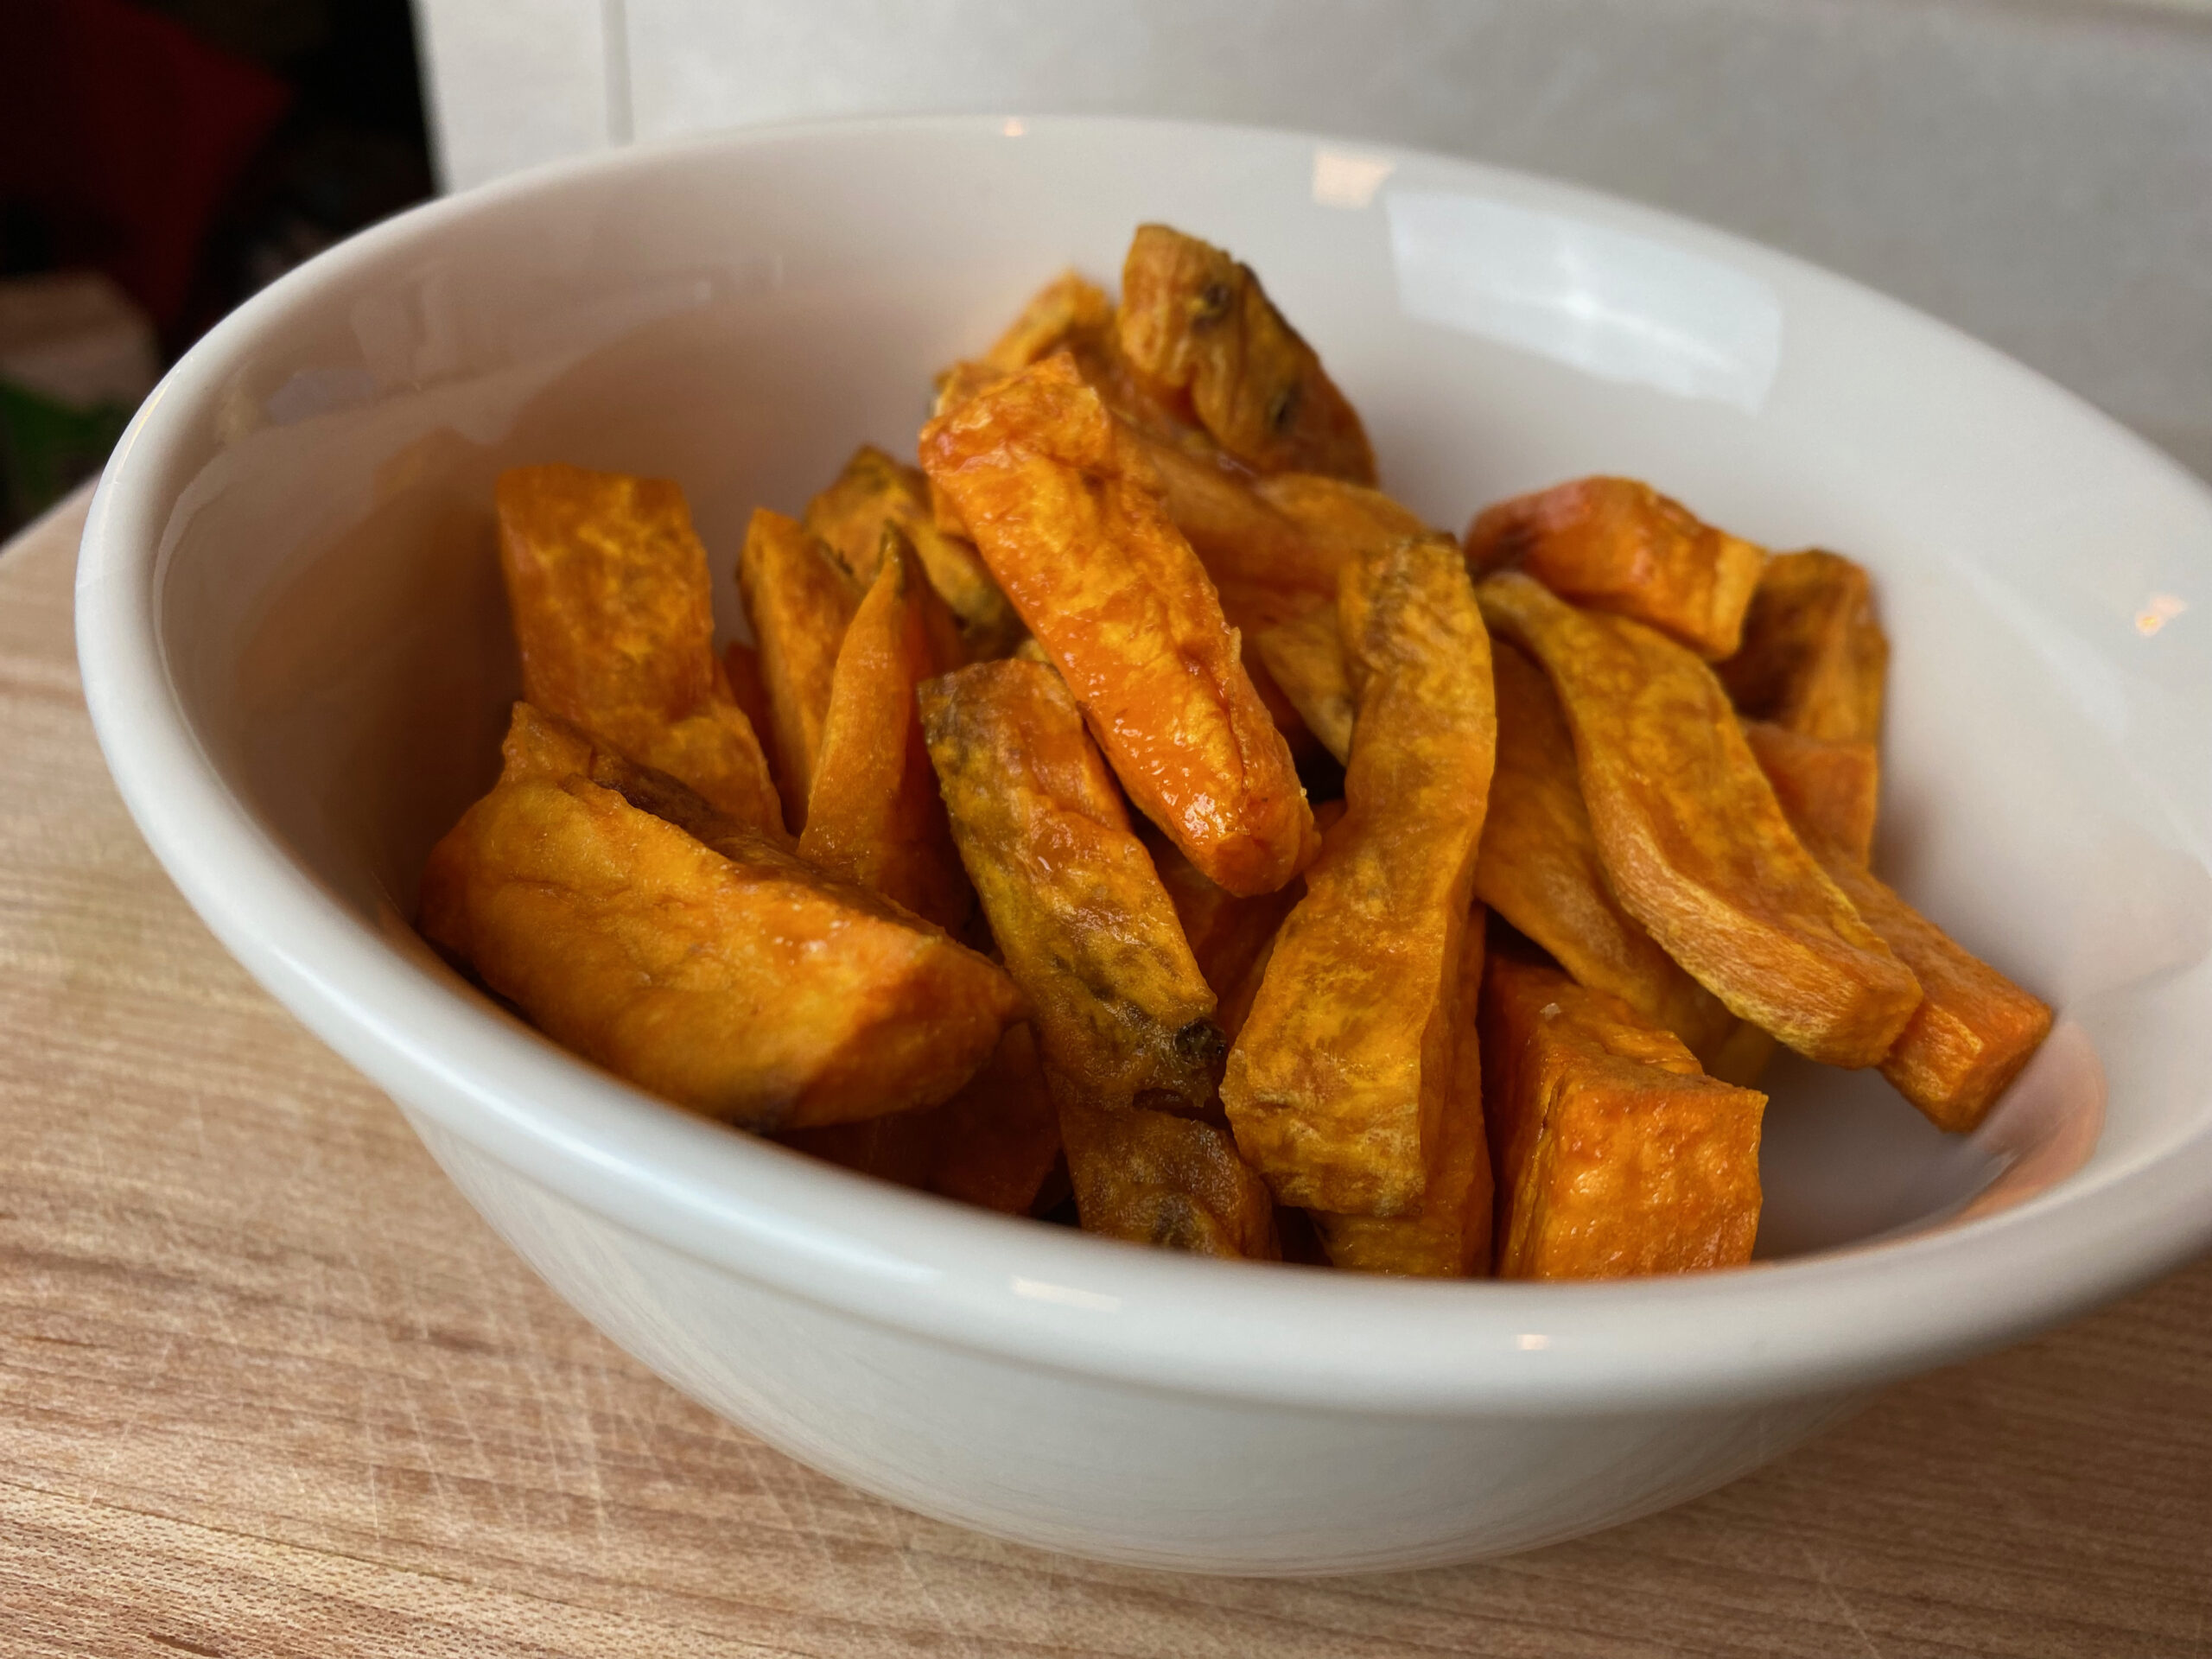
If done right, when they come out, they should be sweet as if dusted with powdered sugar.
Without a single added sweetener, I think these fries could pass for a dessert.
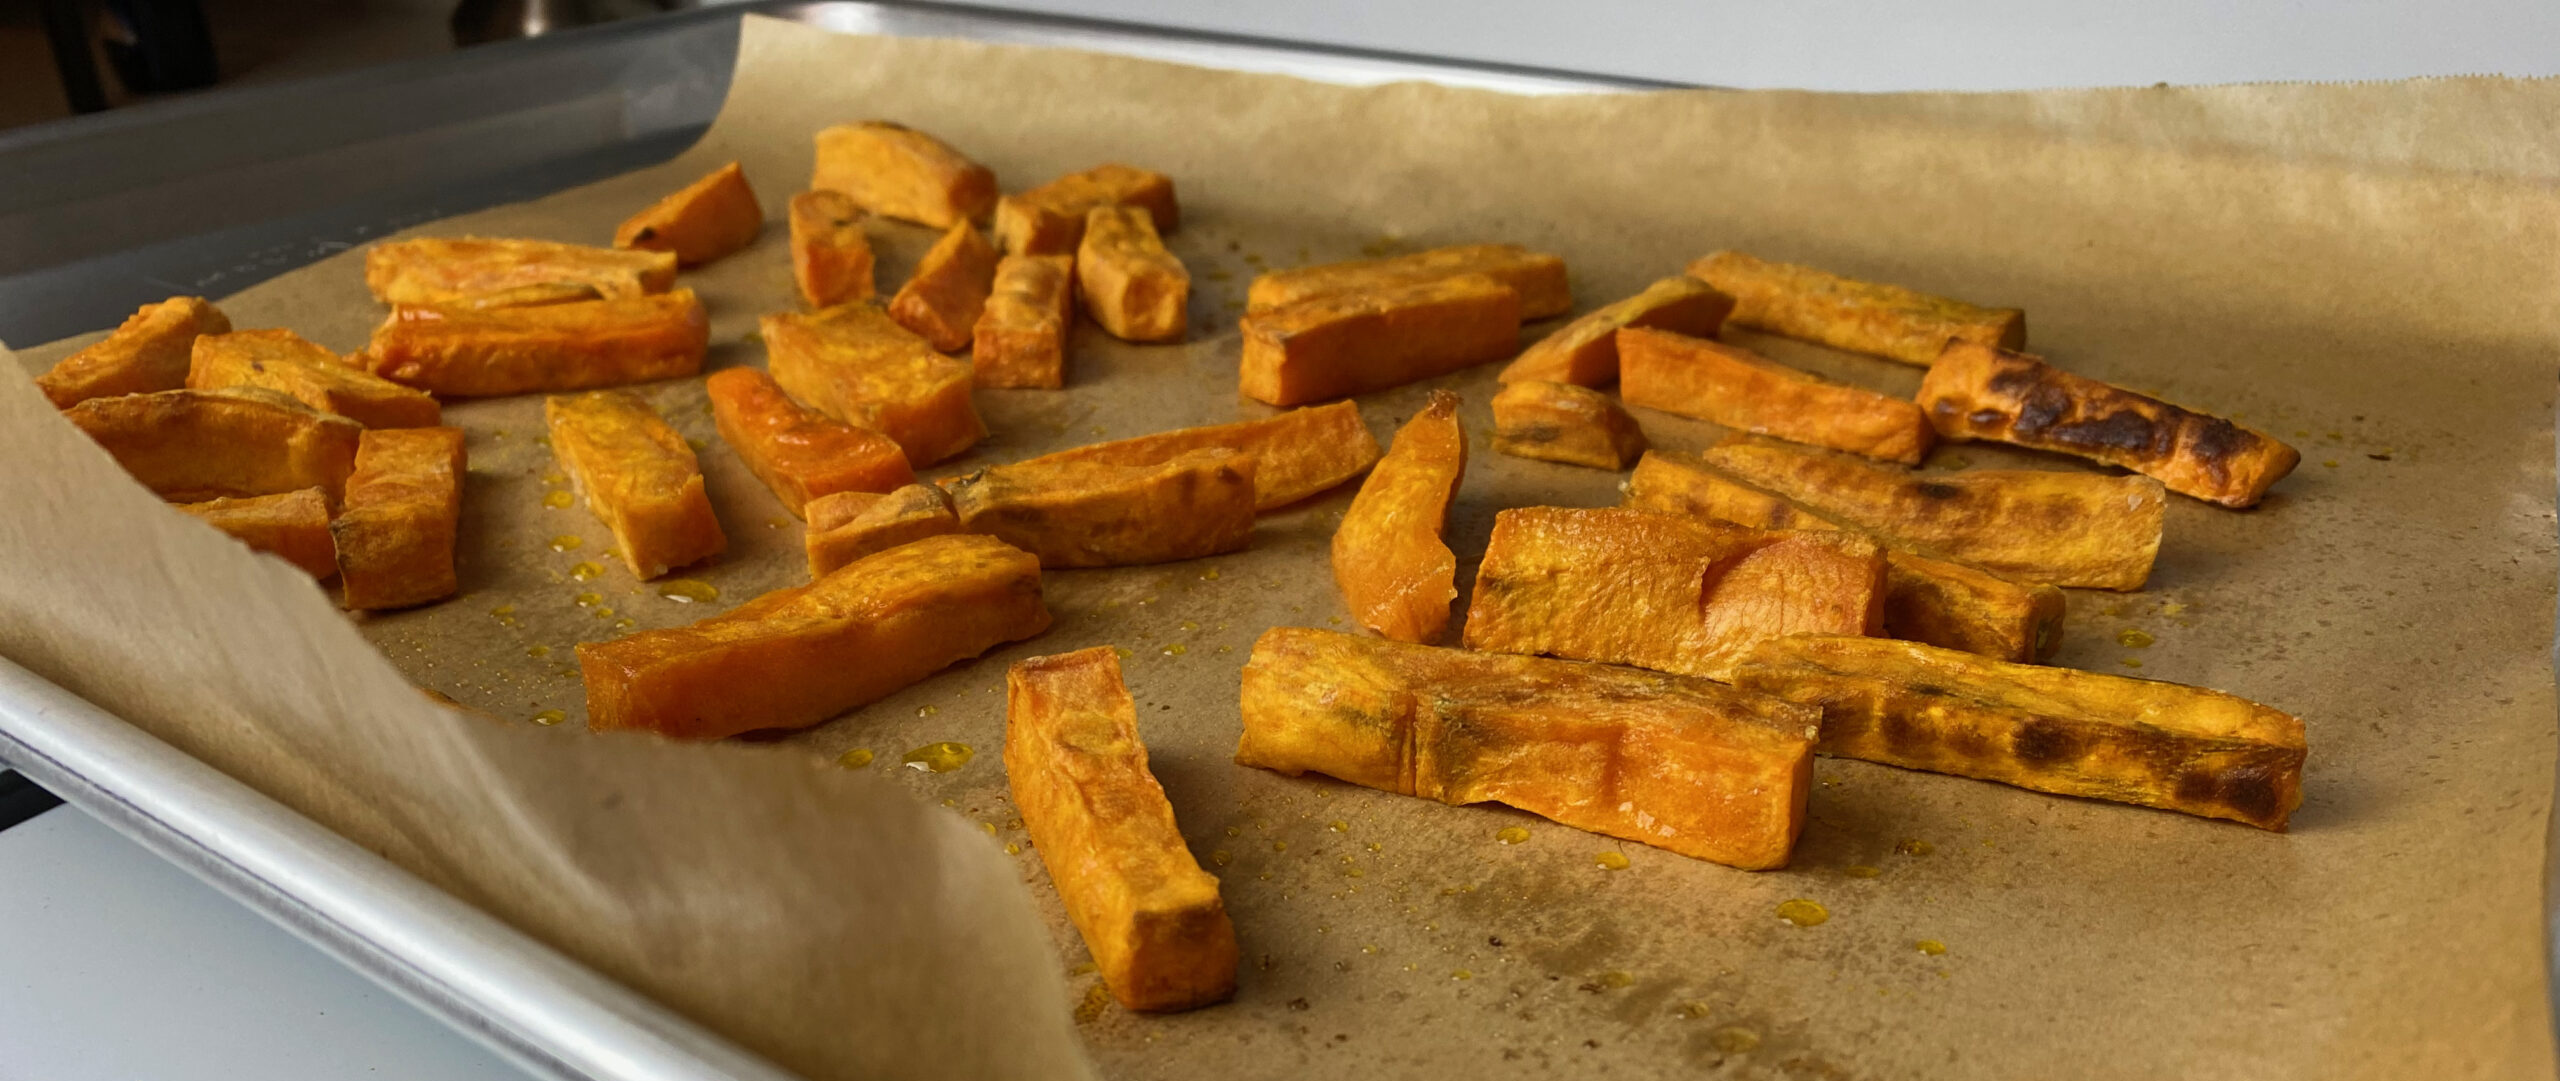
The key to a great oven baked sweet potato fry is to cook them until some parts of the skin turns black. It may be tempting to snatch them out beforehand, but trust me on this. You need for at least some parts of that fry to have singed.
This will produce a slight crispiness, which is nice, but will fade with time. Have the fries soon after they cool if you want that crispy texture, but I find that I enjoy a less crispy fry nearly as much – which is nice because these fries are super easy to stash in the fridge and then microwave later for a healthy (but not crispy) snack.
On the other hand, if you cook it too much then the moisture will run out and you’ll end up with a chewy or crunchy fry. Neither of these are very good, so make sure to keep an eye on them while they cook and adjust the recipe for your stove. Making the fries thicker will allow for a longer cooking time before dehydration becomes an issue.
Finally, don’t underestimate the effect of adding a little salt after cooking. It may sound strange, but adding salt can actually enhance the sweetness of your fries. For some reason it is able activate that flavor in the fry and make it take center stage. But too much and the sweetness completely disappears. So experiment with different levels of salt to see what you like the most.
Skinning and cutting the fries
The first step is to wash the potato and then skin it. After they are skinned, I will rinse them again. That is because the peeler blade touches the outer skin as well as the skinned potato, and I want to remove anything (especially chemicals) that might have been on the outside of the potato.
The Rotato is a handy tool when peeling a large amount of potatoes, but getting set up is not very efficient. It is also much better at peeling softer white potatoes than the harder sweet potatoes.
It is loads faster to use an old fashioned hand peeler. I like the soft grippy handle of this one.
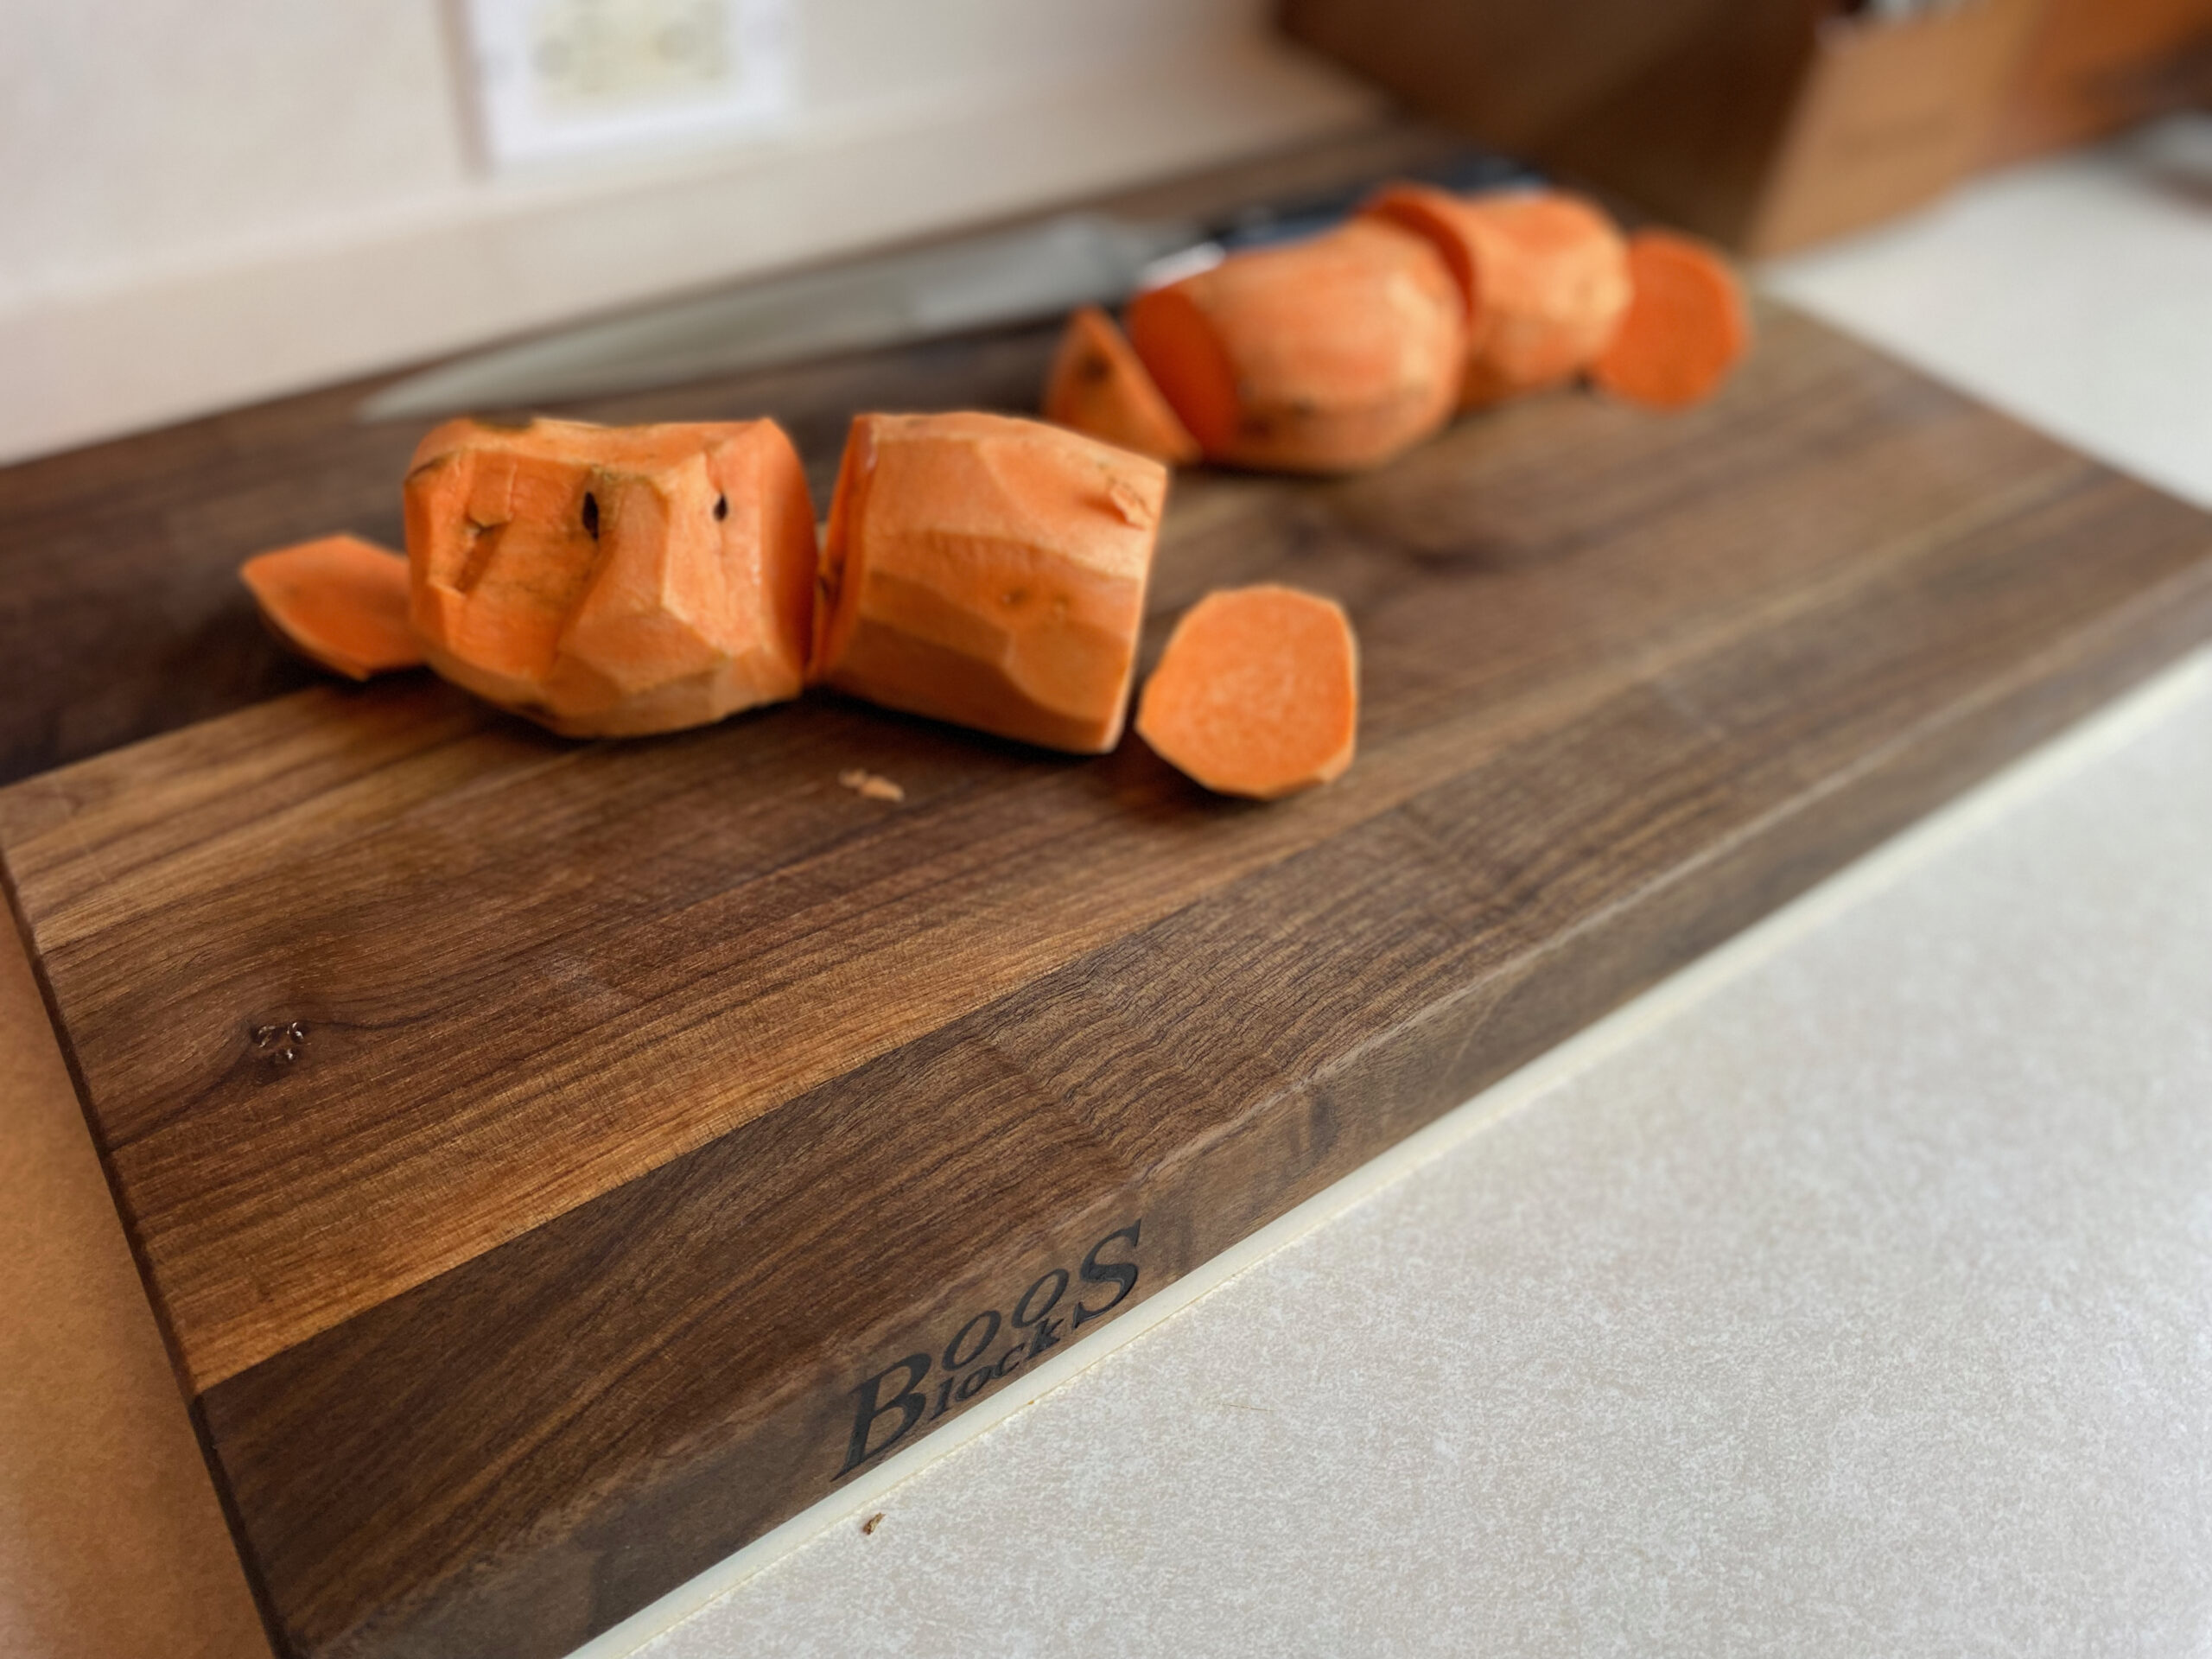
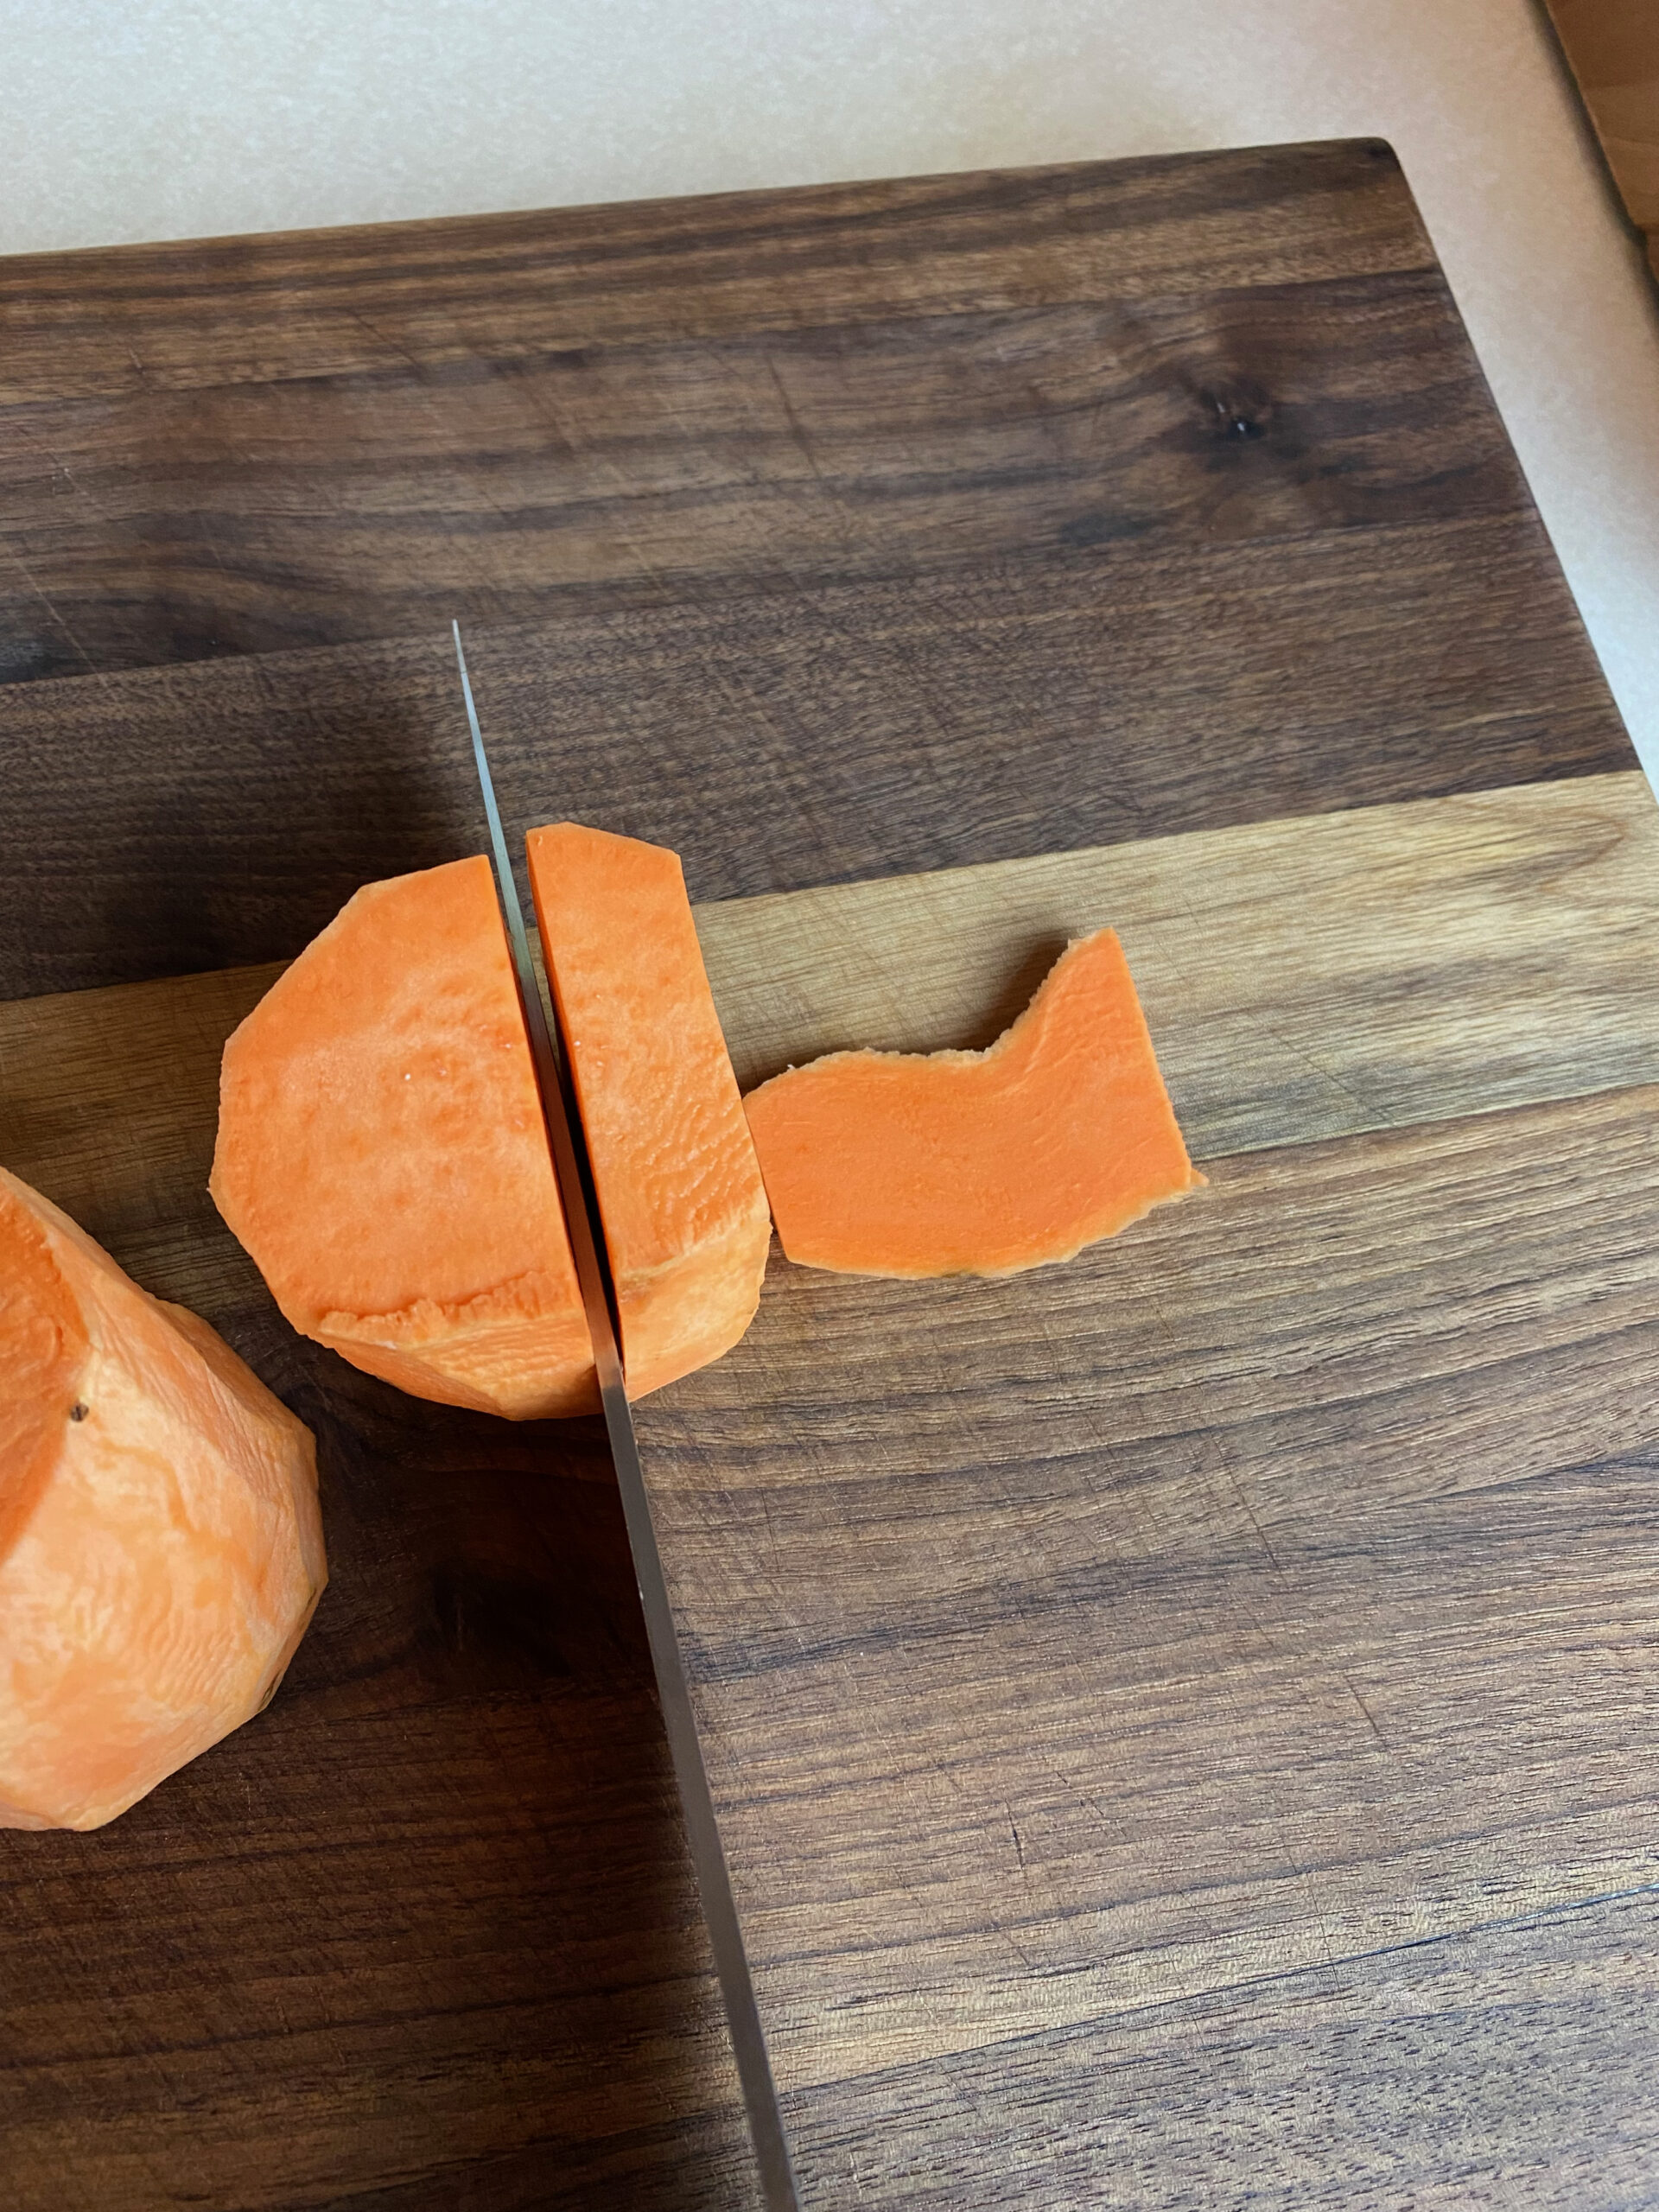
Once peeled, cut your potato in half – midway across the longest end. Just try your best to have two sides that can form a good straight fry. Also cut off some of the top and the bottom.
One thing you’ll notice is that sweet potatoes can be very hard to cut through. To avoid injury, first make sure you are using a quality and sharp knife.
You will also need to be very aware of your leverage and weight distribution when making the cut. This is a hard vegetable, so put safety first and make sure you approach the cut with proper form.
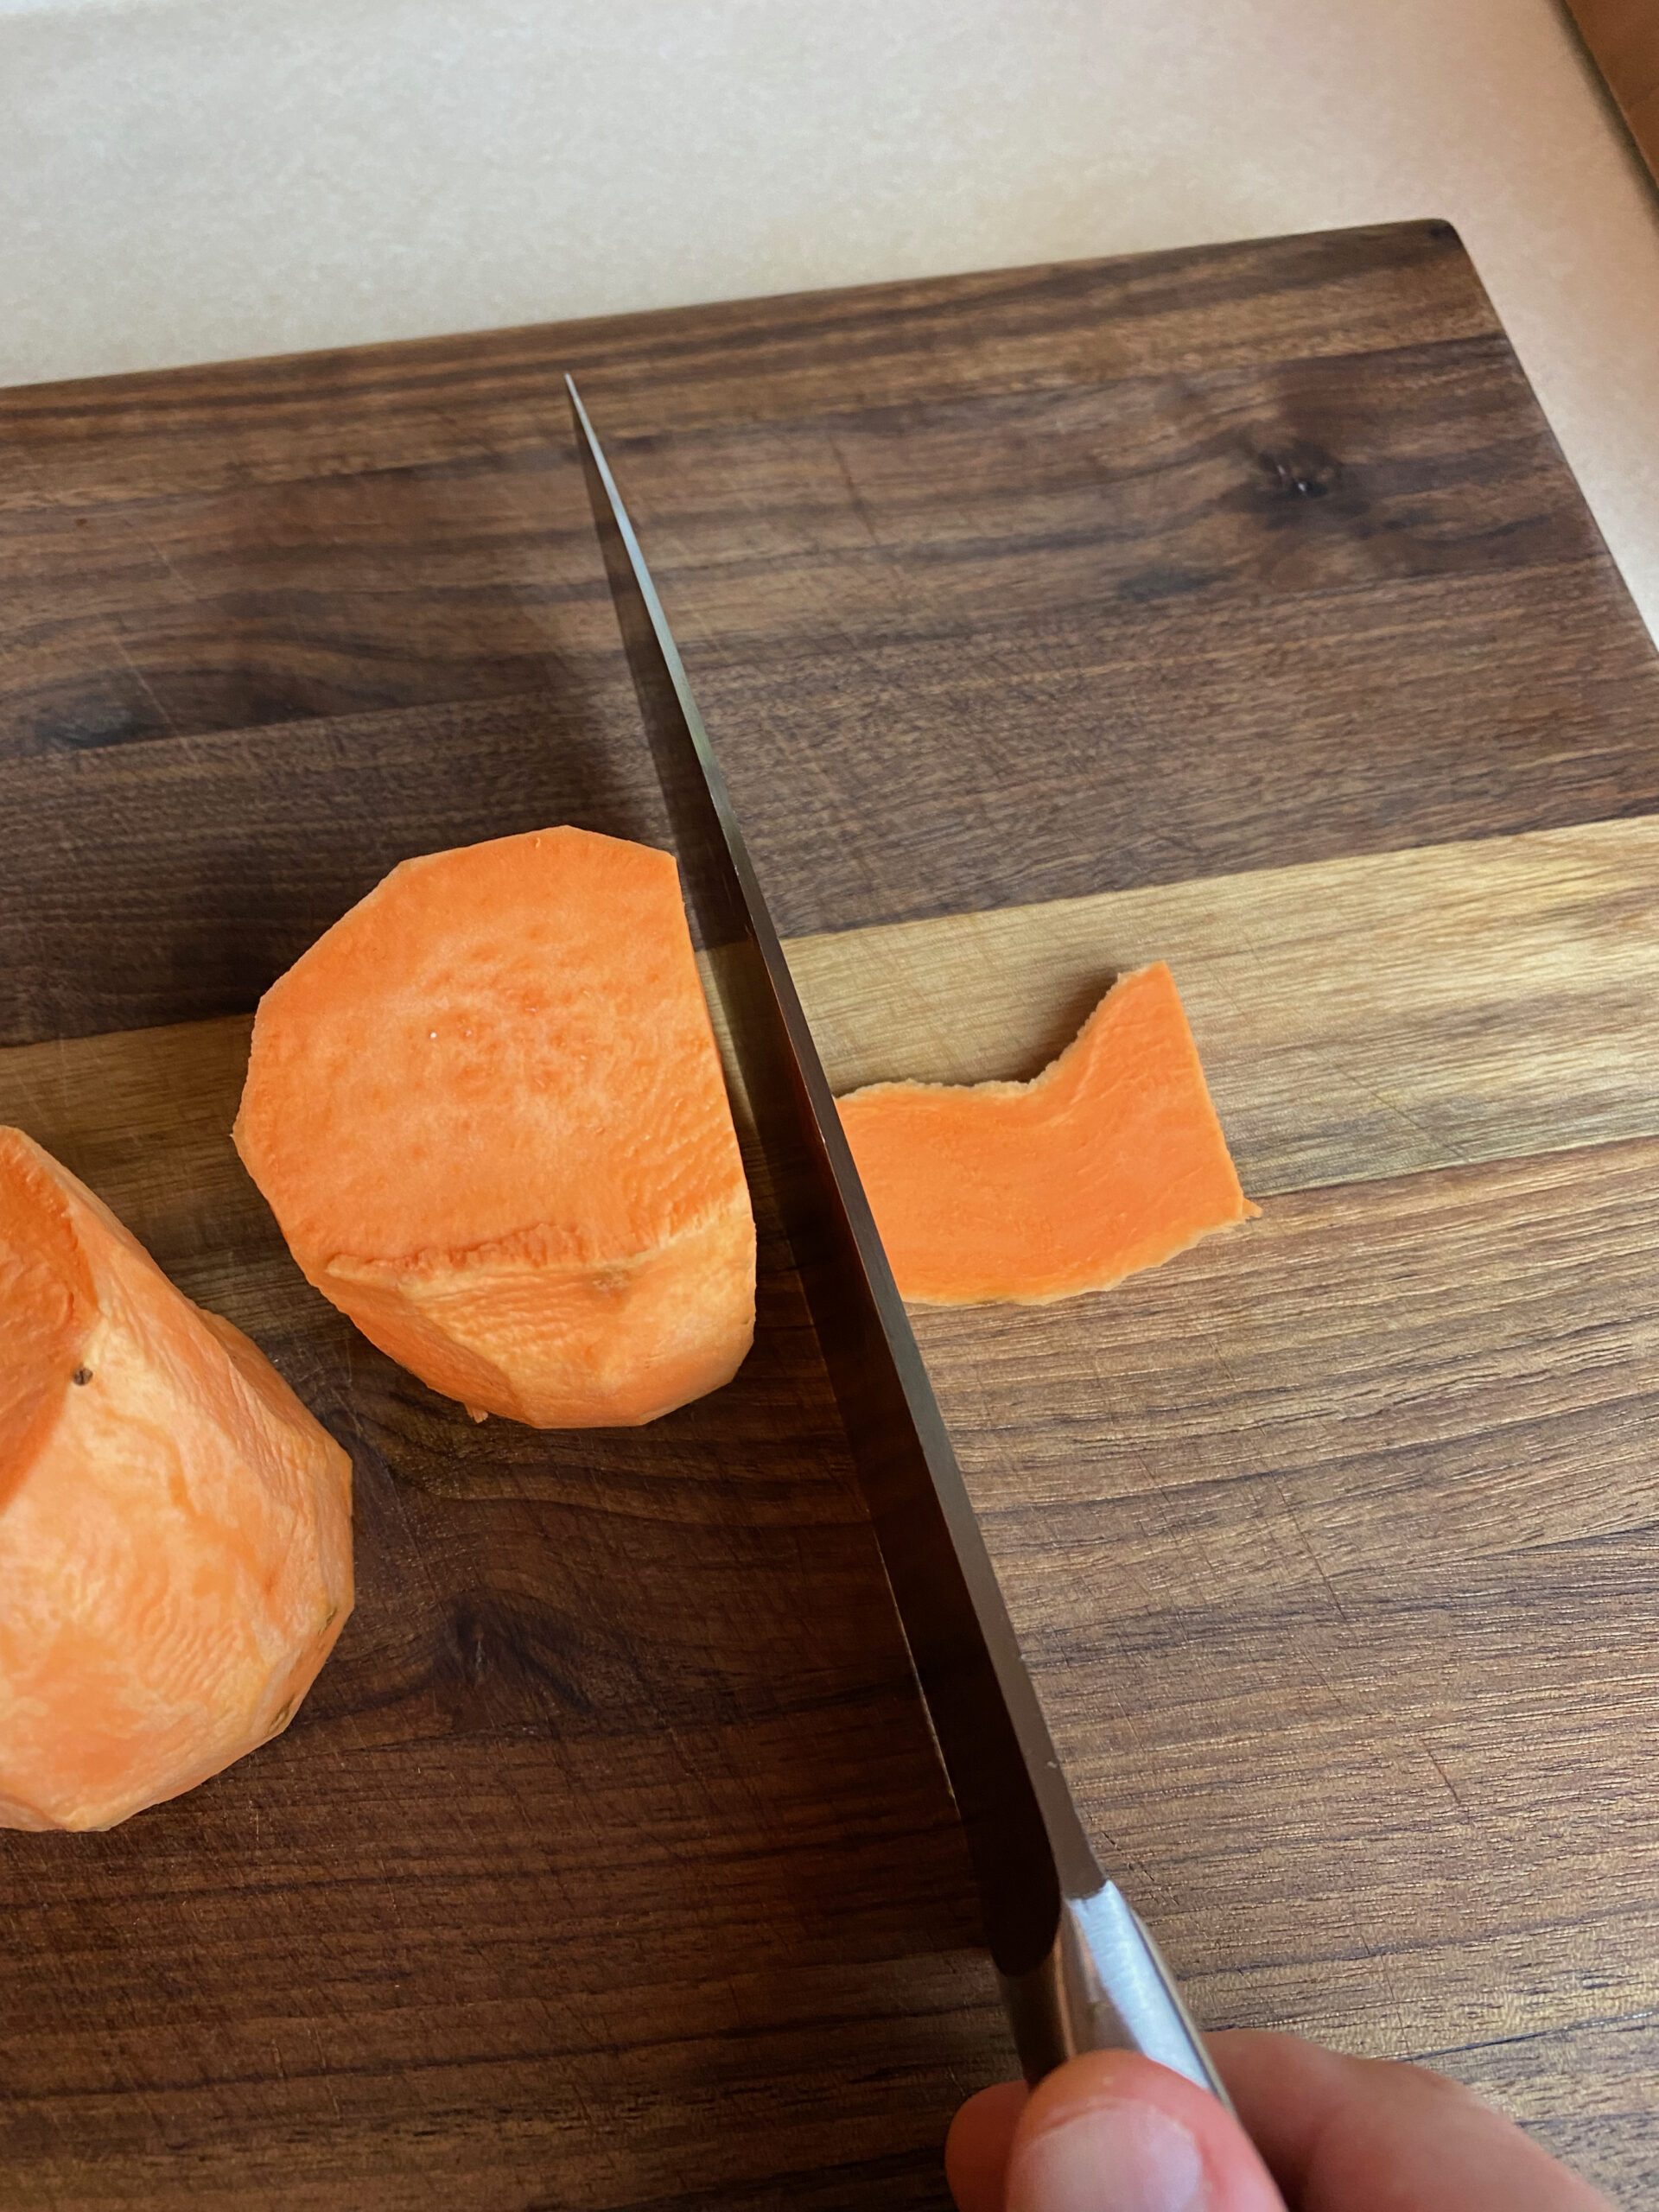
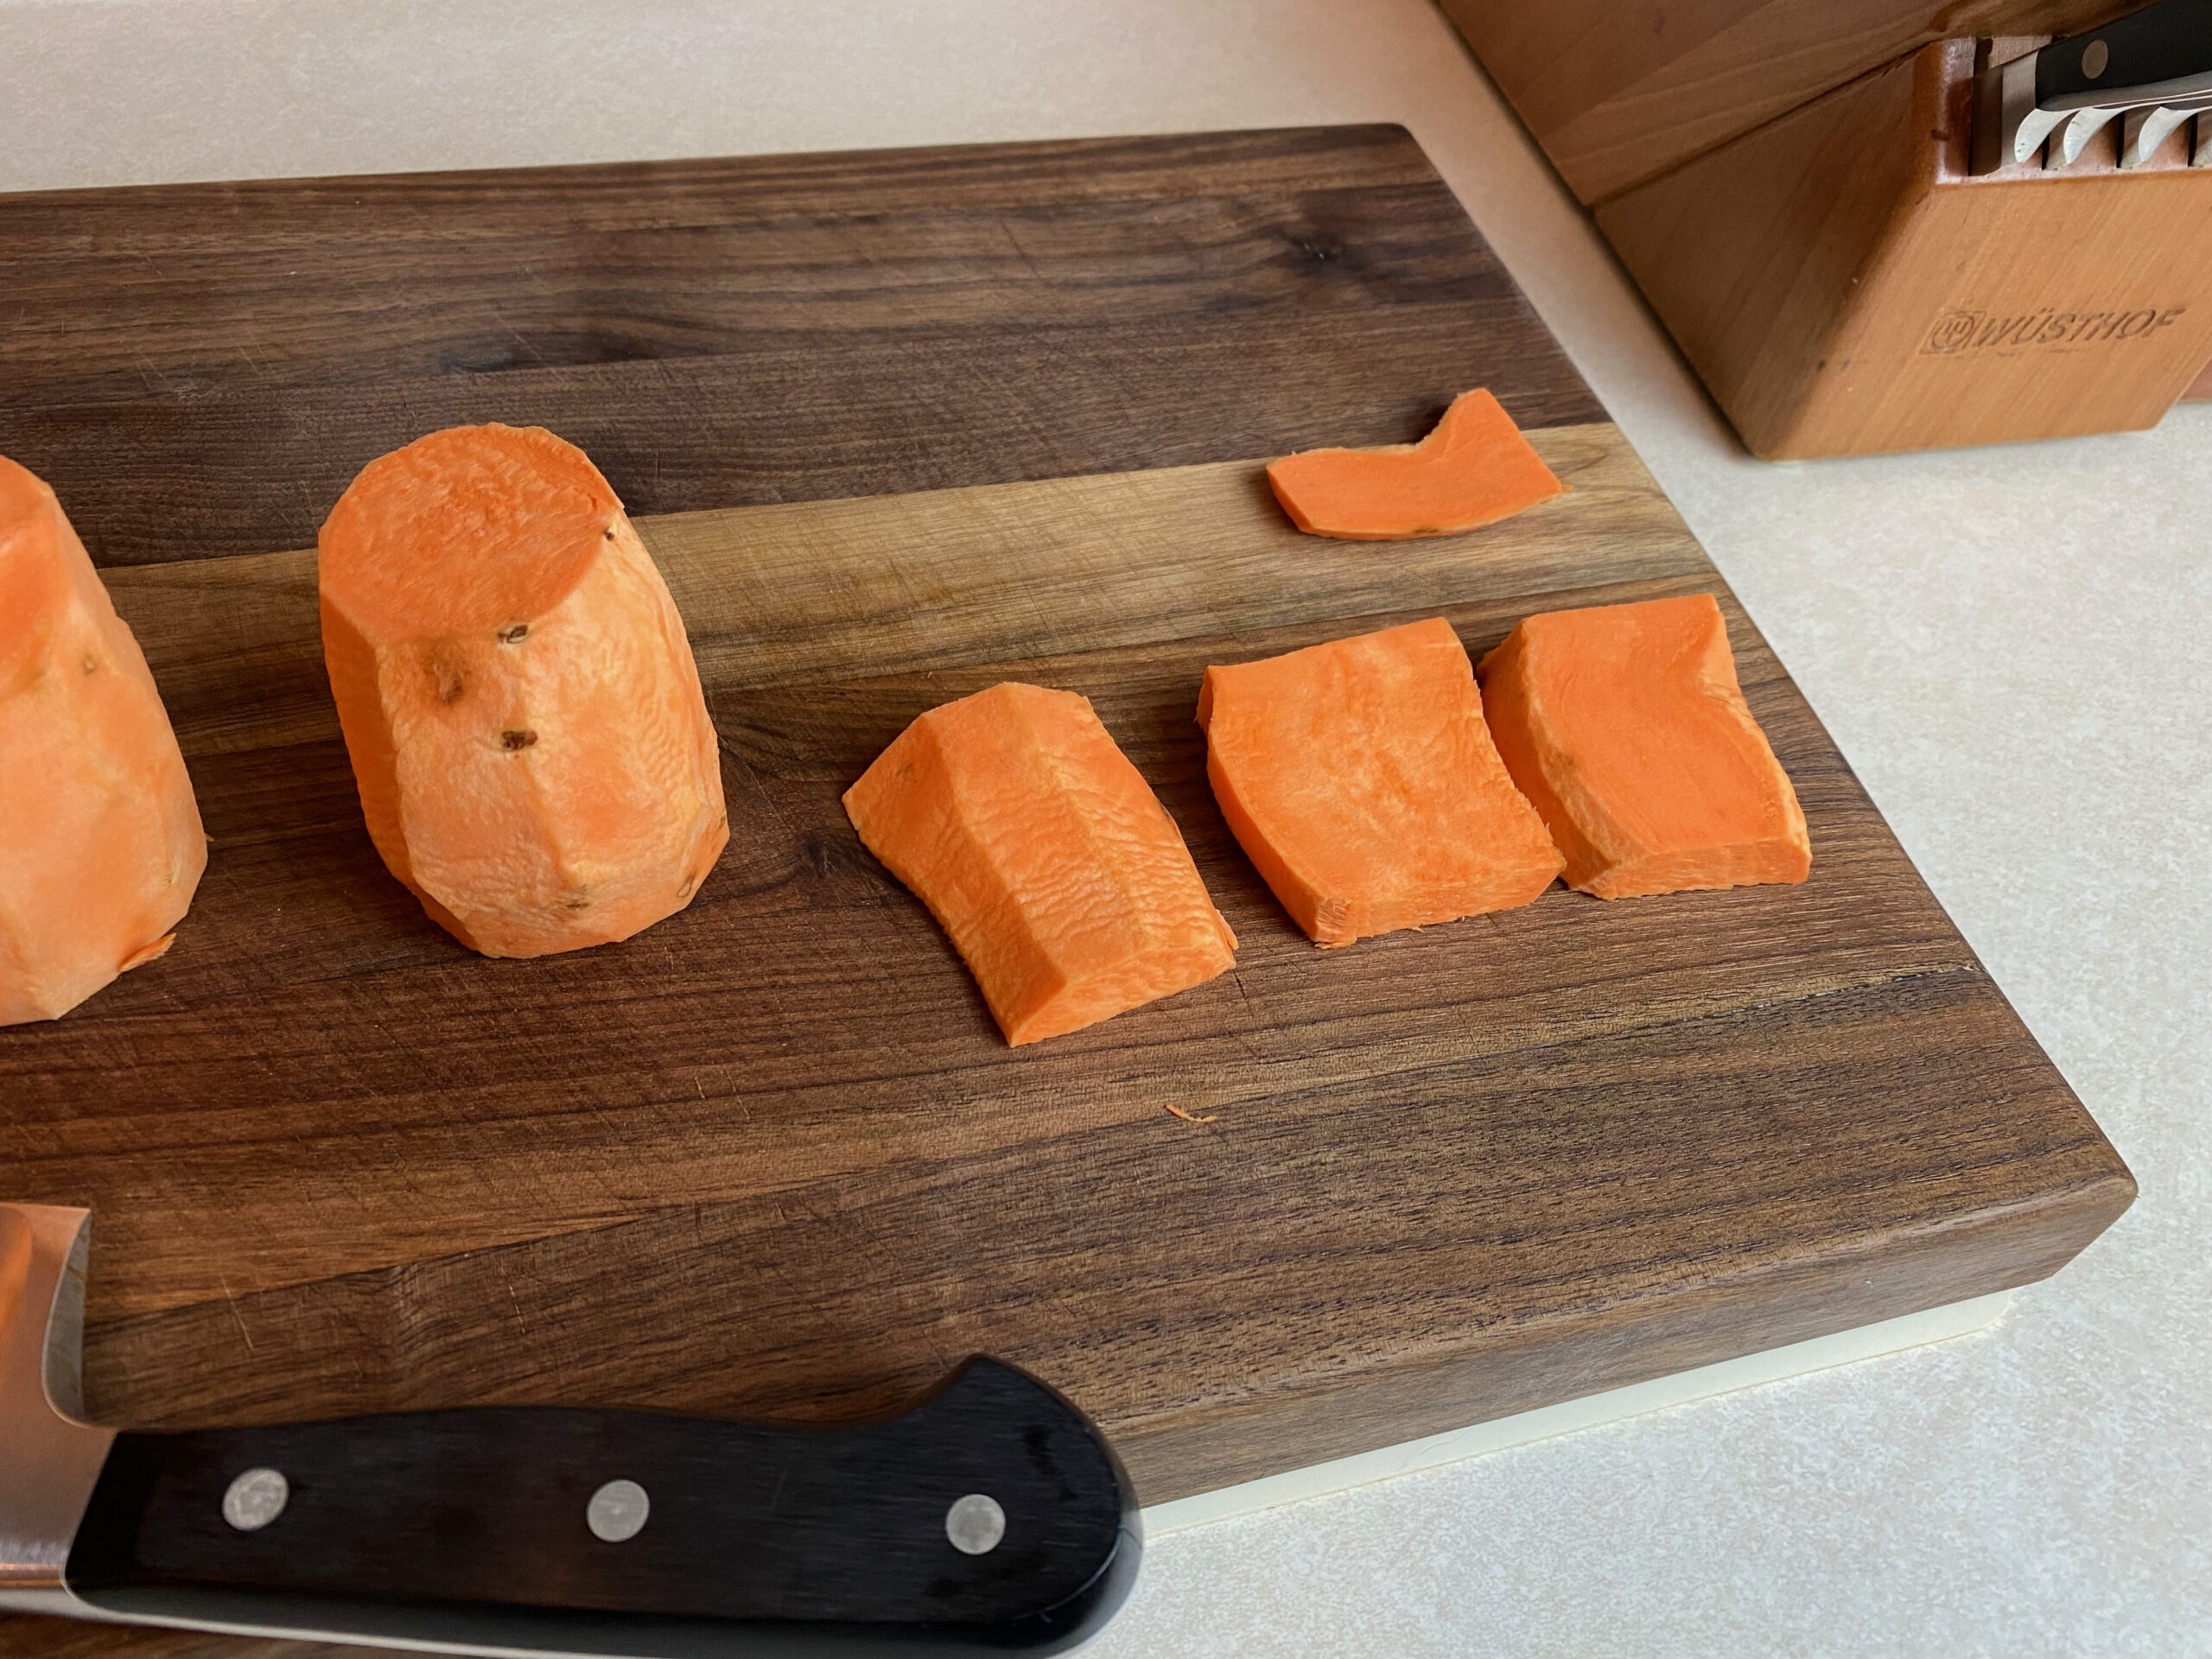
Next you’re going to put the flat side of one half down on a cutting board and beginning on the flattest side, cut vertical slices about 1/2 inch apart.
You may want to cut and throw away a little bit from both ends to make your fries more visually consistent.
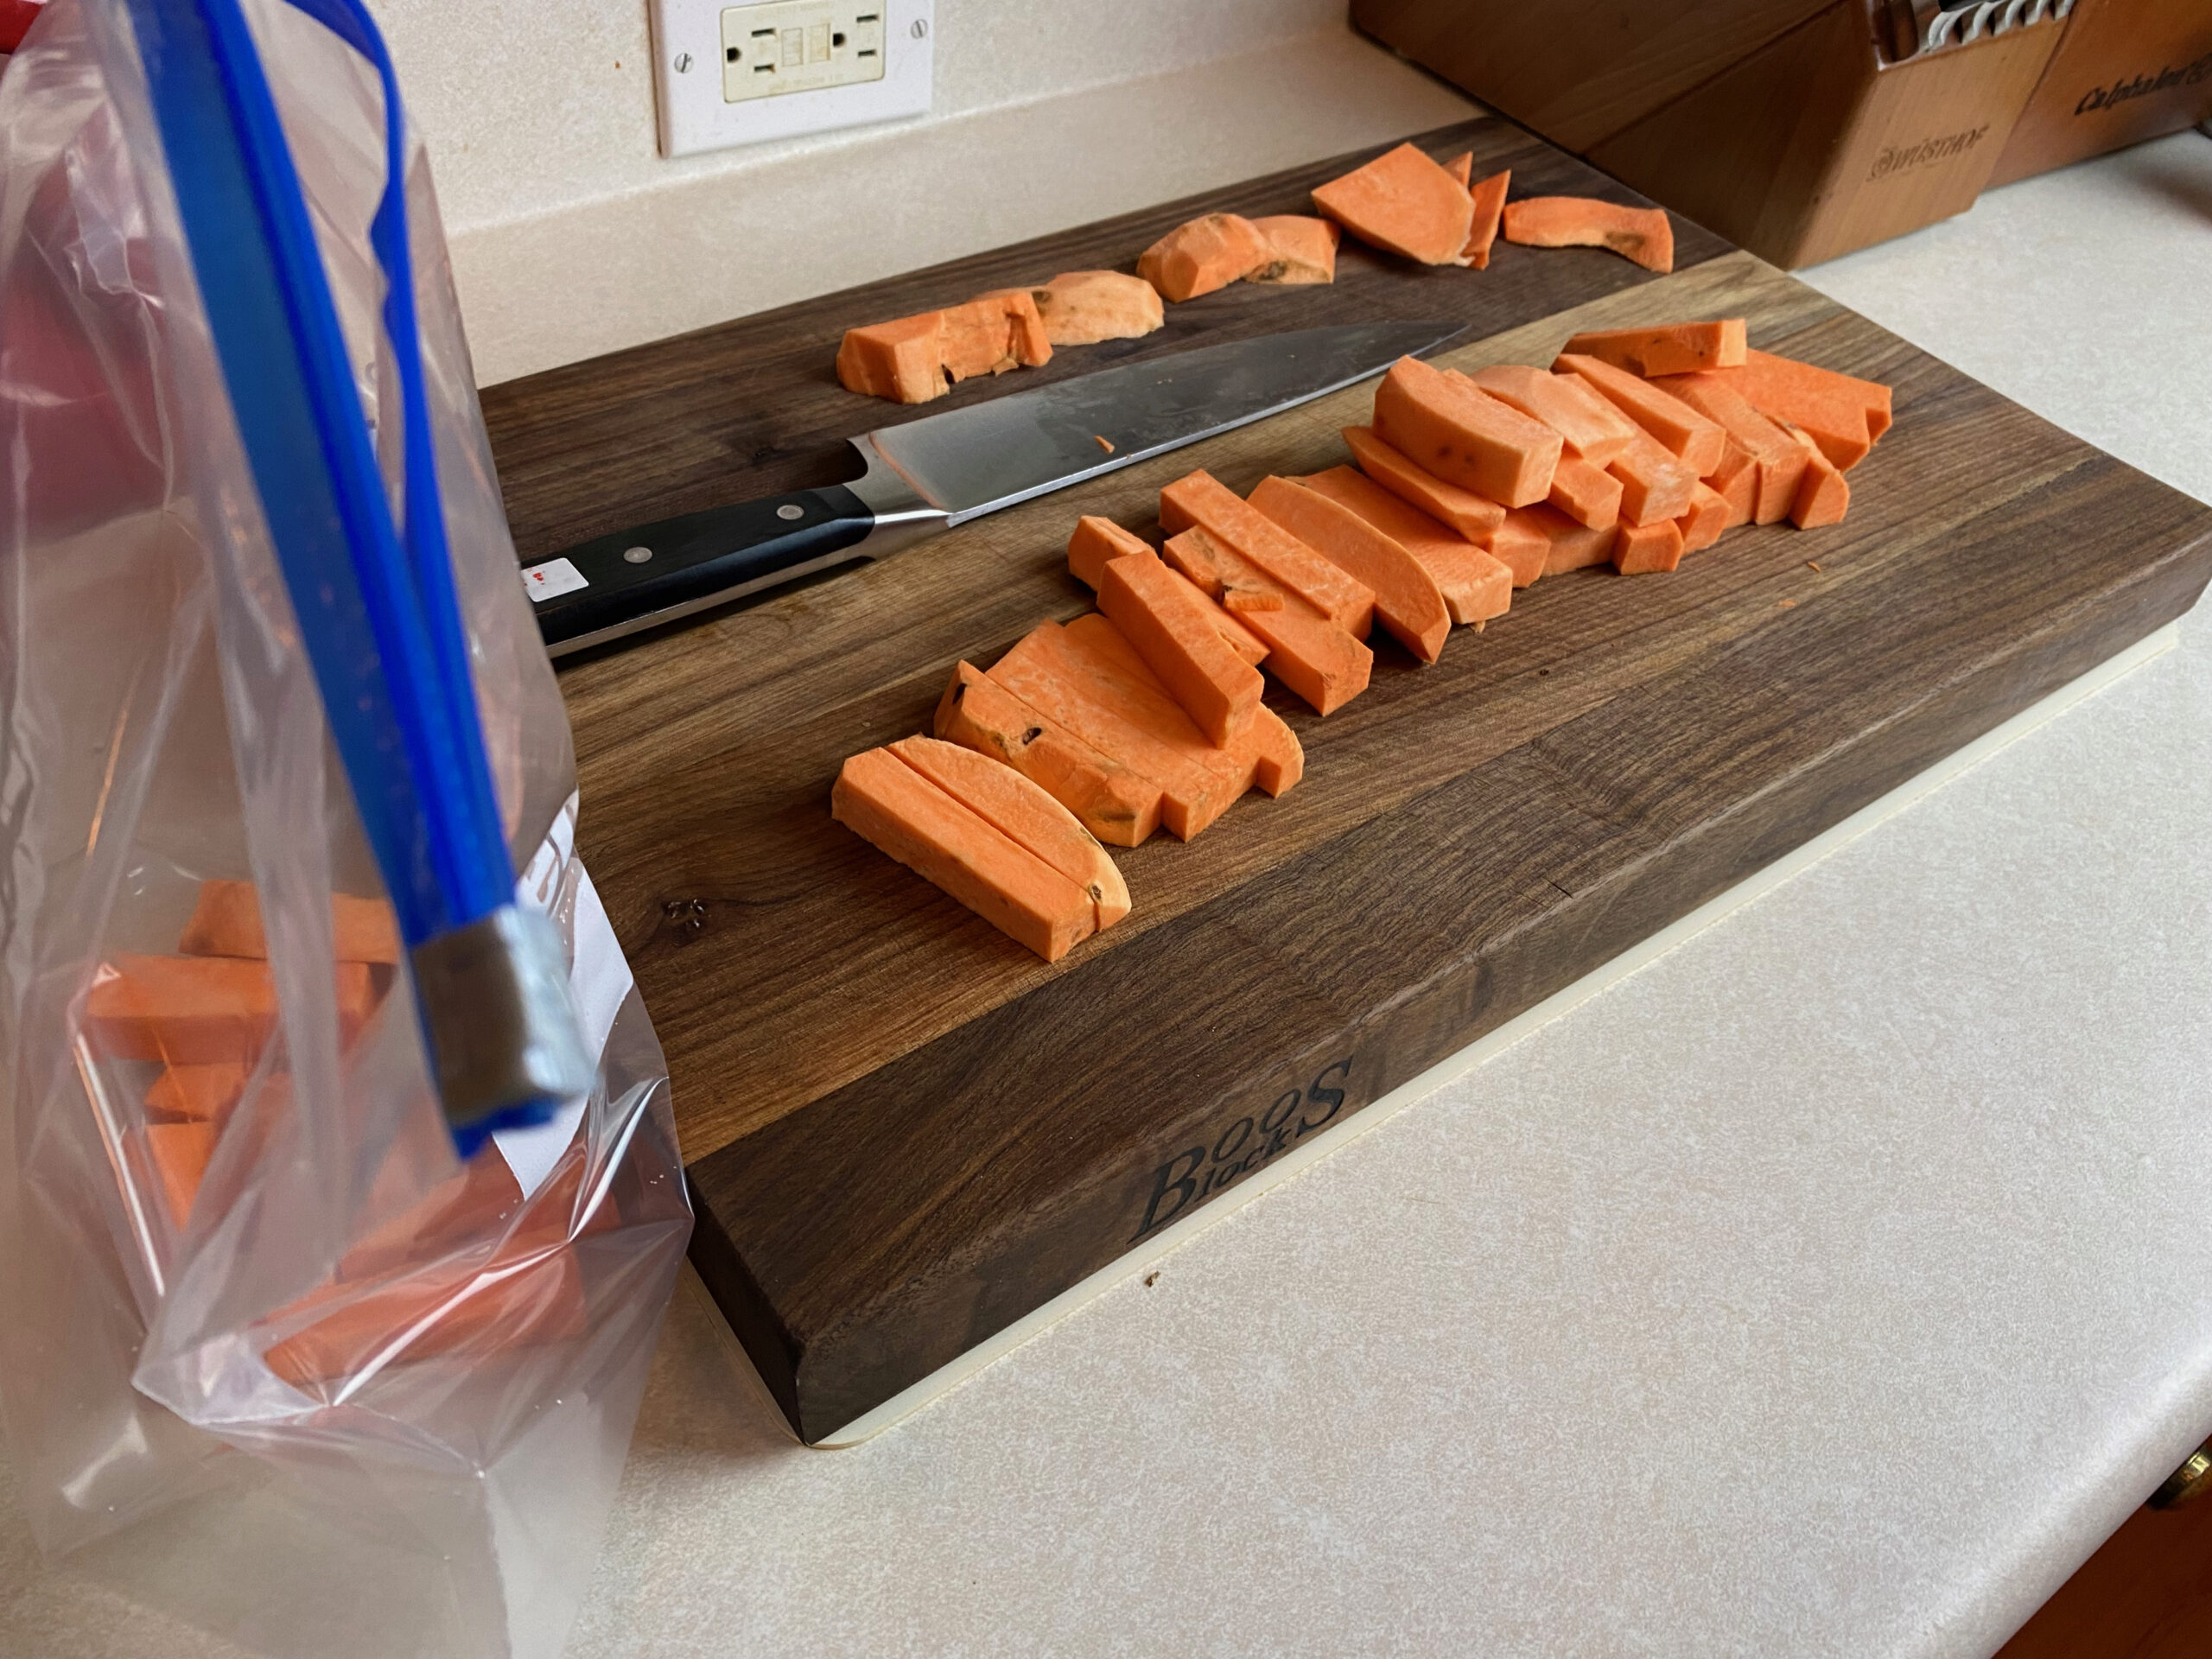
Once all halves have been processed, we’ve come to the final cut. Take each slice and cut fries out of them 1/2 inch apart. It doesn’t really matter the orientation, but I like to be consistent whatever direction I choose.
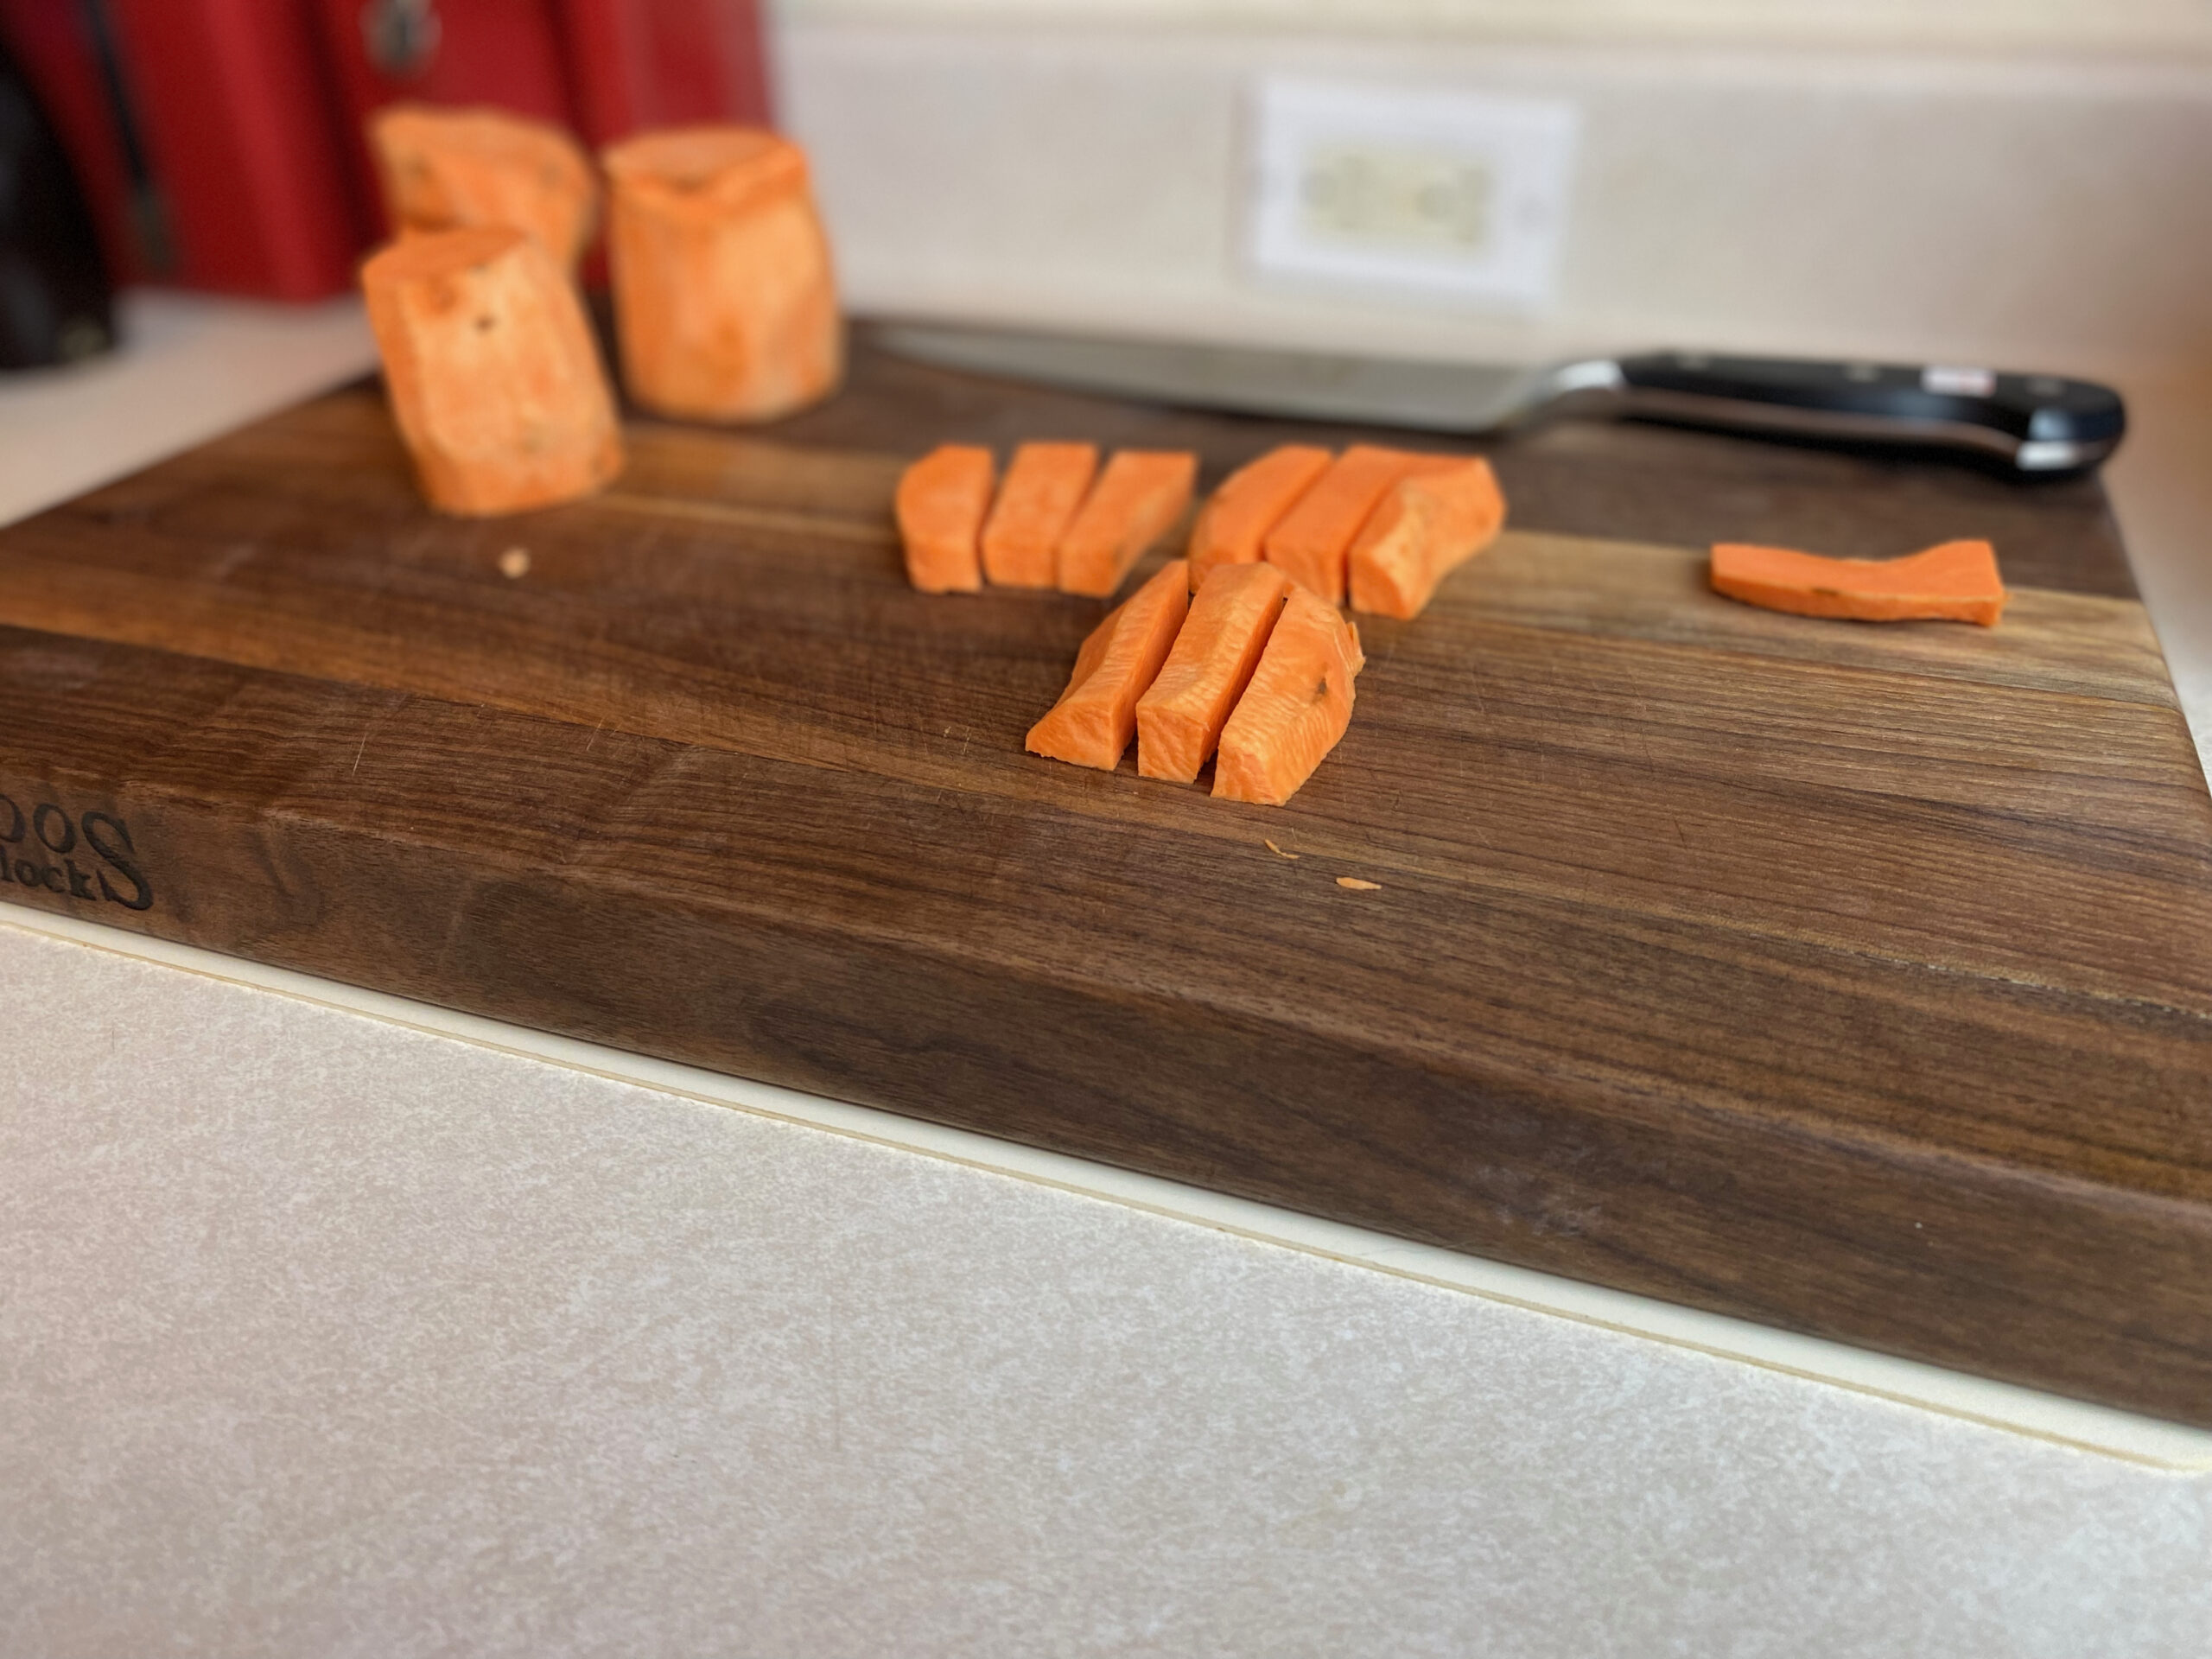
Once you’ve processed all your potatoes like this, the hard part is done. Separate and toss any fries that aren’t up to standard.
Coating and baking the fries
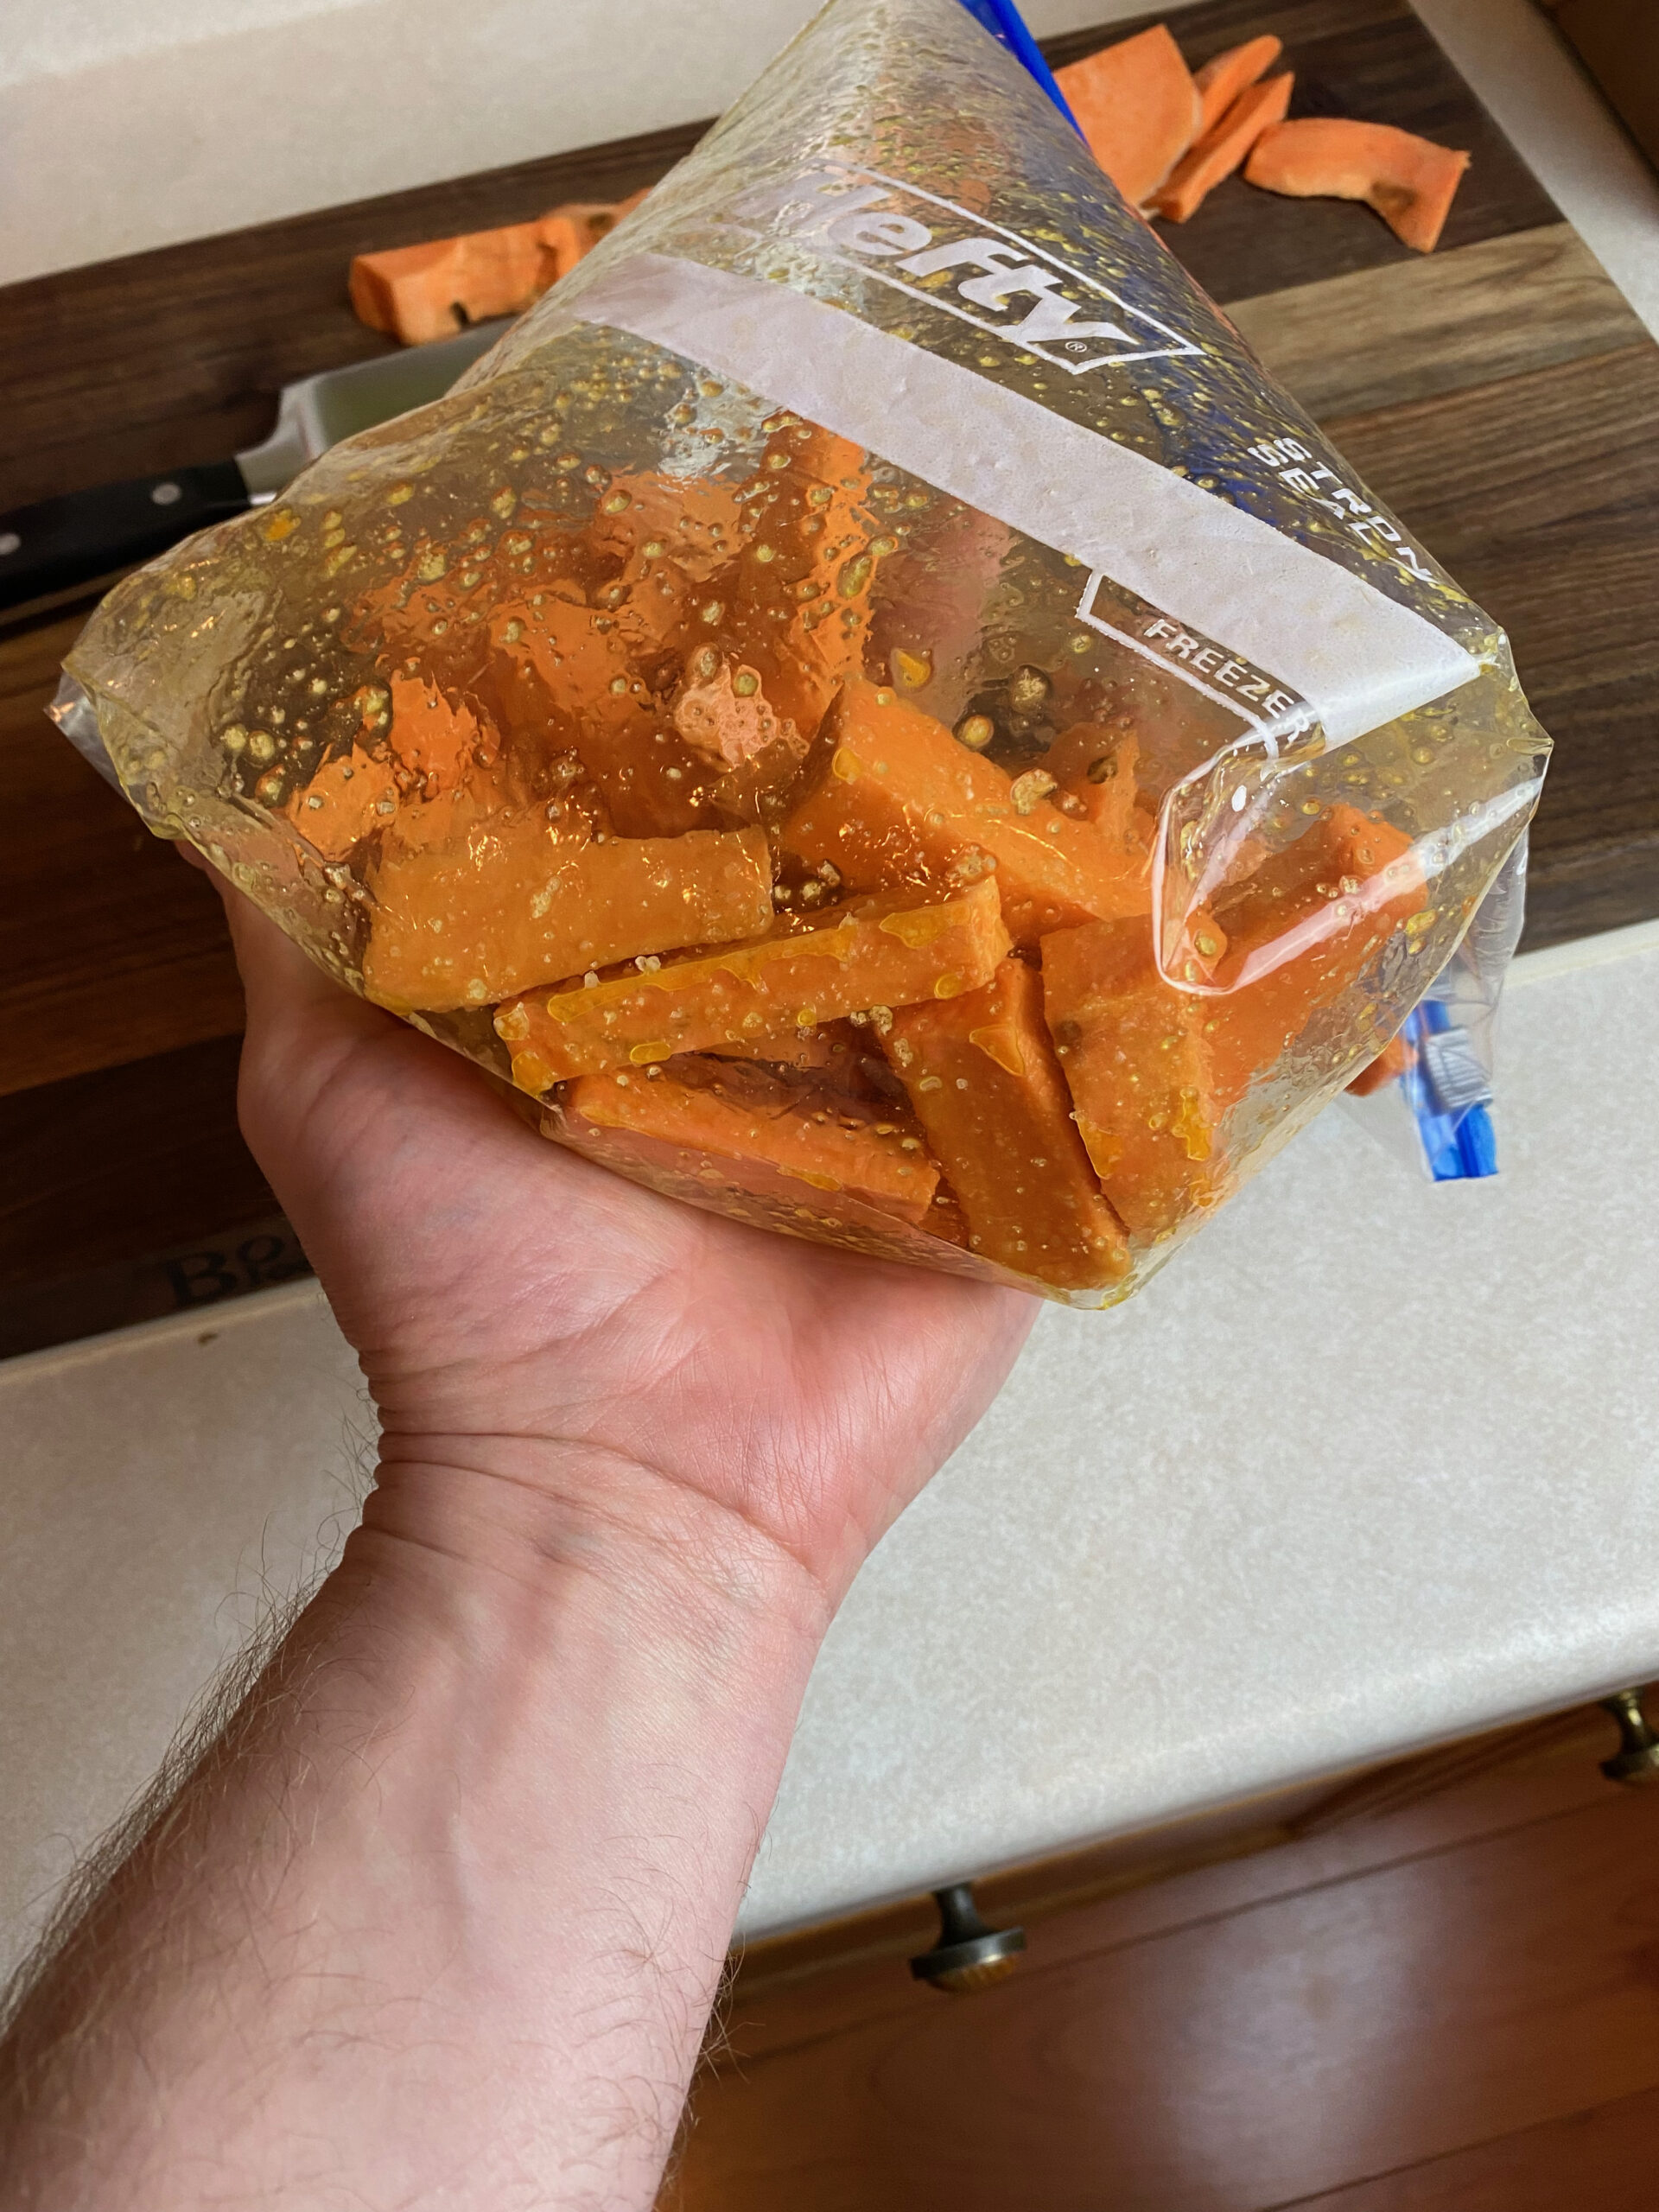
Now put all your fries in a big bowl (or plastic bag) and drizzle some olive oil. Approximately 1 tbsp per potato.
Next you’ll want to add the salt. Yes, I know, salt doesn’t seem to fit with making these sweet. But trust me here. Salt is necessary to bring out the sweetness. It fills it out rather than competing with it.
You don’t want to overdo it. 1 tsp per potato should be enough.
Mix thoroughly.
I like using a plastic bag to mix because it saves time in the kitchen. Just toss in the ingredients, shake it and squeeze it until the fries are well coated, and toss the bag out when you’re done.
Once mixed, lay all your fries out on a baking sheet. I like this Nordic Ware baking sheet because it’s American made thick aluminum and it resists warping.
To save cleanup time, I like to use some silicone coated parchment paper from Baker’s Signature. When I use these, sometimes I don’t even need to wash the baking sheet afterwards. The silicone is also very good at being non-stick.
You can also use tin foil to save time rather than parchment paper, but doing so could affect cook times or require more flipping to avoid sticking.
There’s no need to grease the pan because your fries are already coated in oil, so once they’re on the sheet, make sure they aren’t on top of each other and shove them into the oven. It’s important to spread them out so they’ll all cook at the same rate and develop a good outer layer.
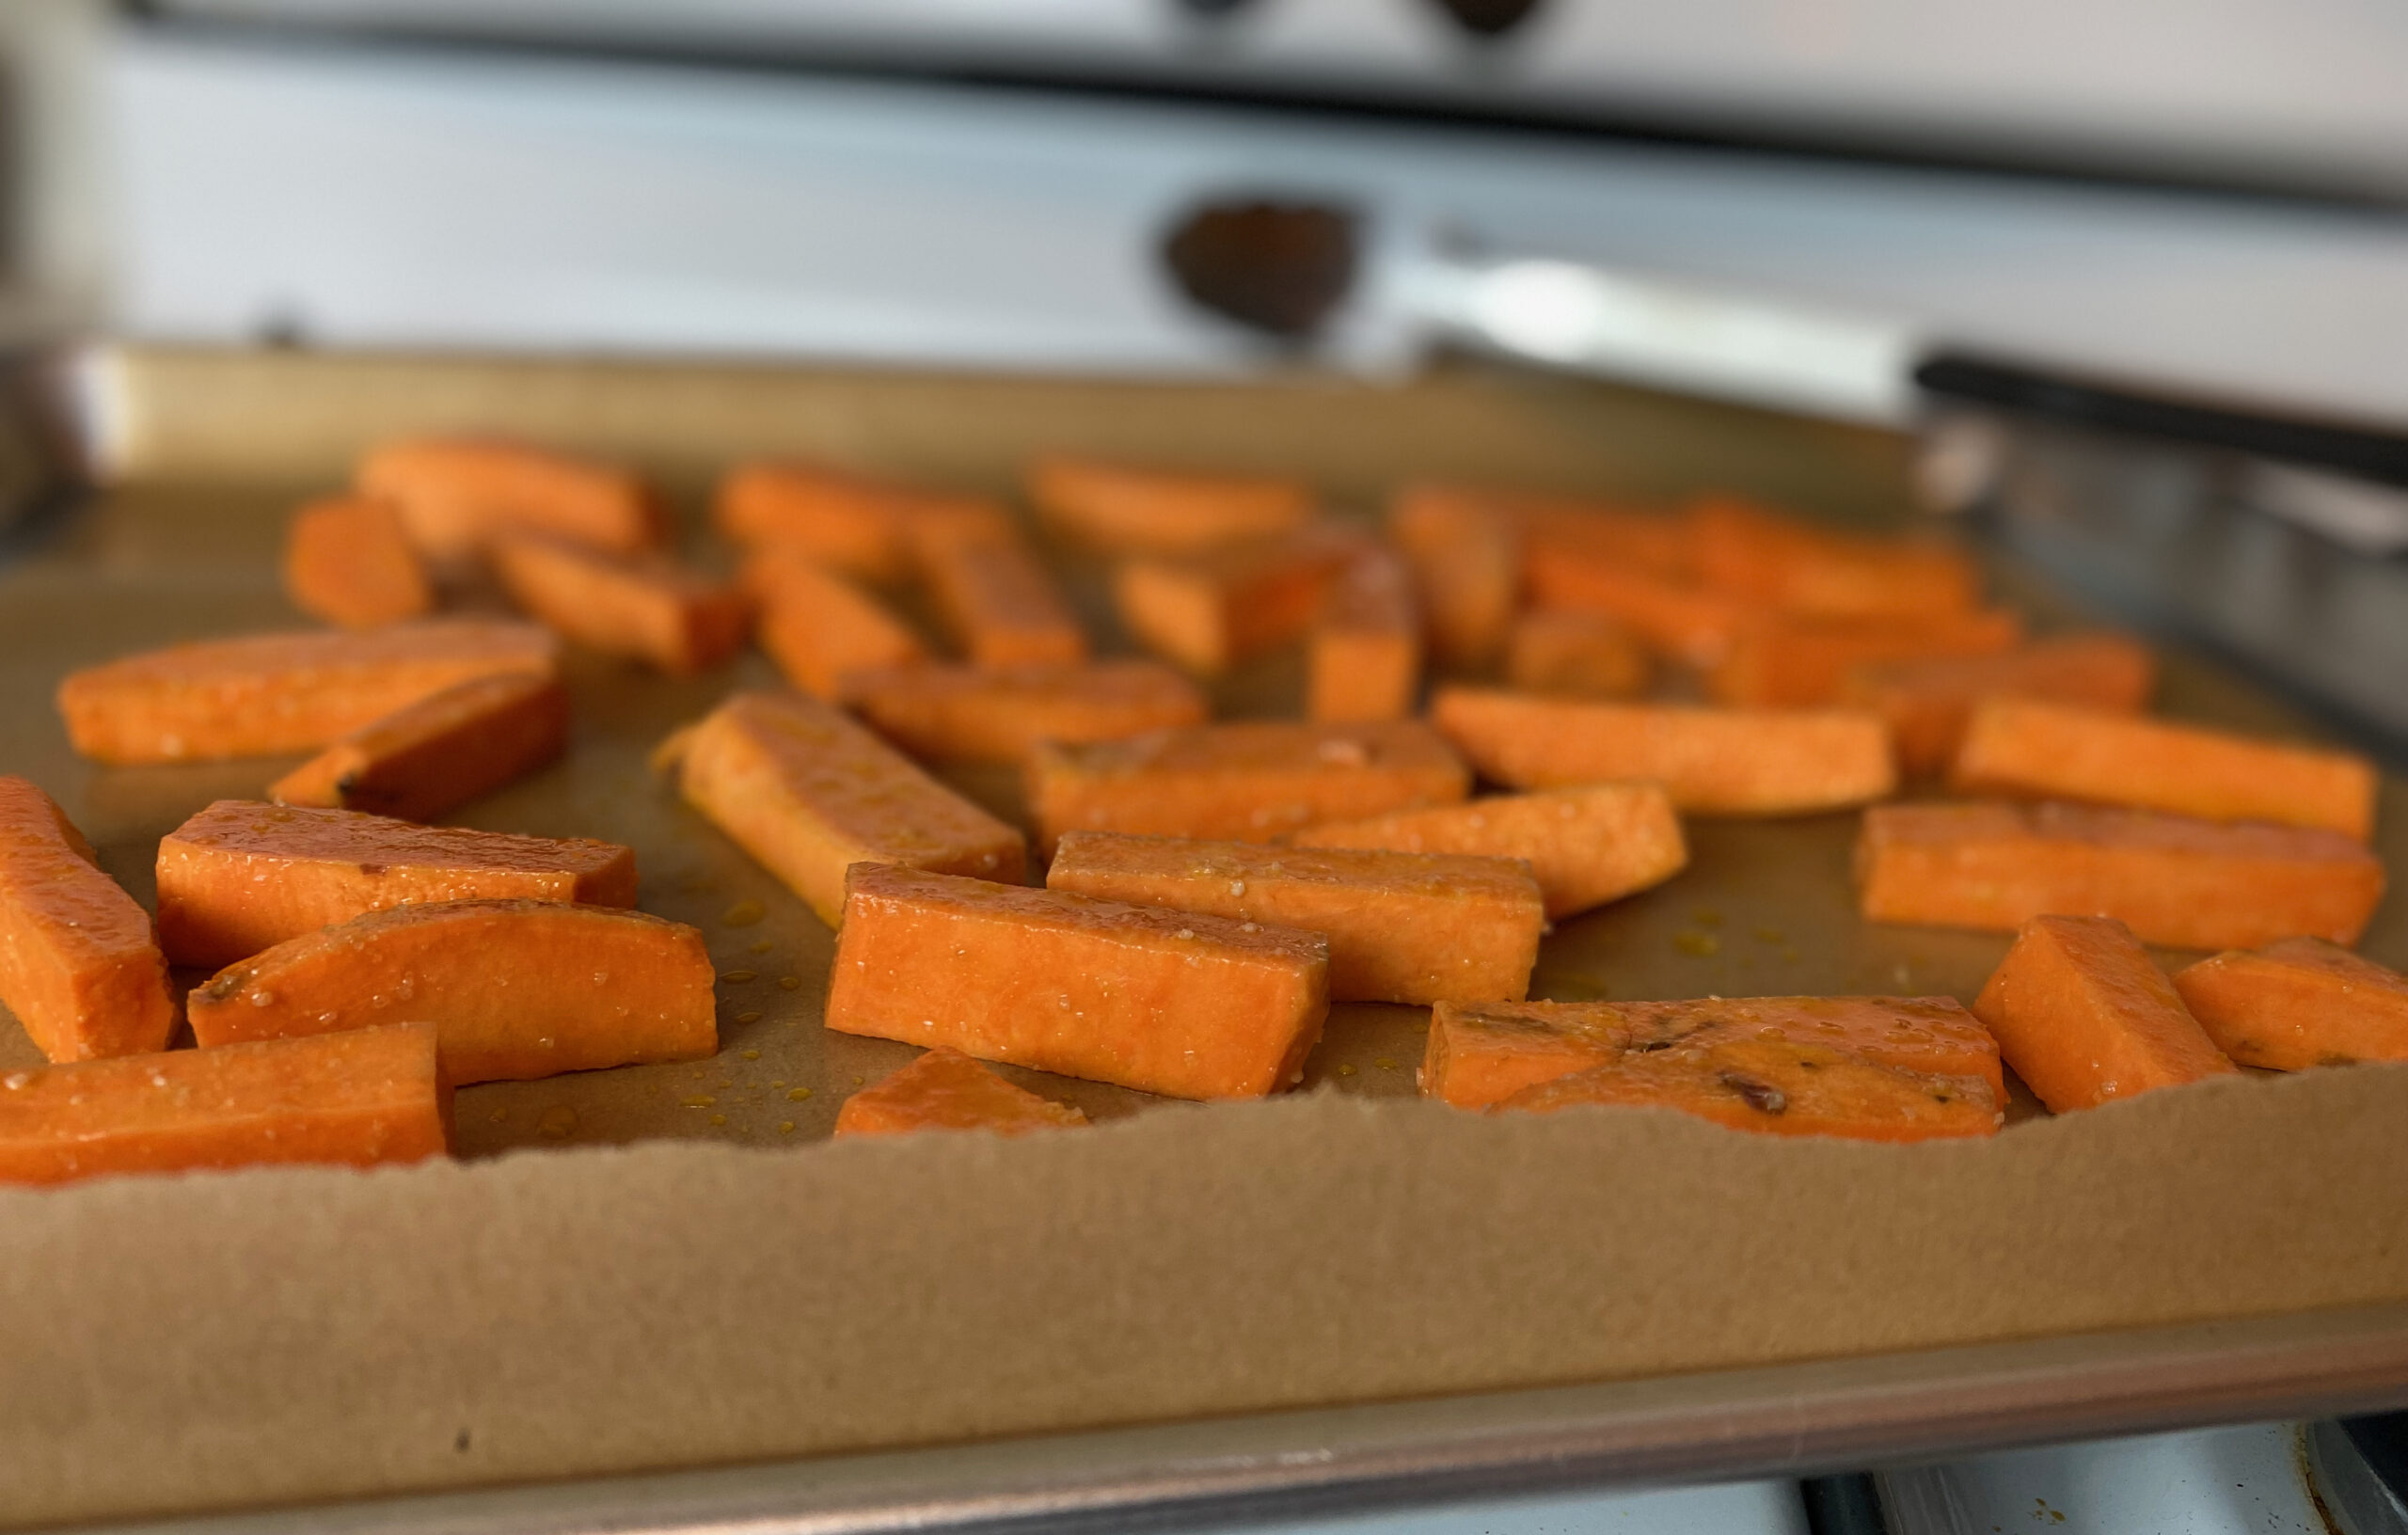
We’re going to put this in at 400 degrees and cook for half an hour. This can also cook at a lower temp and longer time if you need to cook other things.
The important thing is to be flexible. You can’t just rely on your timer here. You’ll need to check the skin after about twenty minutes and see how it looks.
Is it starting to singe and turn black? That means it’s ready to eat. Just let it cool for a few minutes and dig in.
Leftovers
Got leftovers? These fries should keep in the refrigerator for several days. When ready, just microwave and eat. start with 30-40 seconds on high, and then continue in 20 second increments until hot.
Print
Oven Baked Sweet Potato Fries
- Total Time: 30 minutes
- Yield: 1 serving 1x
Description
These healthy and tasty fries are delicious. Sweet potatoes are a great way to eat vegetables when you generally don’t like the bitter taste.
Remember to multiply the ingredients by however many sweet potatoes you are cooking.
Ingredients
1 Sweet Potato
1 Tbsp Olive Oil
1 Tsp Salt
Instructions
Skin and wash your sweet potatoes, then cut them into fries.
Mix fries with the olive oil and salt.
Place on baking sheet and cook at 400 degrees for 25-30 minutes.
Notes
Watch the fries for the best time to remove from oven. Once the fries start to blacken they are ready to eat.
Use parchment paper on top of the baking sheet to simplify cleanup and avoid sticking.
Your fries don’t have to be perfect so don’t sweat it if you mess up. They’ve just got more character!
- Prep Time: 10 minutes
- Cook Time: 20 minutes