Mongolian barbecue has a special place in my heart because of a little place in South Dallas called Ton’s Mongolian Grill.
Ton’s Mongolian Grill had a huge round griddle where guys with tongs would cook your food right in front of you. I had never seen anything like it.
In this type of restaurant you typically season your own food, so it can be hit or miss when you don’t know what you’re doing. But if you’ve got the right recipe – it can be some of the best food anywhere. That is why the Ton’s Mongolian Grill was my favorite restaurant until the day it burned down.
Since that happened, I’ve searched high and low for good quality Mongolian barbecue. Any place that advertises ‘Mongolian stir-fry’, ‘Mongolian BBQ’, ‘Mongolian barbecue’, or uses a famous Mongolian sounding name like Genghis Grill – I’m down to try it. There is a lot of variation in the kinds of flavor these places offer, so if you’re like me and you know what you want, you should try making your own Mongolian barbecue at home.
Fun Fact: Did you know that Mongolian barbecue isn’t actually Mongolian? It was invented by a Taiwanese man living in China in 1951!
Since I haven’t always lived in close proximity to good Mongolian barbecue, I’ve had to develop my own recipe. Of all the recipes that I’ve developed, this one proved the most difficult to get right. The ingredients and the cooking techniques are not what I am normally using in the kitchen. And I set off the fire alarm more times than I care to admit before I finally remembered to turn on the vent fan.
But here it is – the final product of years of work. Mongolian Grill, you may have burned down (and then reopened and then shut down again), but your flavors will live on.
The Sides
Recreating the authentic Mongolian barbecue experience goes beyond just stir-fry. These restaurants usually serve Egg Drop soup, fried rice, Mandarin pancakes (crepes), and ice cream as well.
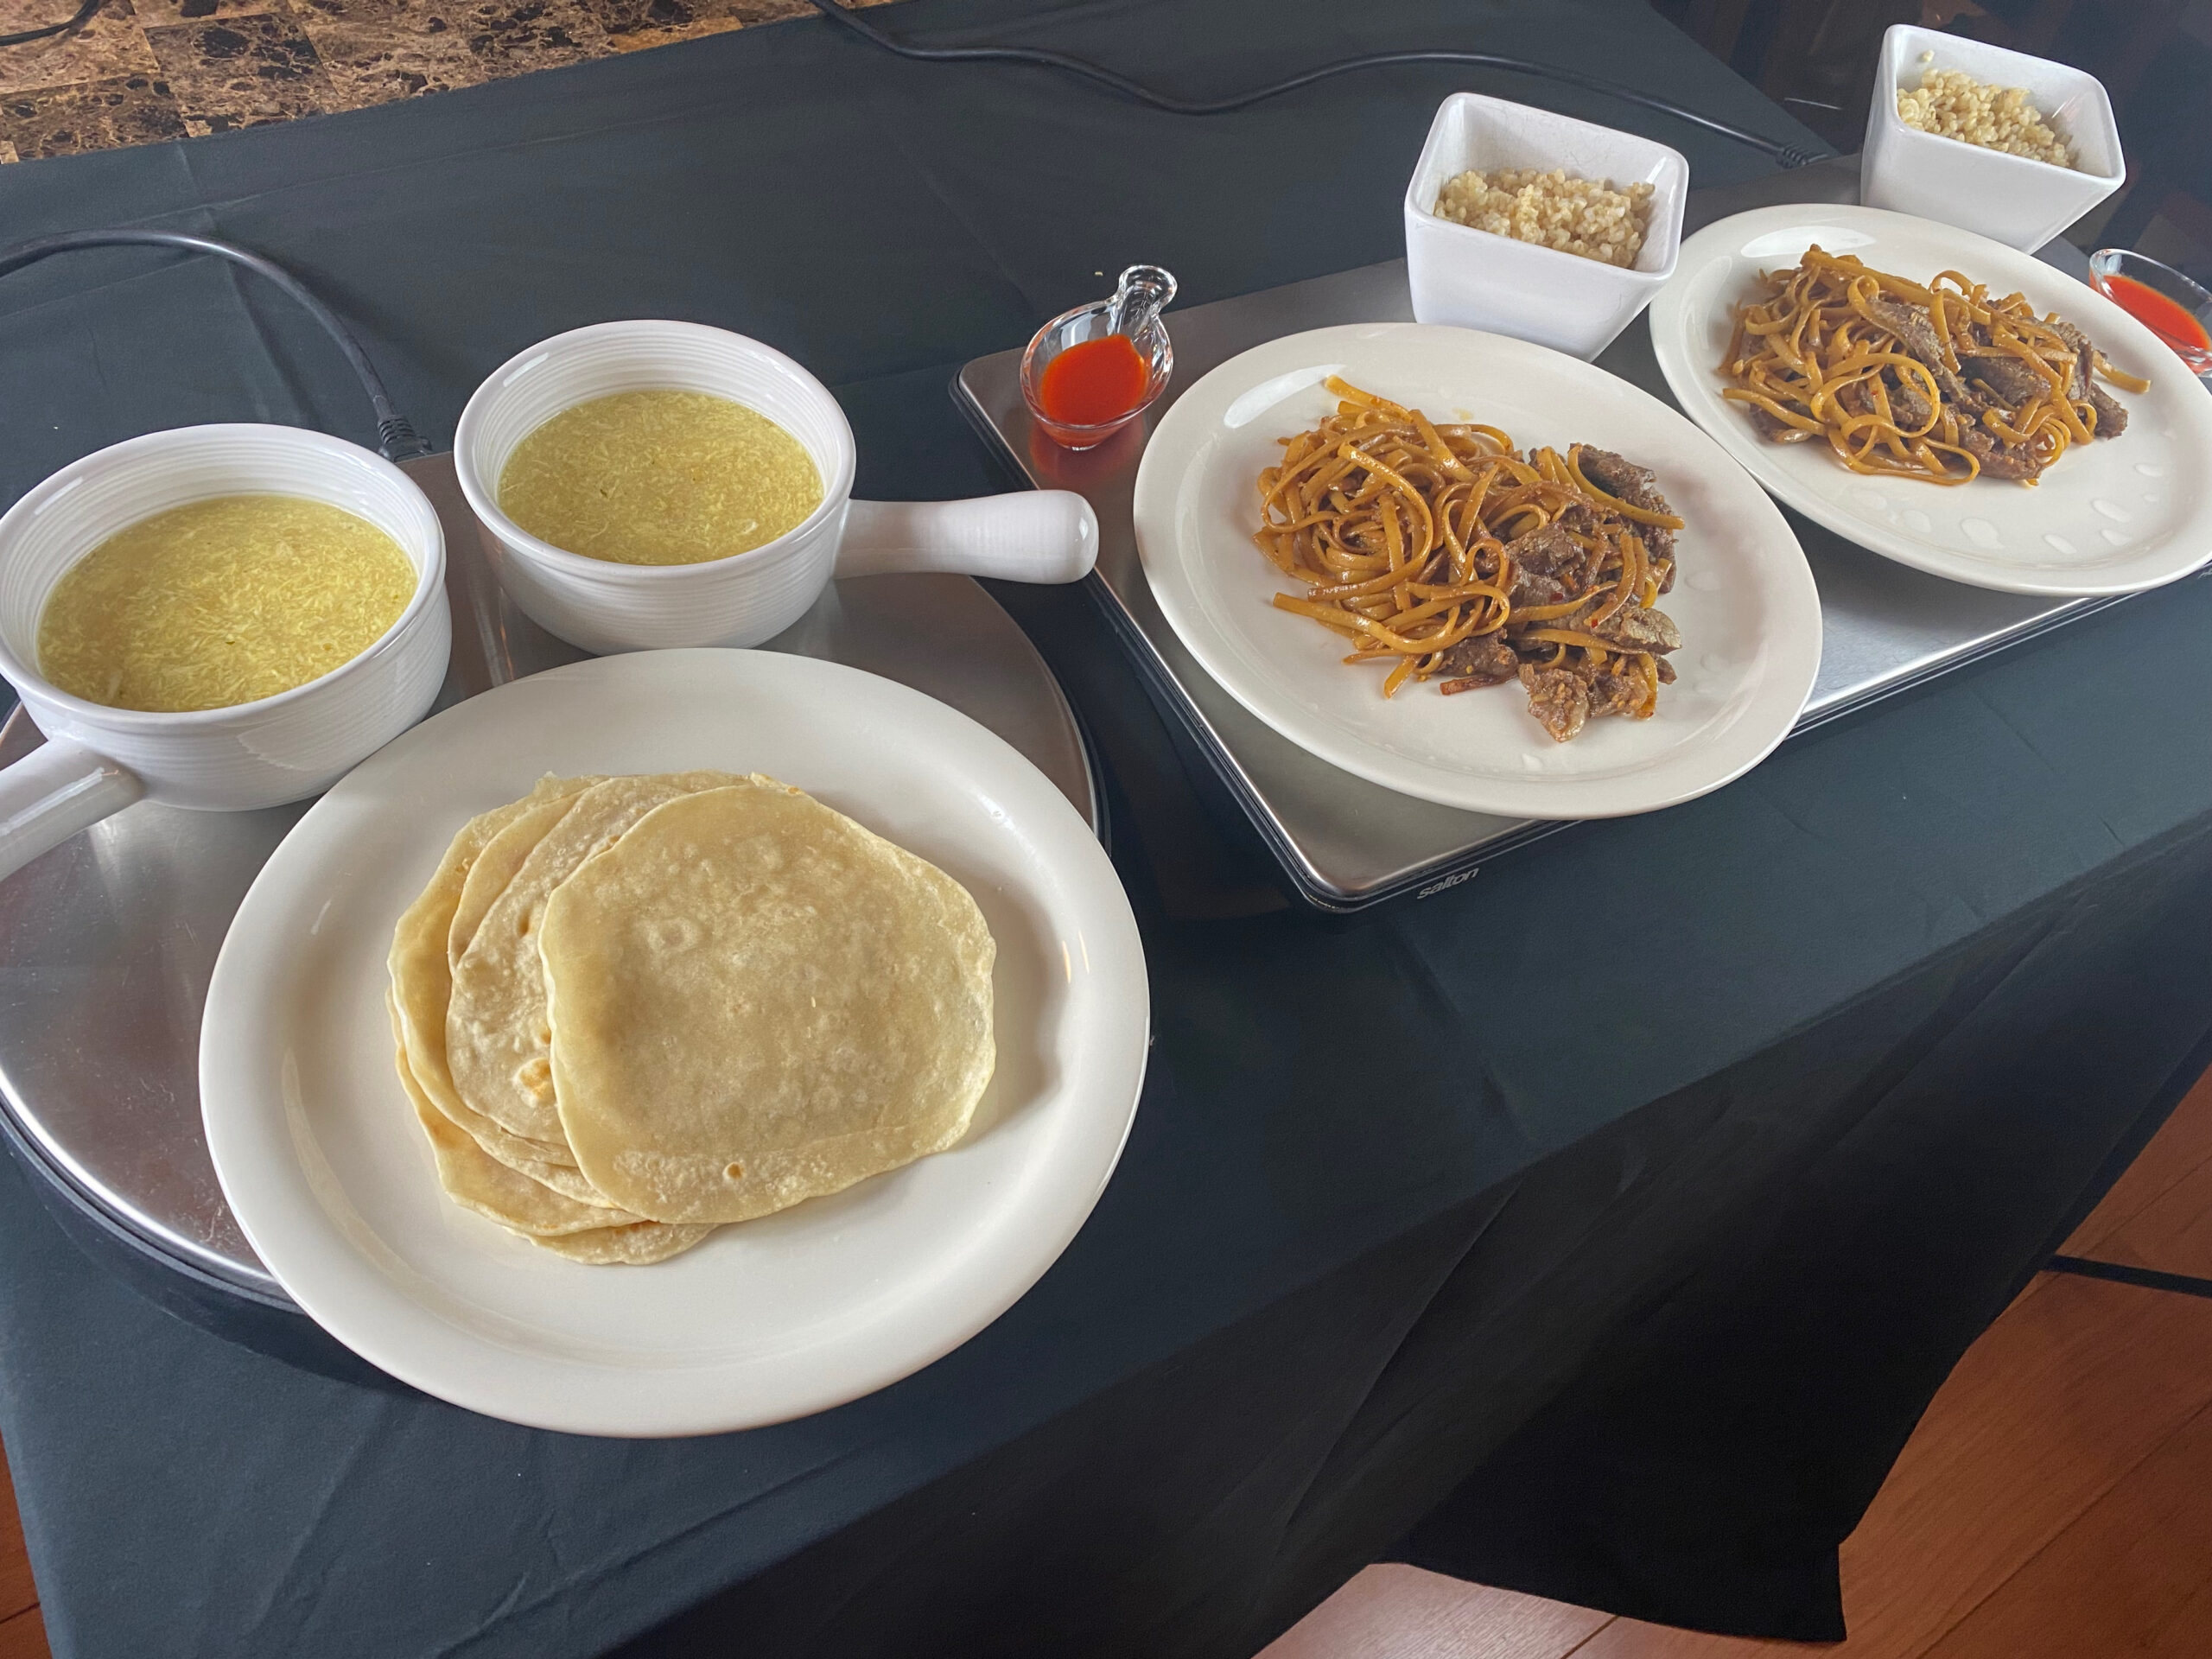
Making the whole meal is a bit of work, but oh-so worth it. Getting the full restaurant experience at home is special, and something I’ve started to do for holidays and special occasions. So make sure and check out those recipes as well.
The Recipe
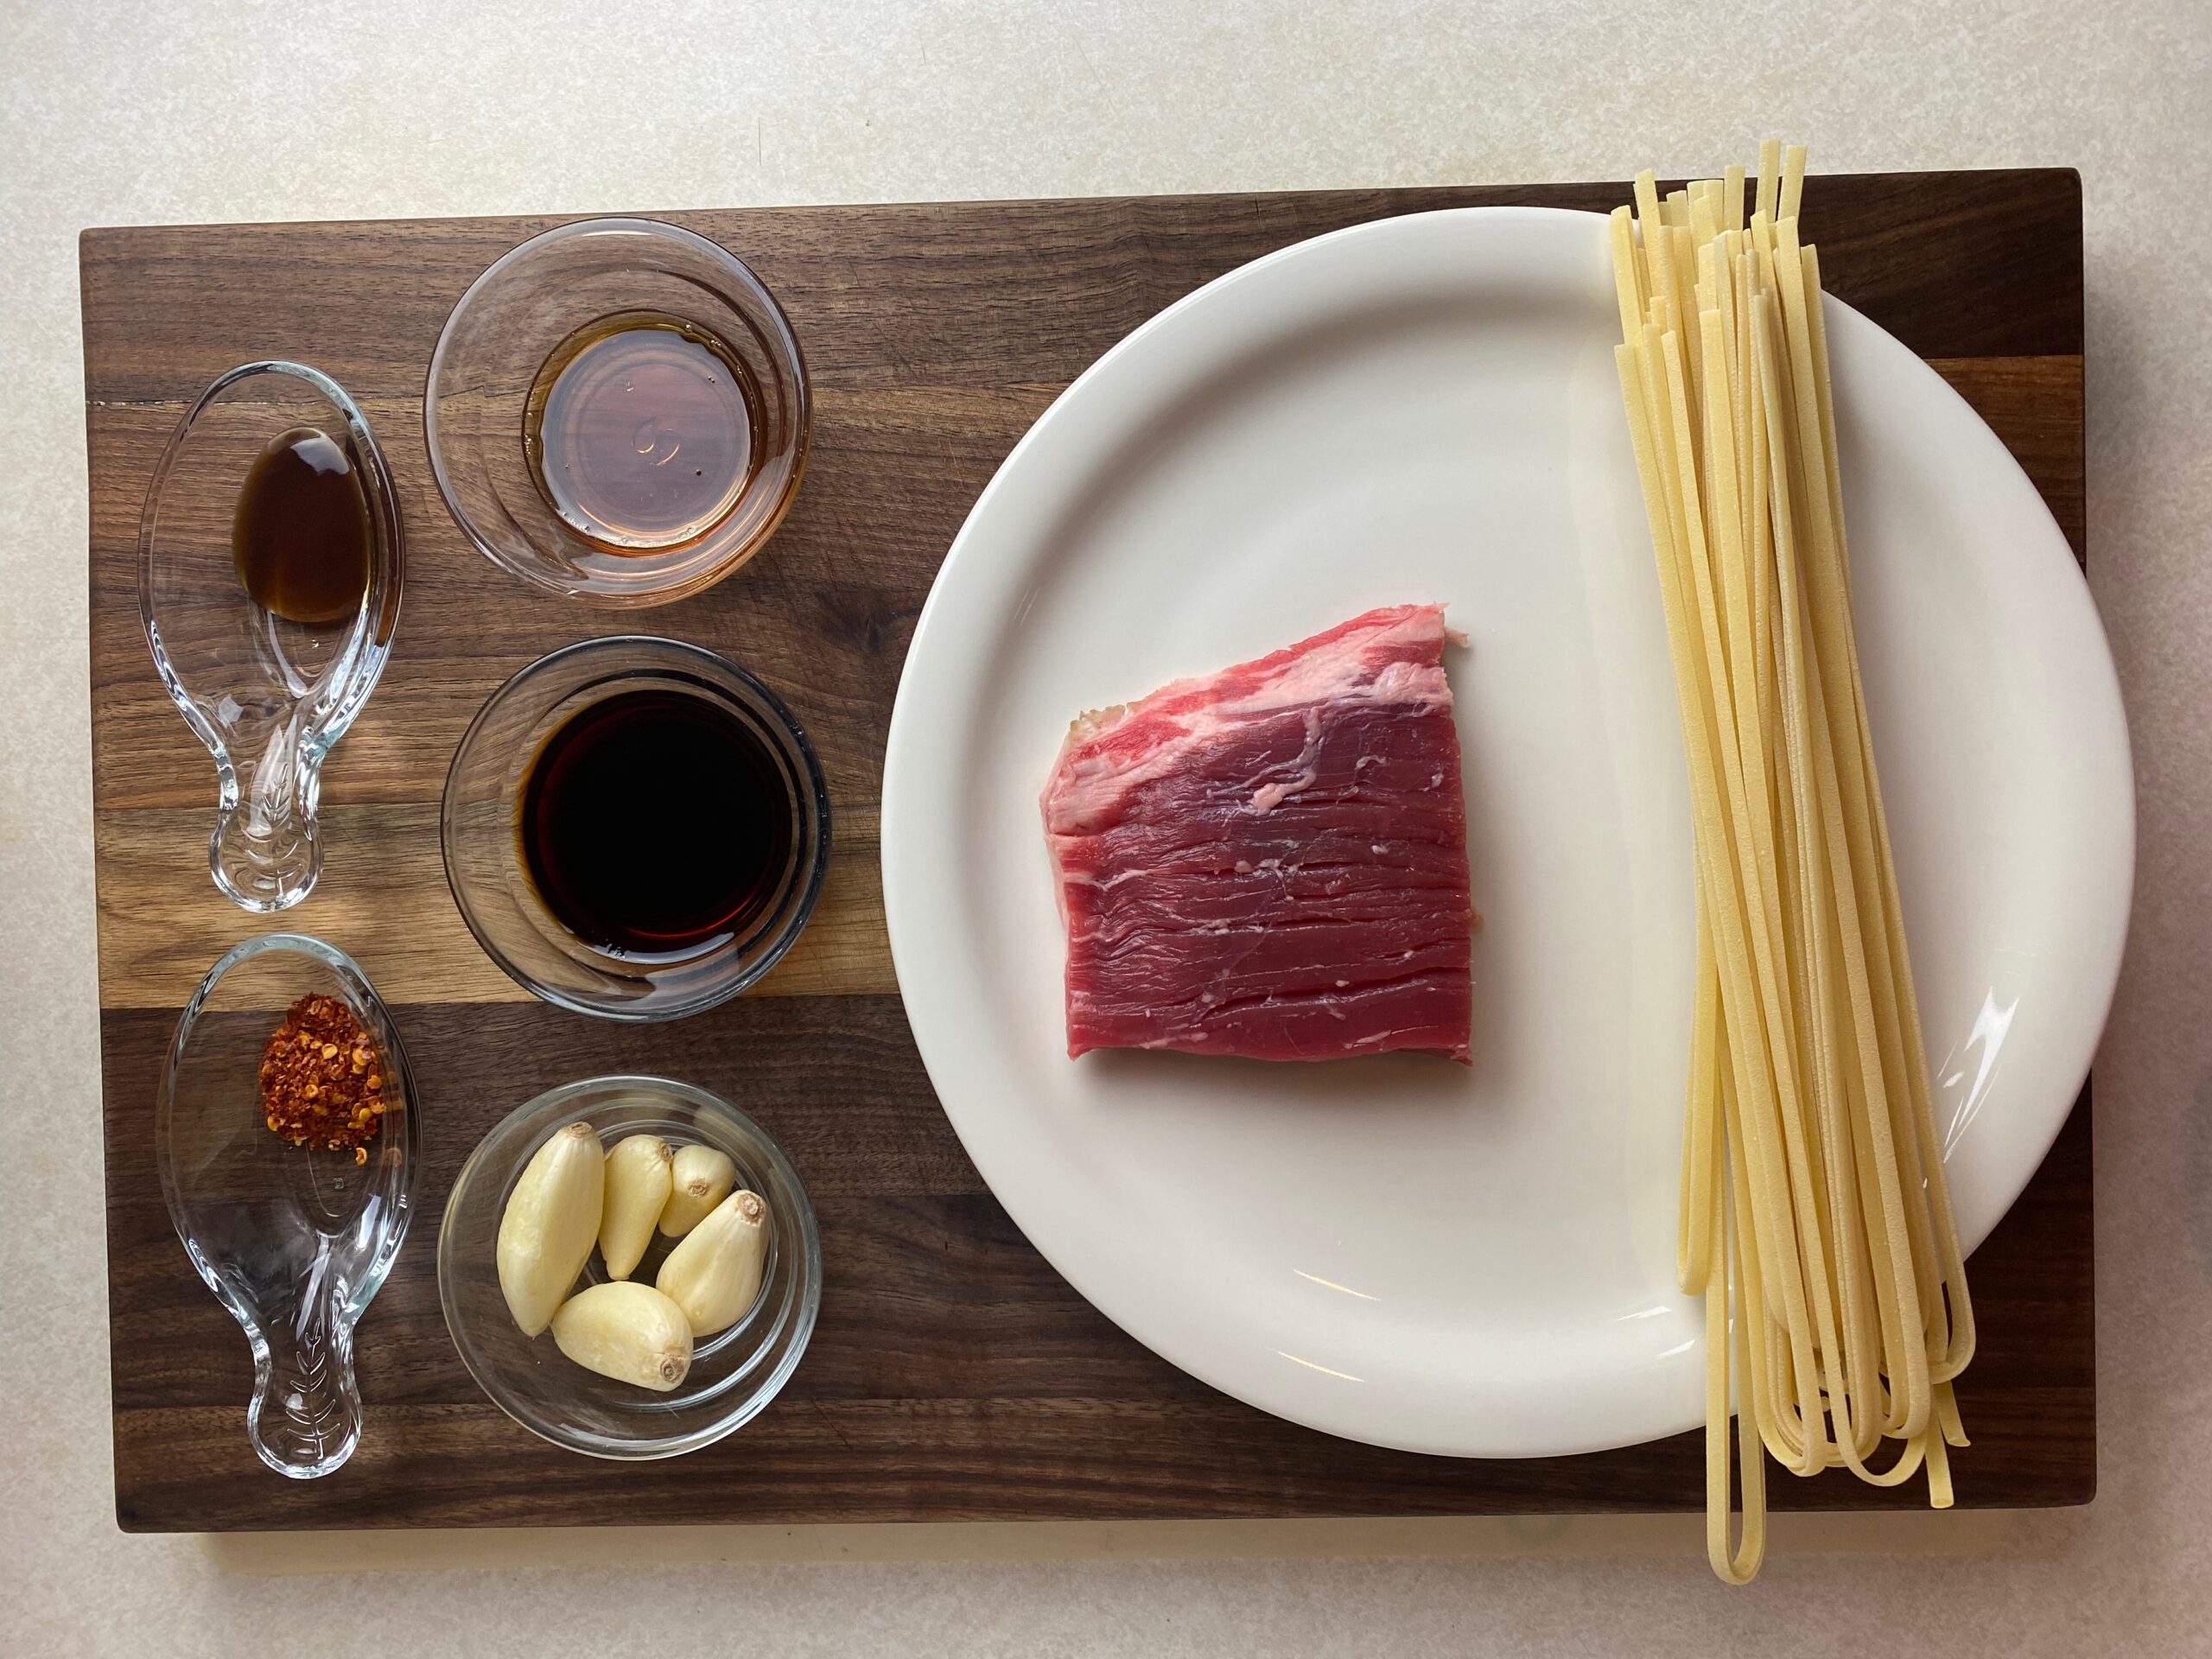
My Mongolian barbecue recipe is an easy four-step process which is divided into: (1) cooking the noodles, (2) assembling the spices, (3) cutting the steak, and (4) cooking the ingredients. These sound like simple steps but I encourage you to read the entire recipe to avoid costly mistakes.
Cooking the noodles
You’ll be cooking your noodles twice, so you’ll want to slightly undercook it on your first round. But not too much! If any part of your noodle is stiff/brittle, you need to go further.
Your choice of noodle will matter, but several types of pasta will suffice just fine. Egg noodles work, but so do wheat noodles. Flat noodles are great, but so are round noodles. If in doubt, choose linguine.
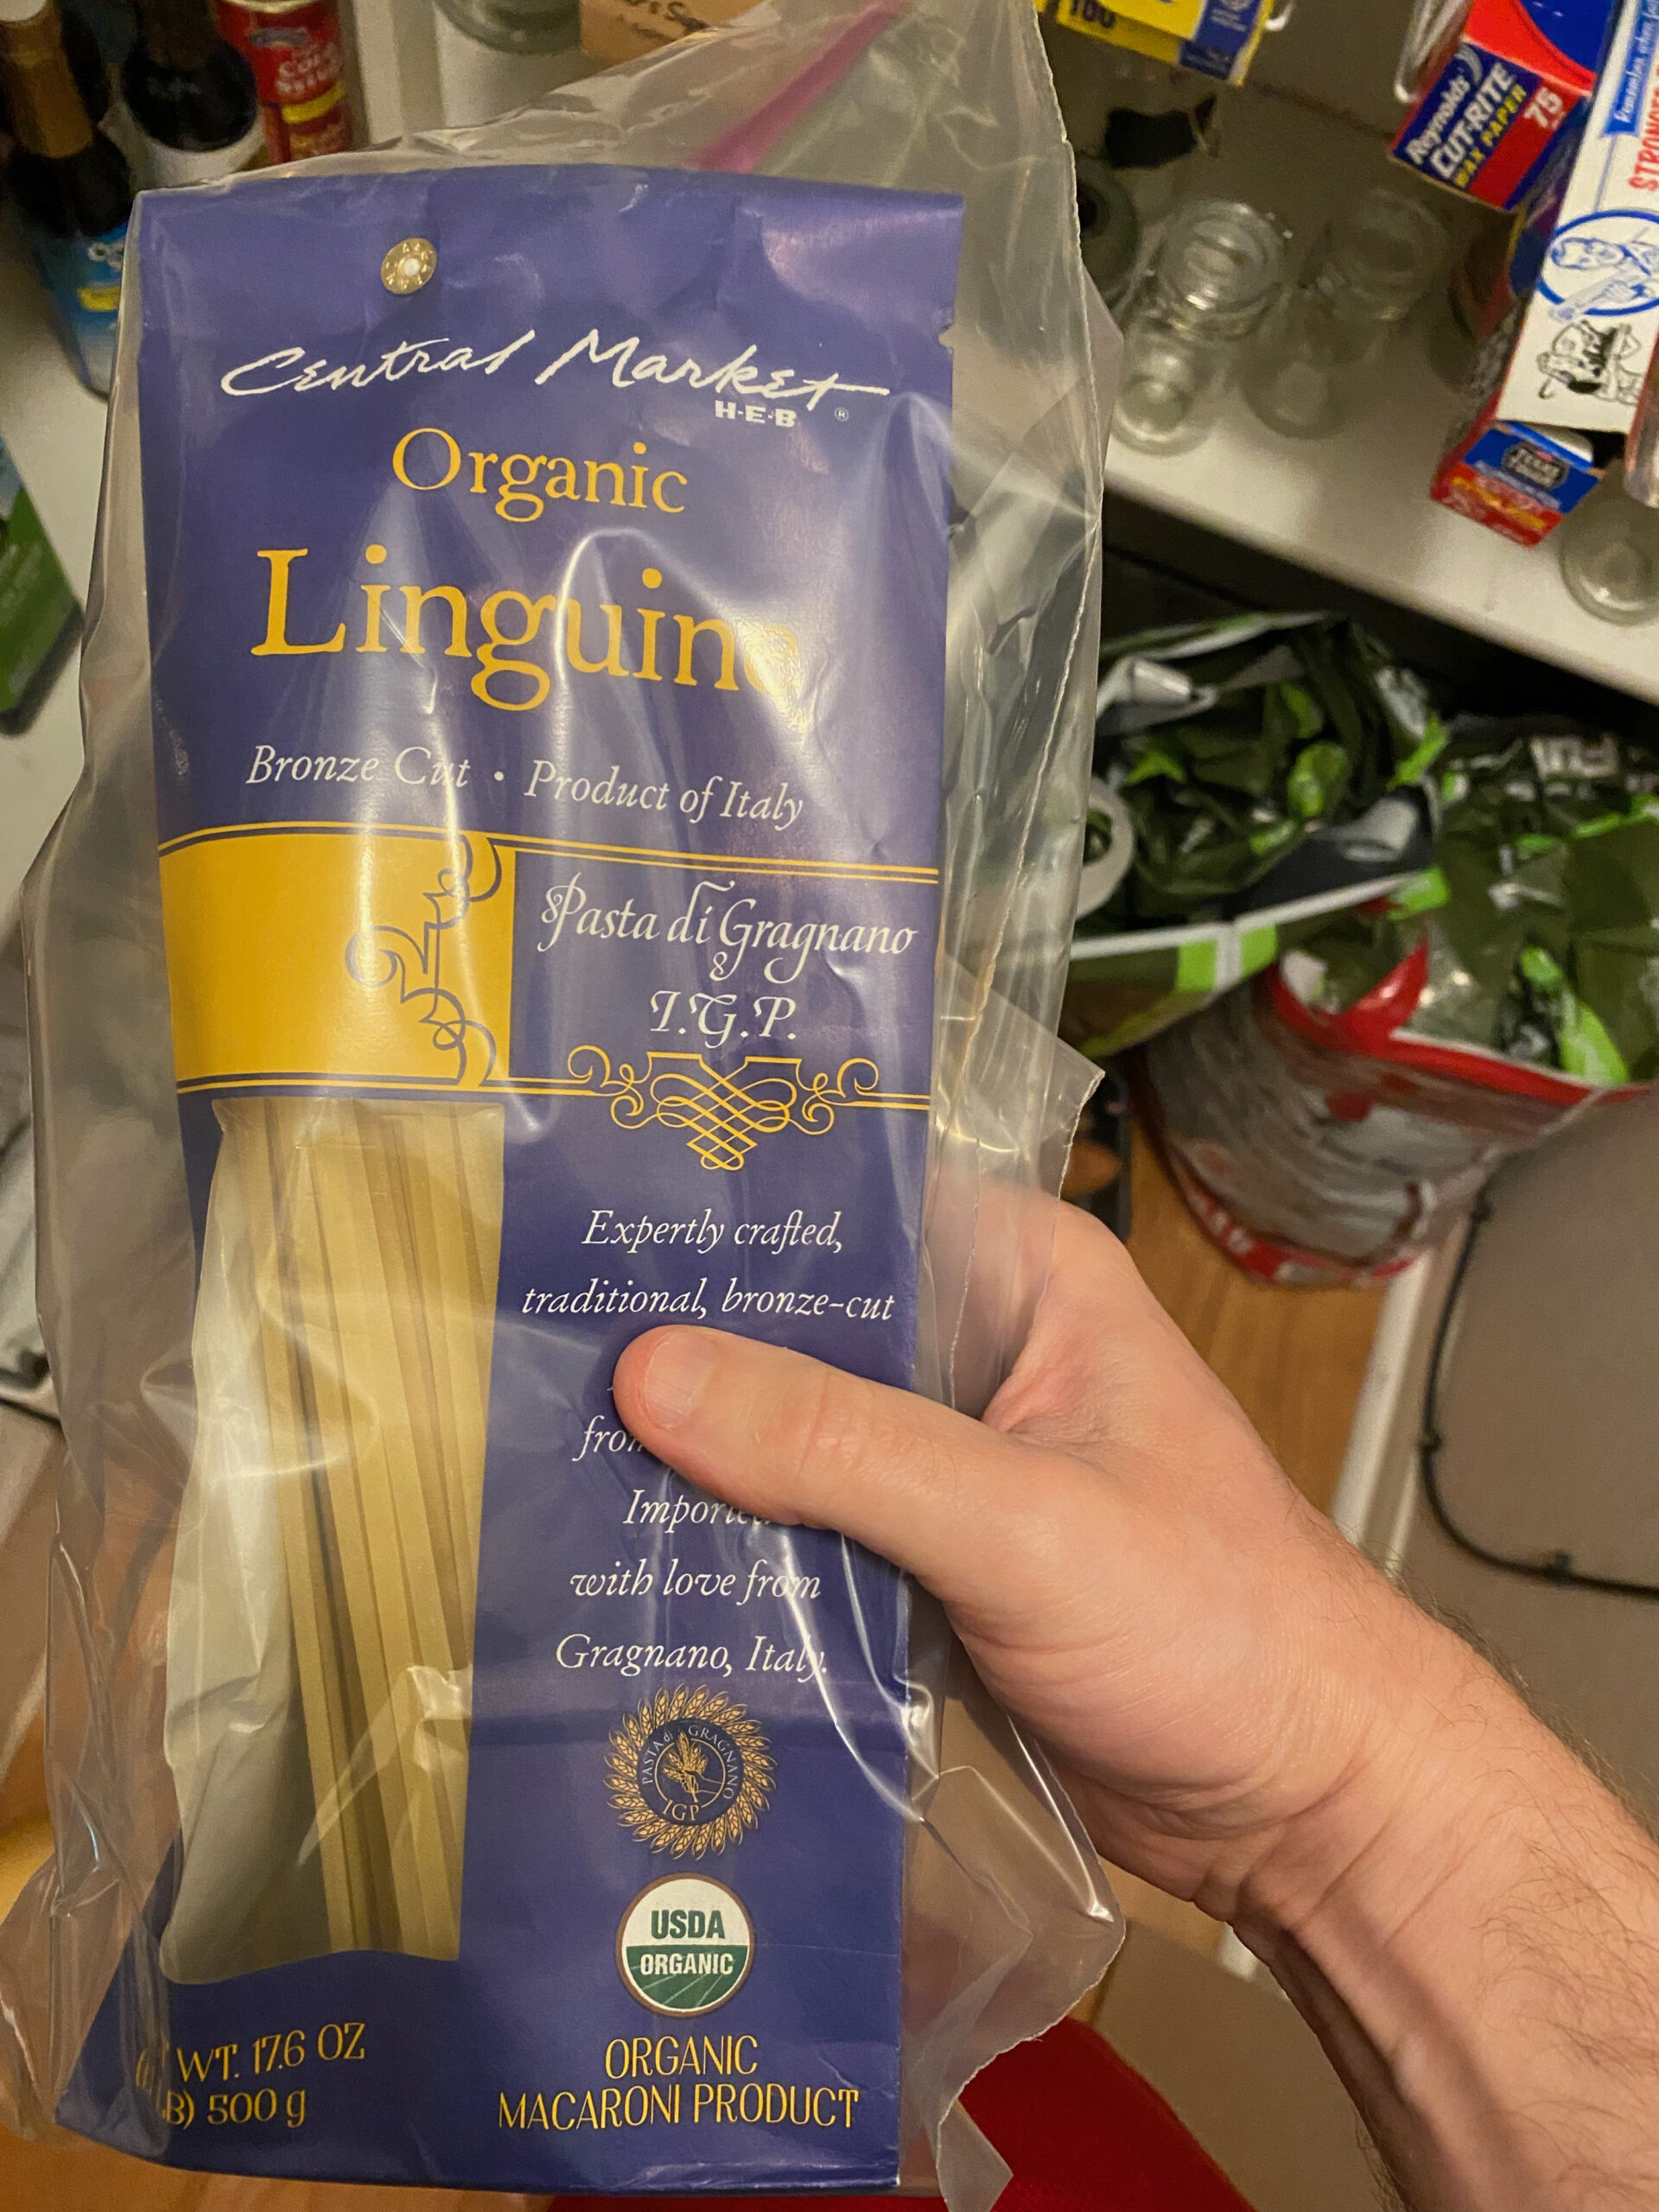
Boil the pasta in a large pot according to directions. Salt liberally.
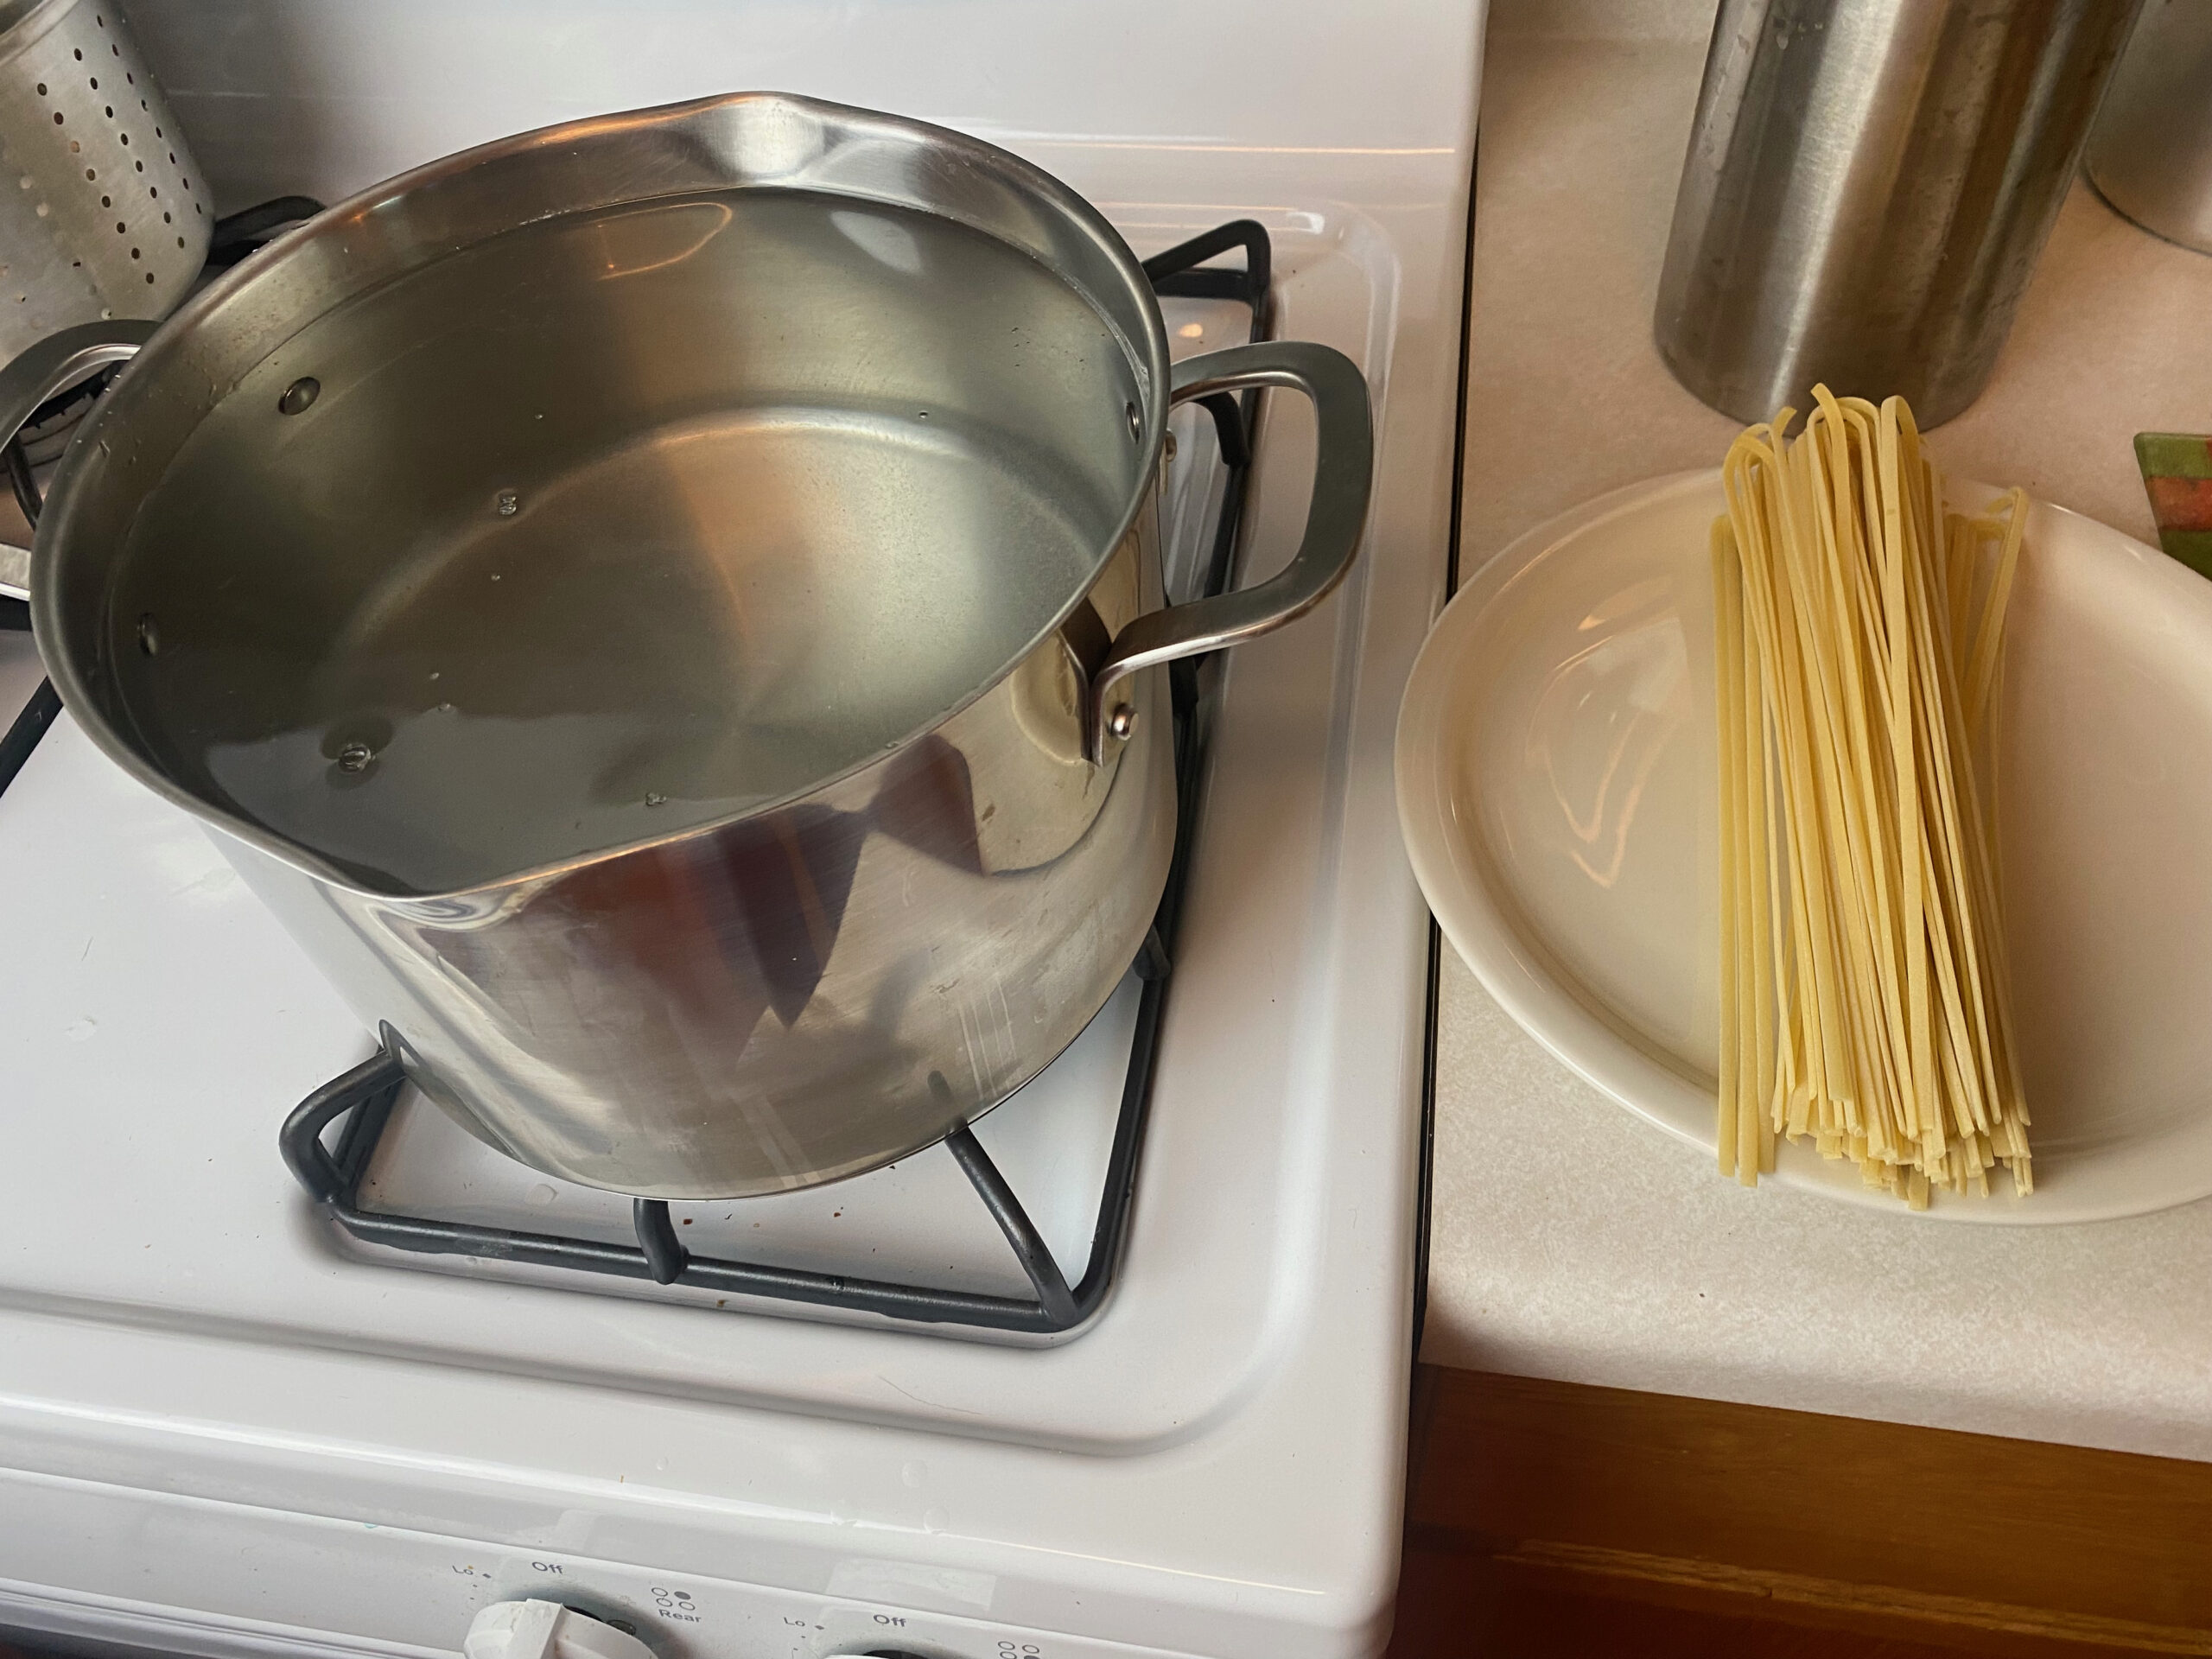
As soon as the pasta seems fully pliant, remove one noodle from the water and bite the end. You are testing to see if the texture is consistent or if the inside needs longer to cook. Once the noodle texture is consistent all the way through, stop the cooking process immediately. This is done by placing the noodles into a strainer and running cold water over it. I typically stir in some ice while I’m at it.
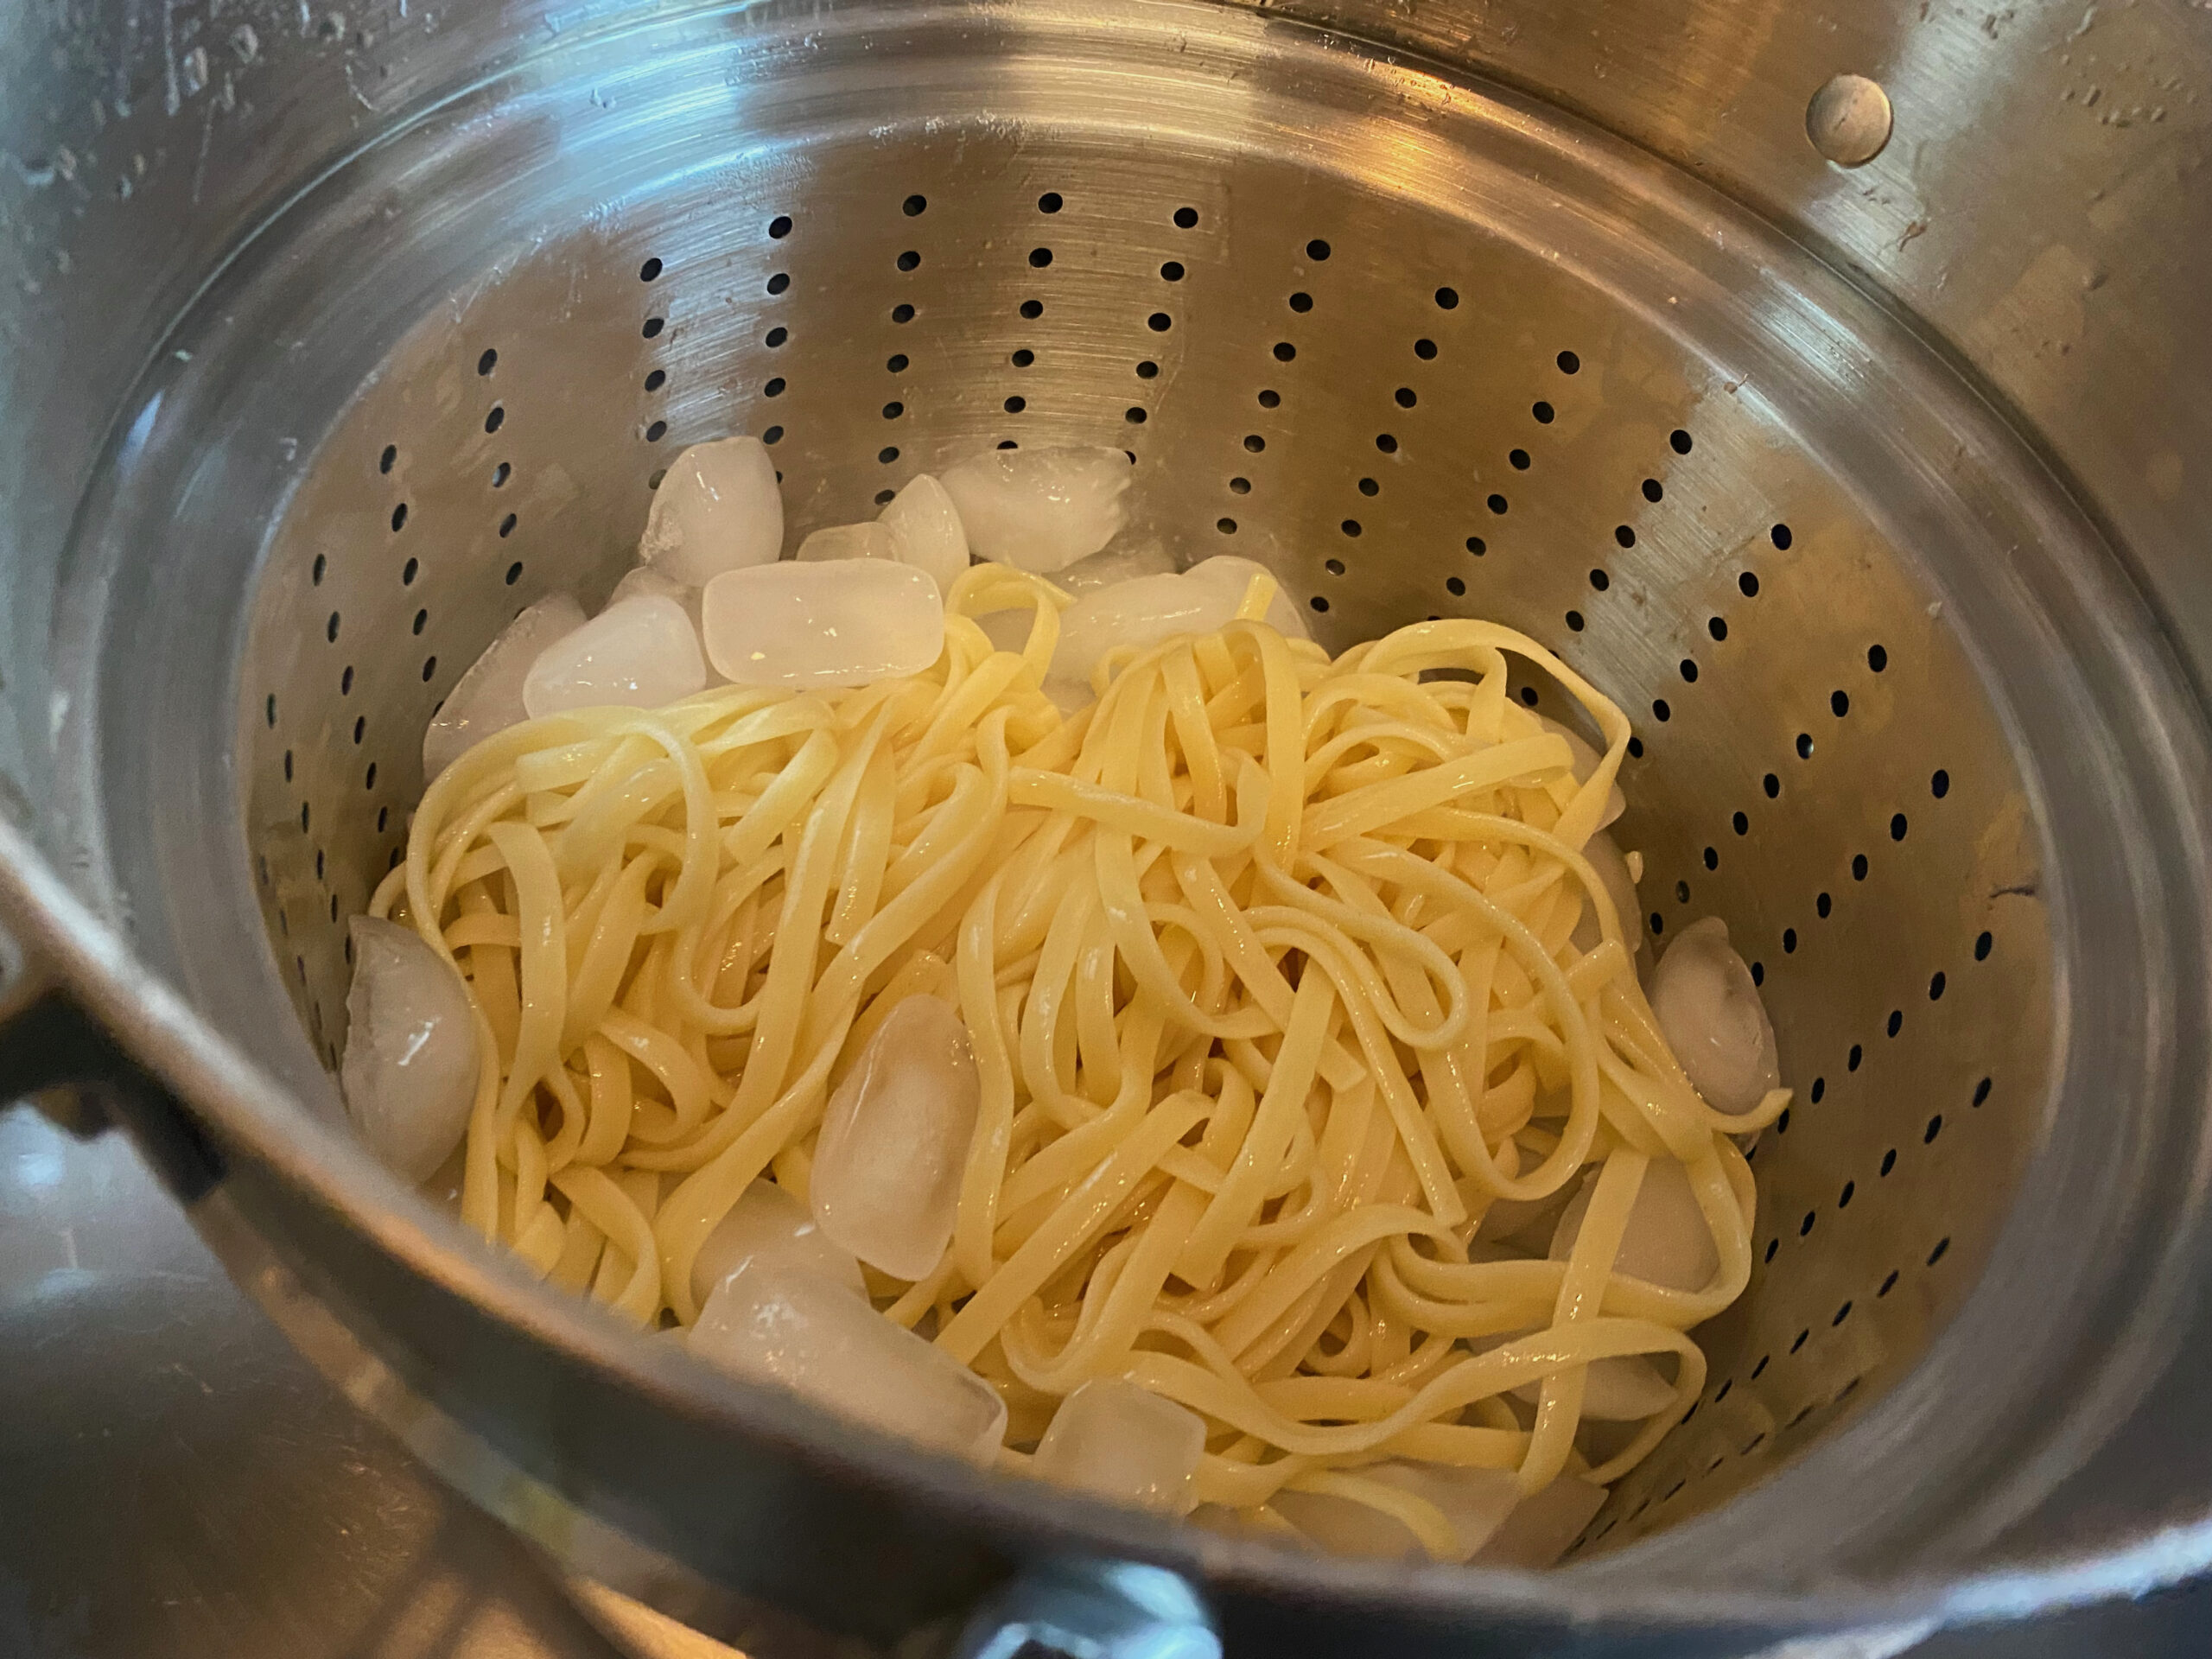
Stopping the cook as quickly as possible is important because we will be cooking it again in the bbq phase, and if it is overcooked at this stage it may become too tender and gelatinous by the time we finish.
Assembling the spices
This is the part where you would normally choose from among a variety of options, spicing your meal as you see fit. For this recipe I suggest not experimenting until the second time you cook it. And here’s why:
Ingredients that you would normally add at the restaurant can easily overpower the flavors when used at home. I suspect that the ingredients used at the restaurant tend to have a much more subtle effect because they are diluted. I ruined many a dish by trying portions that worked for me at the restaurant. So unless you know you dislike an ingredient, I suggest sticking to the suggested types and amounts.
I have little bowls I use to hold the spices before I cook. Each little bowl holds one serving of spices. But feel free to just dump them into a bowl on a single portion of noodles as you would in the restaurant.
You’re going to need a few less common ingredients, but it won’t get too crazy. You should be able to find all of this locally if you live near a large town. For the rest of us, Amazon will do just as well if we can wait a few days.
You’re going to need sesame oil, soy sauce, oyster sauce, fresh garlic cloves, and some Chinese red peppers. You may find Chinese red peppers being sold as Tien Tsin peppers, Szechuan red dried chilis, or Sichuan chili pods.
I put about a cup of these peppers in a blender and run it for just a second or two. Blend to where it is just a little more chunky than crushed red pepper flakes (which is exactly what it will look like after a few seconds in the blender). Whatever you don’t use can be stored like a spice and used later.
Beware of buying pre-processed chili flakes. Yes, they will save time, but they also tend to have additional surprise ingredients like rapeseed oil. So use at your own risk.
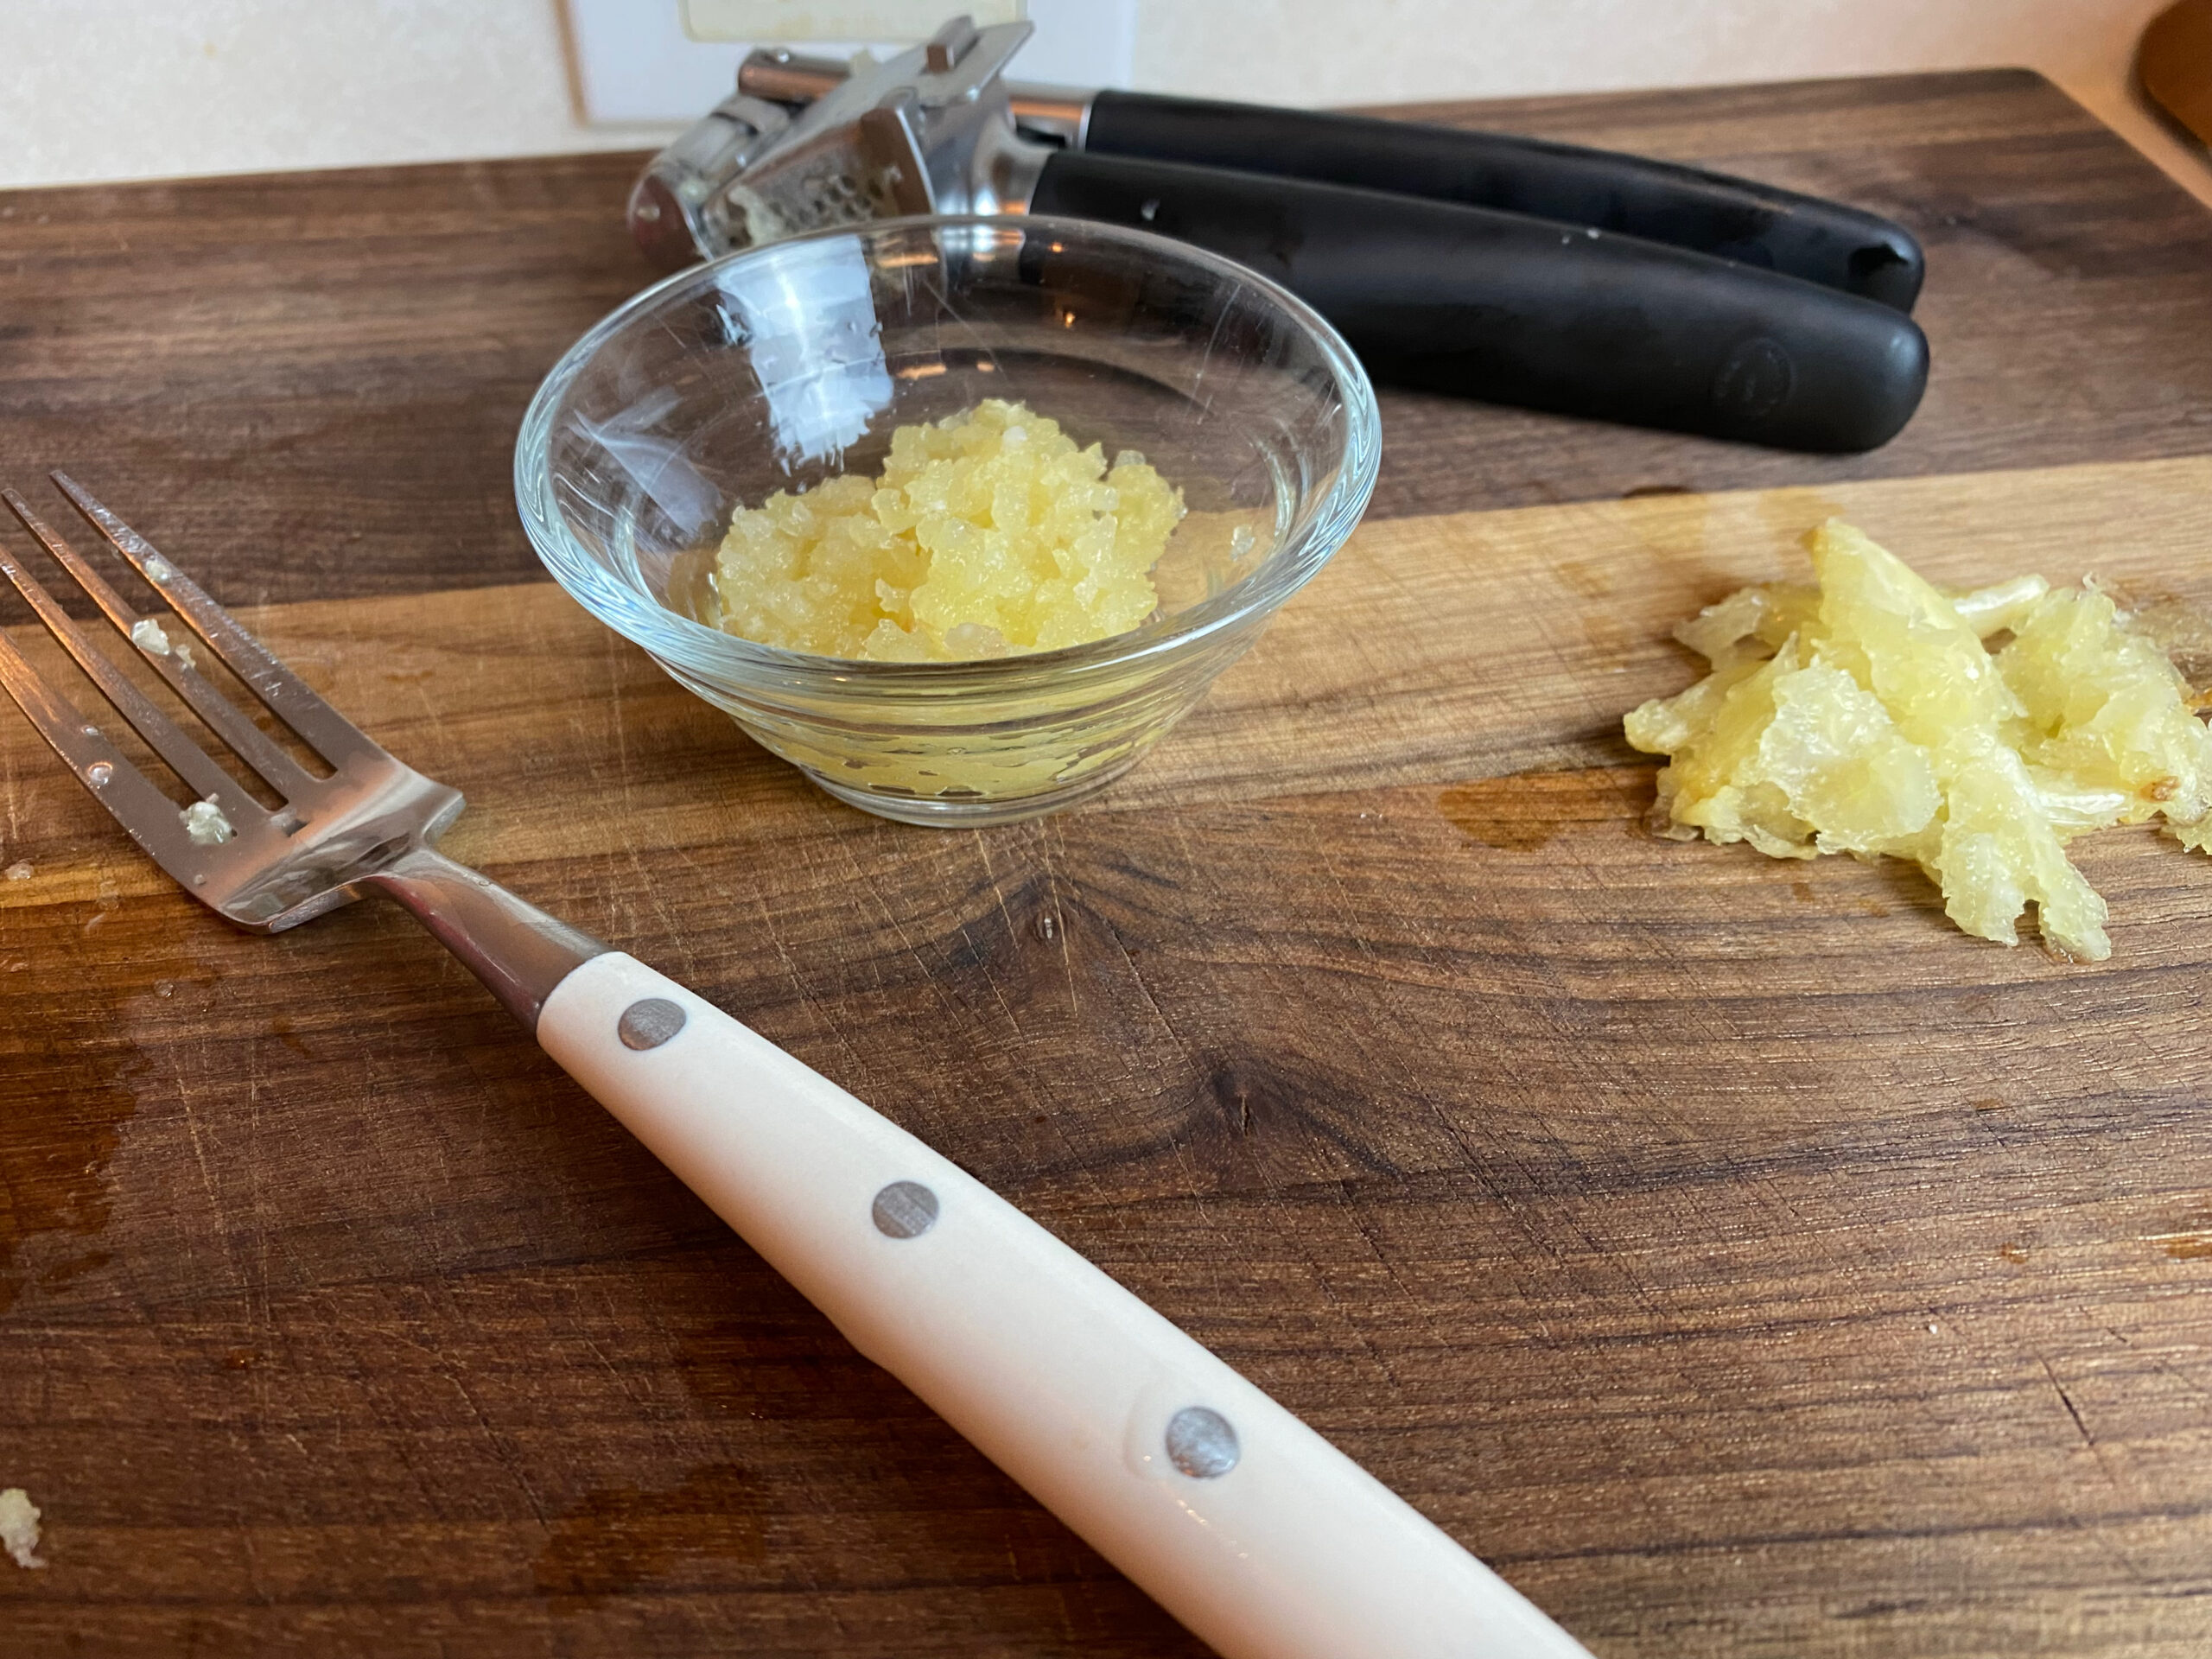
The other spices are pretty self explanatory except for the garlic. We aren’t throwing whole cloves in there to cook. We’re going to have to press the garlic into a paste to bring out the flavor.
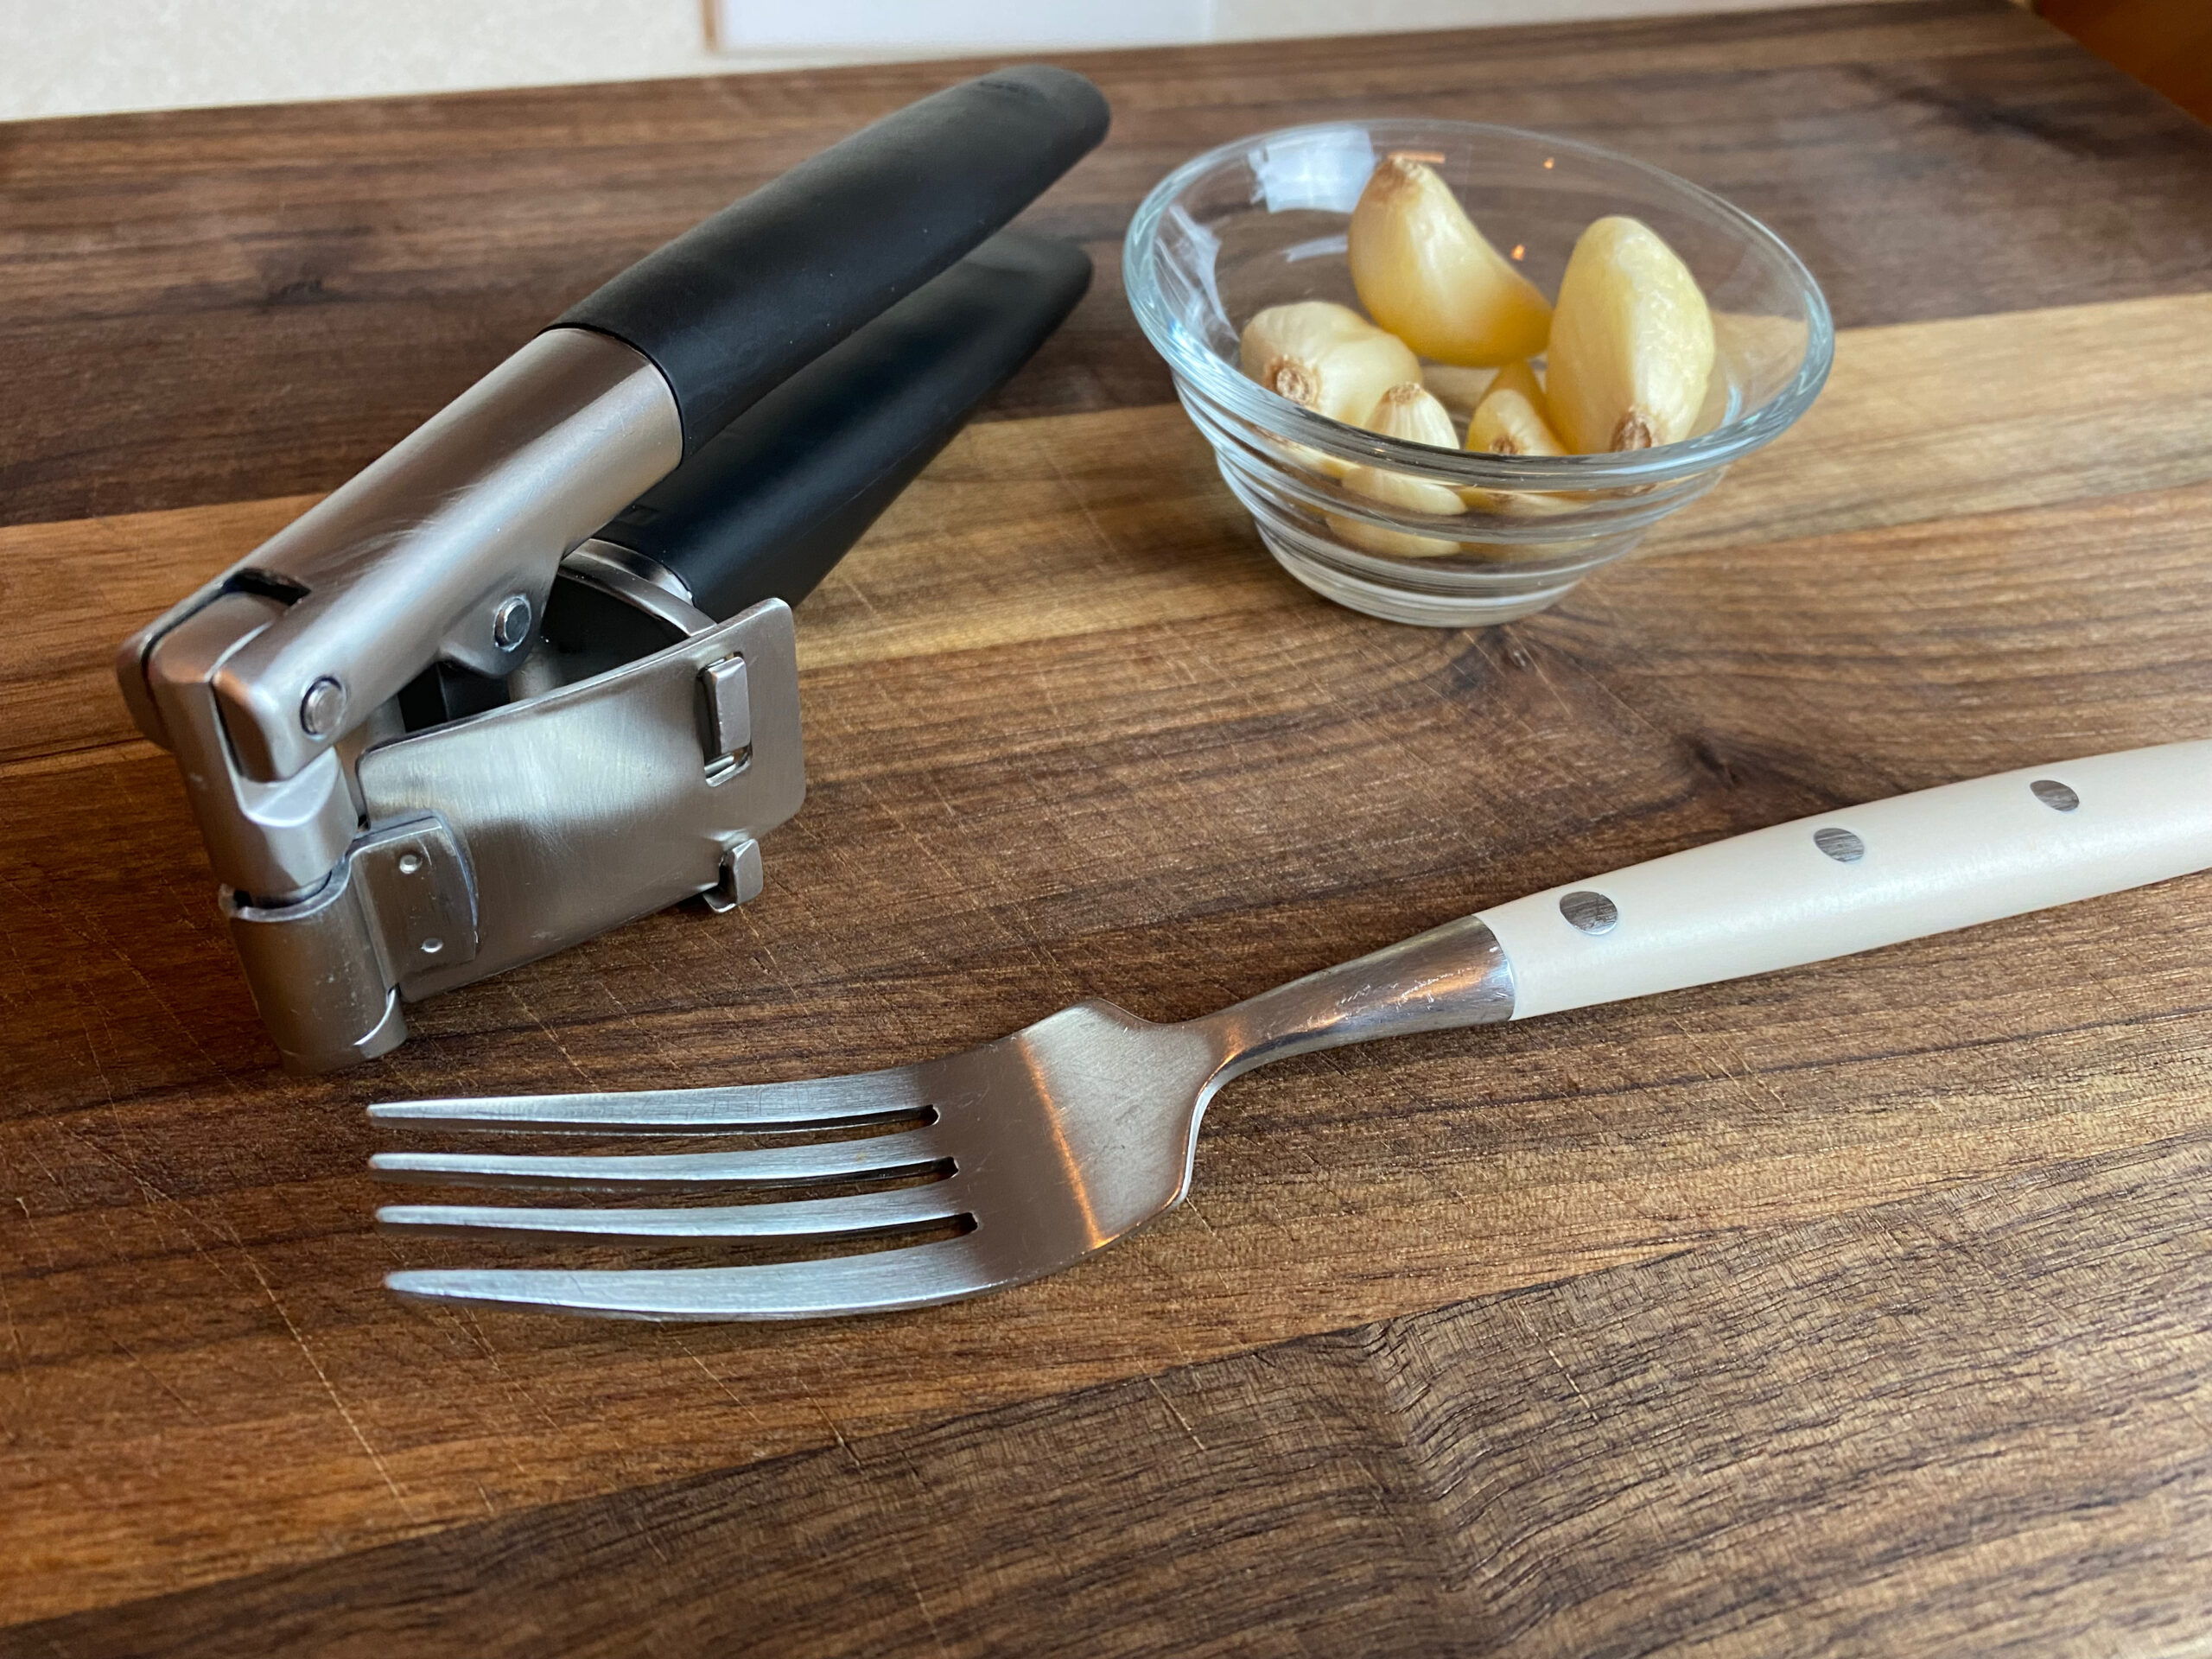
I like to use four or five large cloves per serving, so pressing that amount of garlic can take a couple minutes. And don’t forget to discard the skins between each pressing.
If you don’t have a garlic press, that’s alright too. Simply use a cutting board and a knife, making small incremental cuts and crosscuts until there are no large pieces left. Then, using the broad side of your knife, crush all the garlic against the cutting board. If you don’t have a knife large enough or cannot do this safely, simply skip this step and use the uncrushed garlic instead.
Cutting the steak
For this step, you’ll take a flank steak and partially freeze it. One flank steak from the store typically weighs about 1 lb, which will provide enough meat for three servings.
You’ll freeze it for about 40 minutes to an hour – just long enough for it to stiffen up real good without turning into a stone. This will make it easier to cut thin slices.
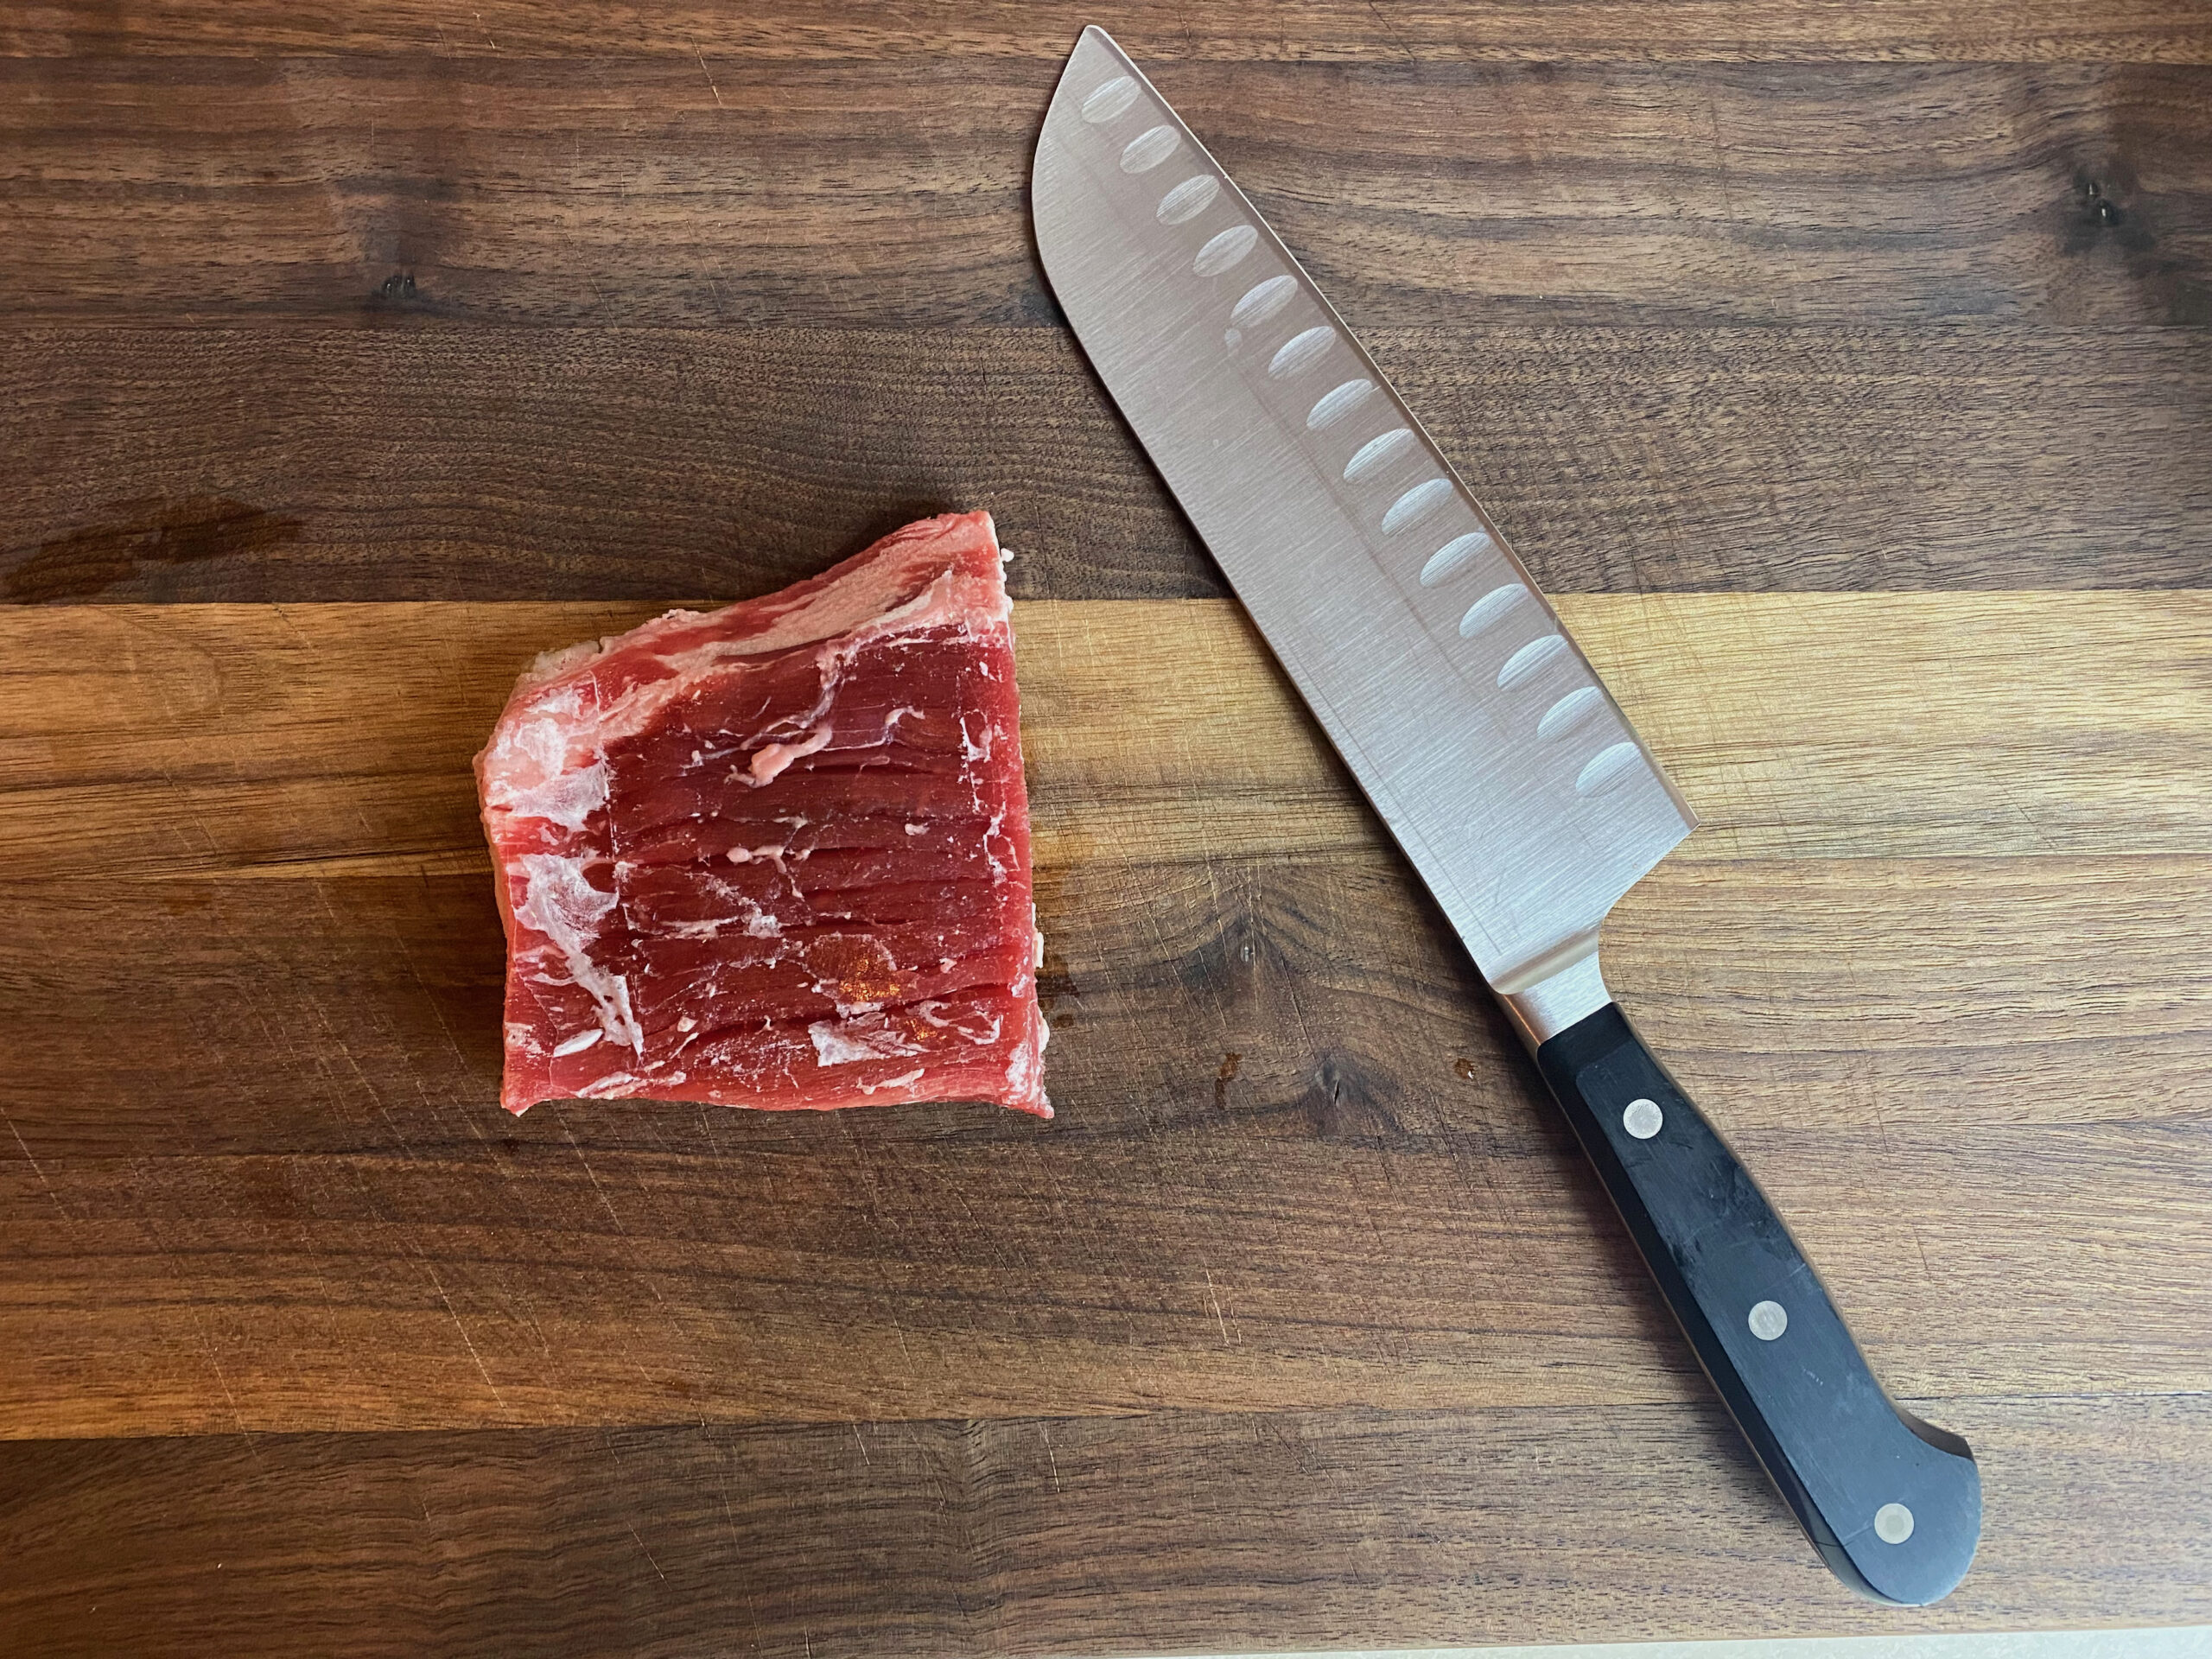
Place the partly-frozen steak on a cutting board and, using a large knife, cut against the grain to make thin slices. The grain is the lines that run up and down the muscle. You’ll want to cut across them, as if you were making a “T” shape. Cutting across the grain is a key to achieving more tender meat in a variety of recipes. For a demonstration, check out this video.
Some people like to cut off the ends to make the meat slices more uniform. Some people like to cut off some of the outer layer of fat that tends to hang off the side. Personally, I tend to just cut it as is rather than waste the meat.
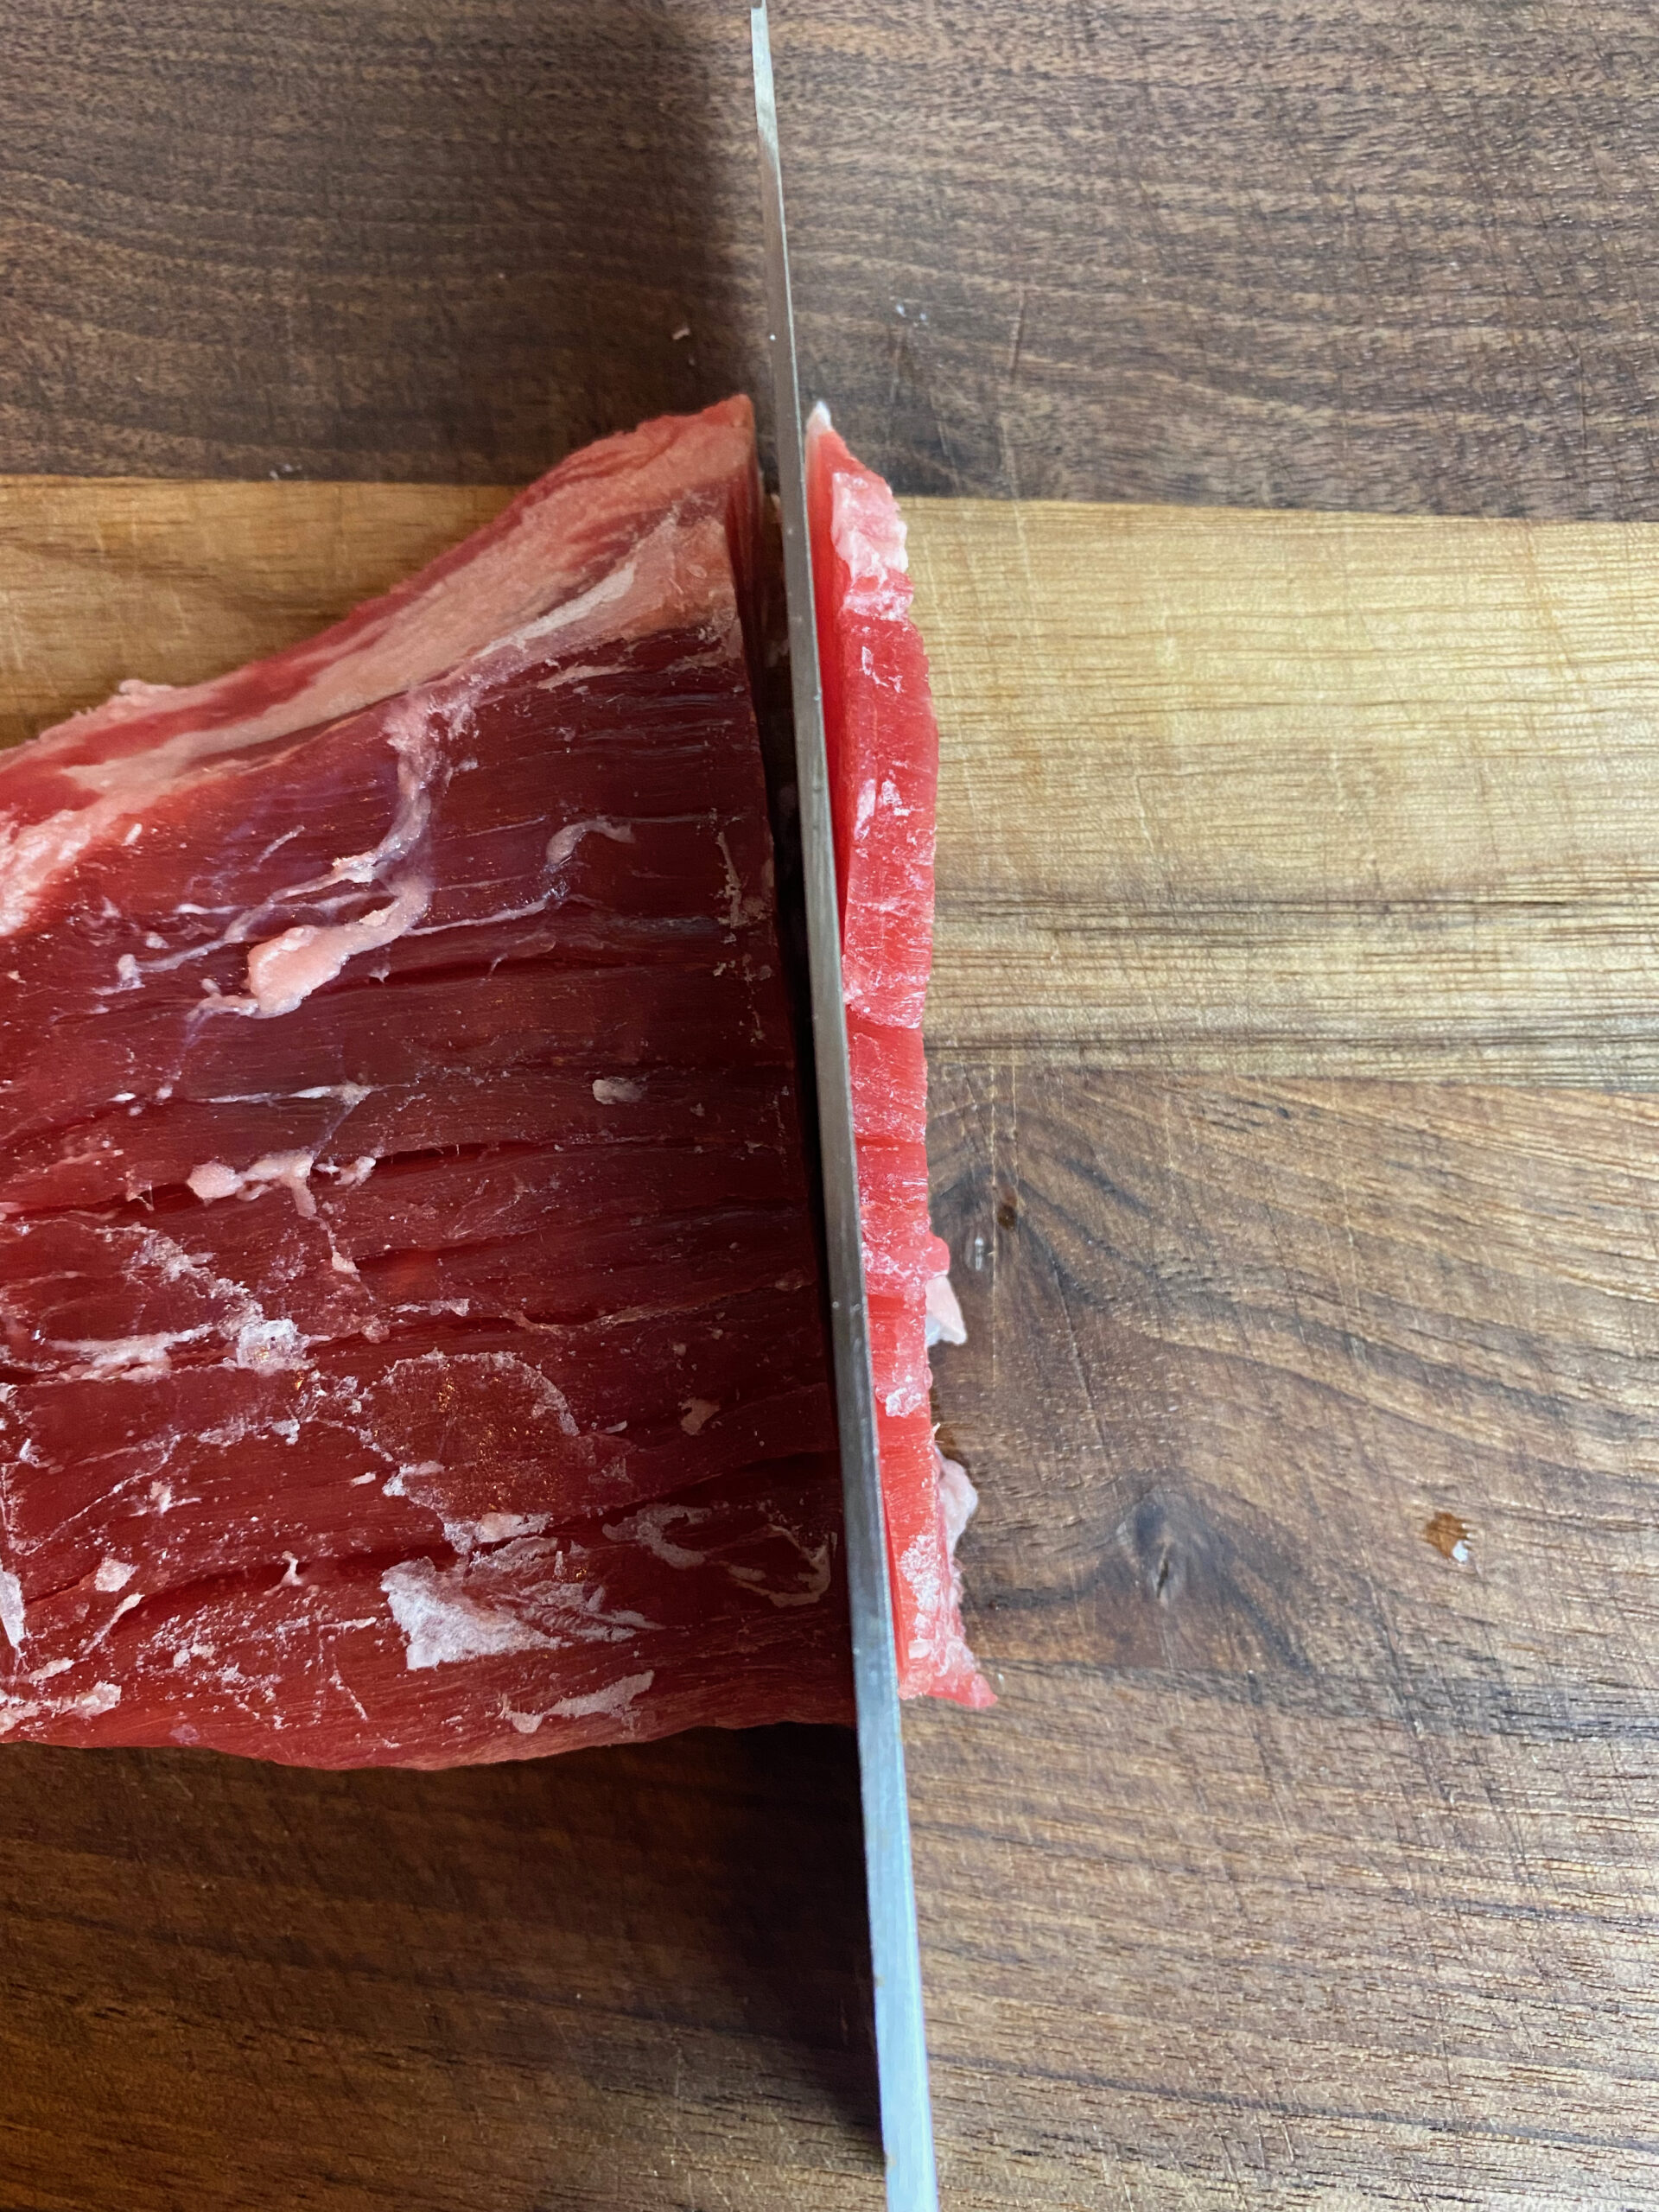
If your meat wobbles or squishes when you try to cut it, then it’s not frozen enough. Throw it back in the freezer in 20 minute increments until it’s ready.
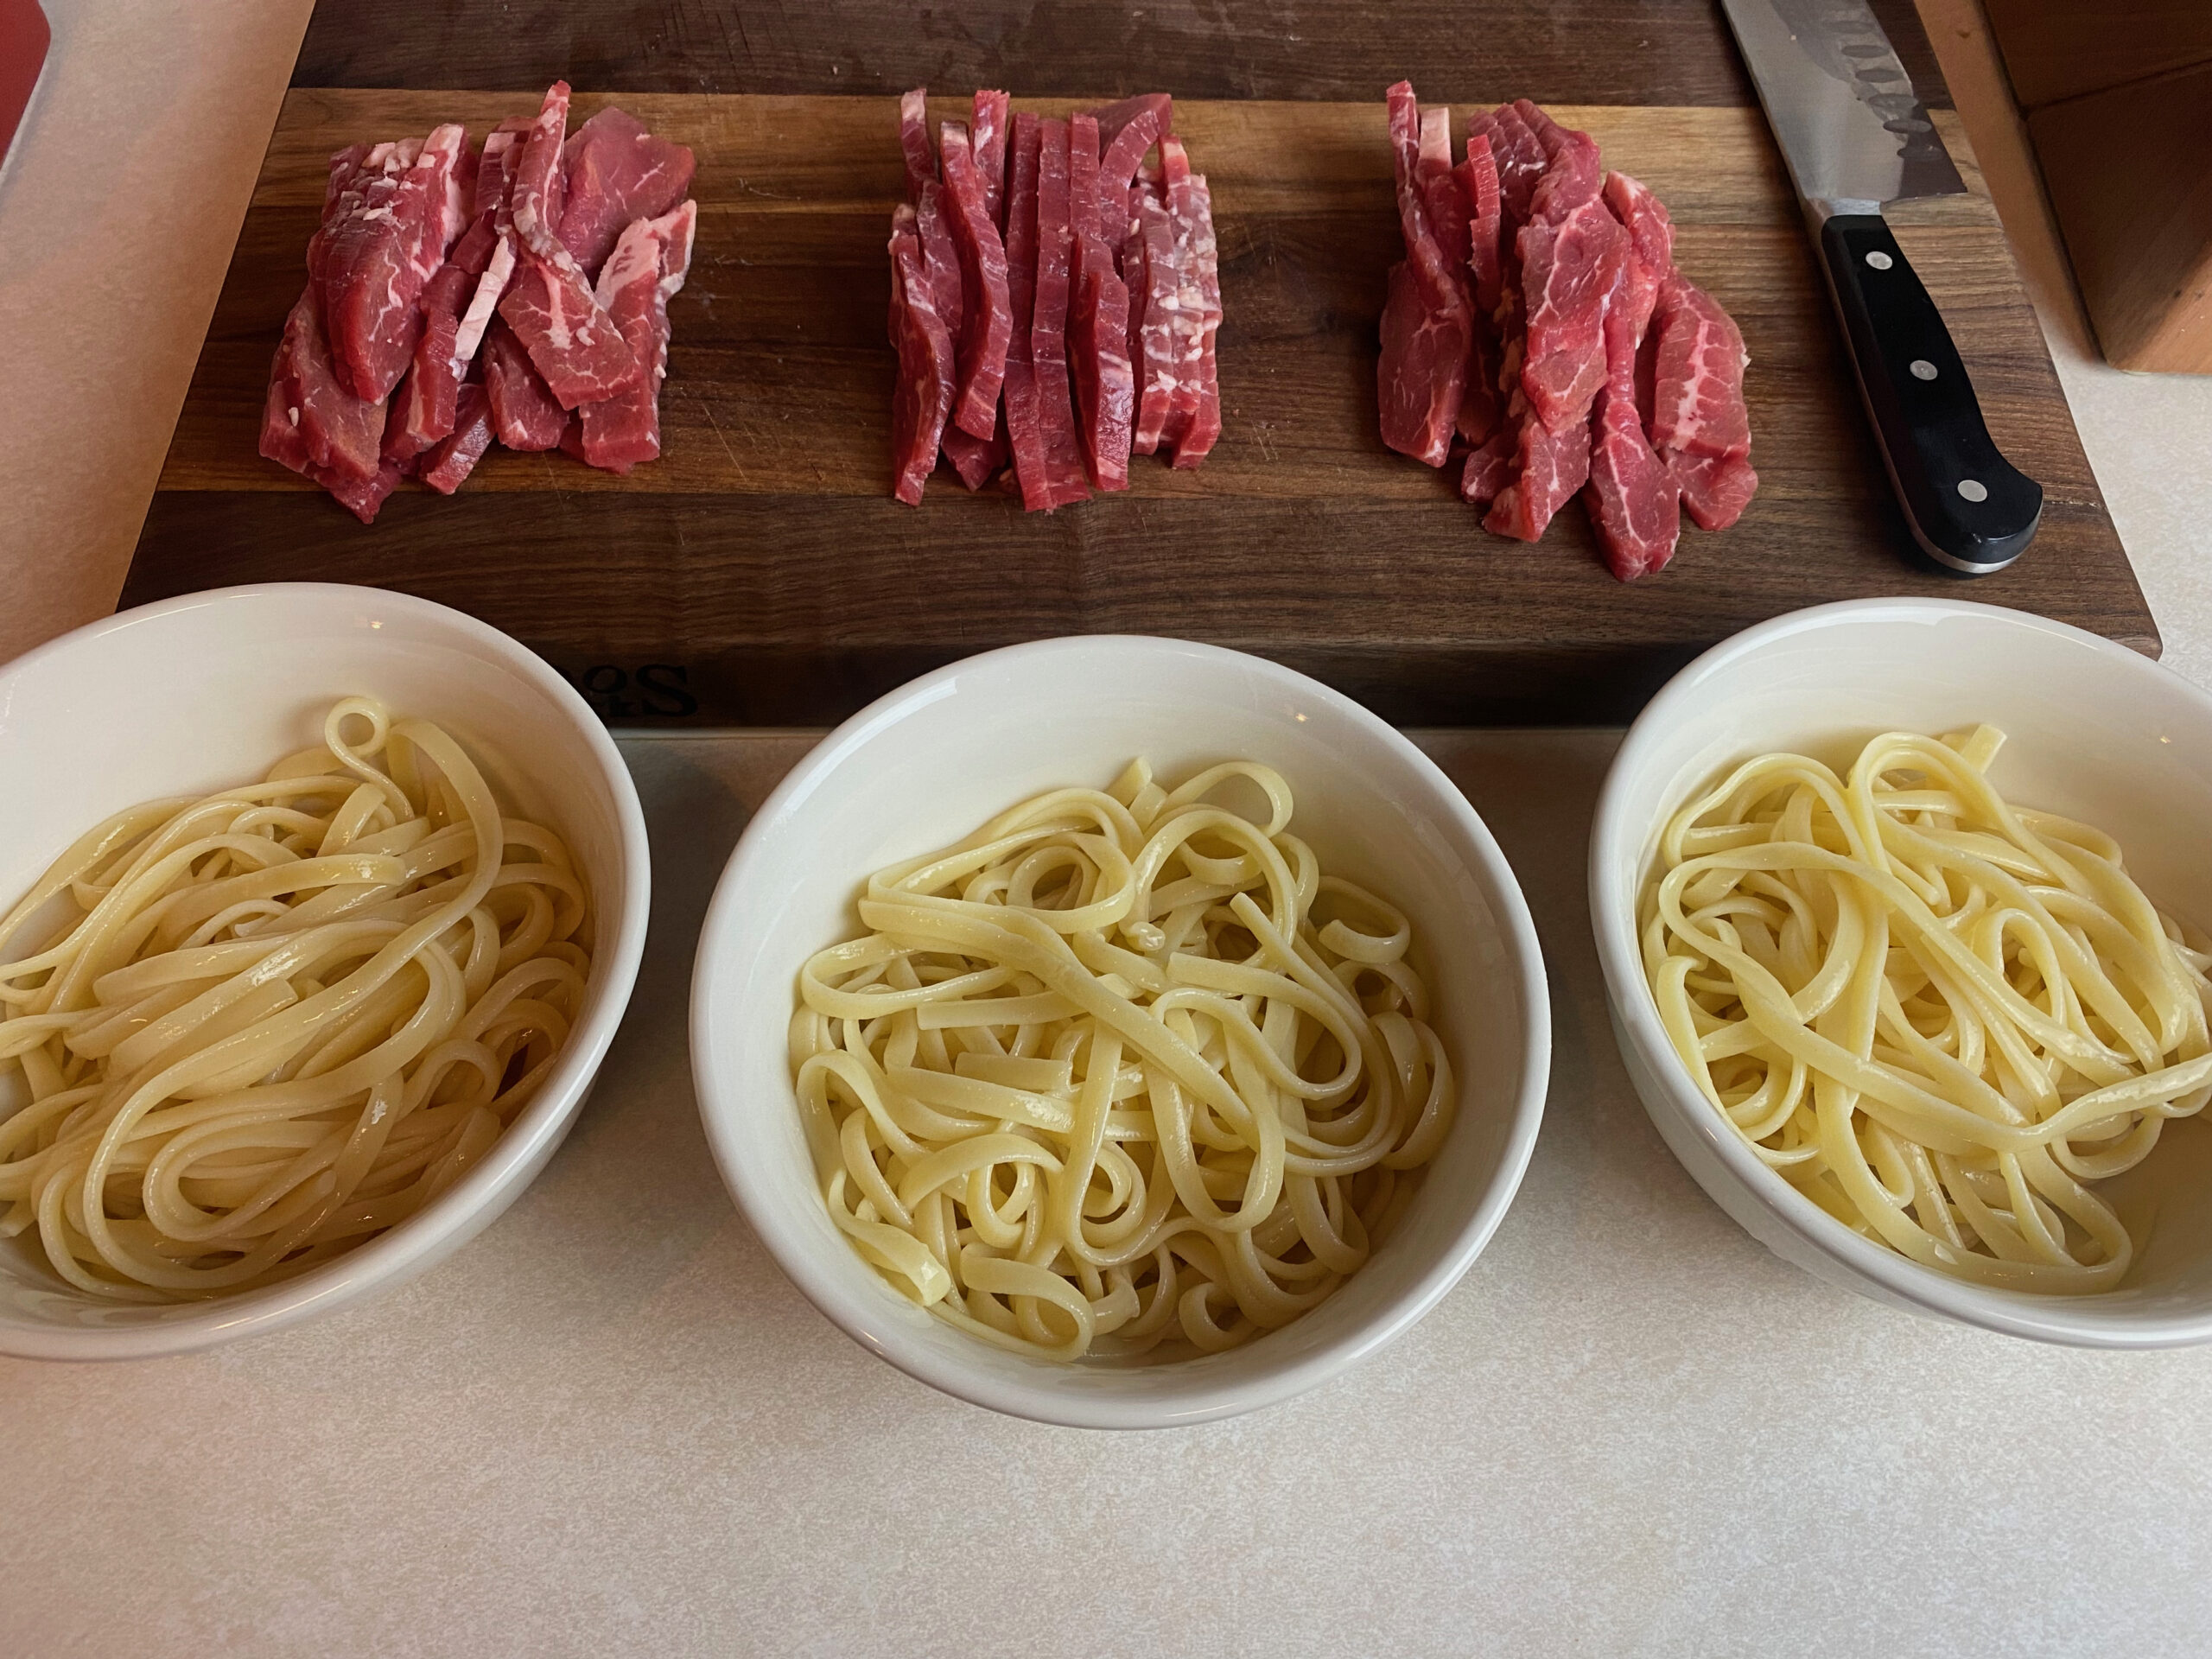
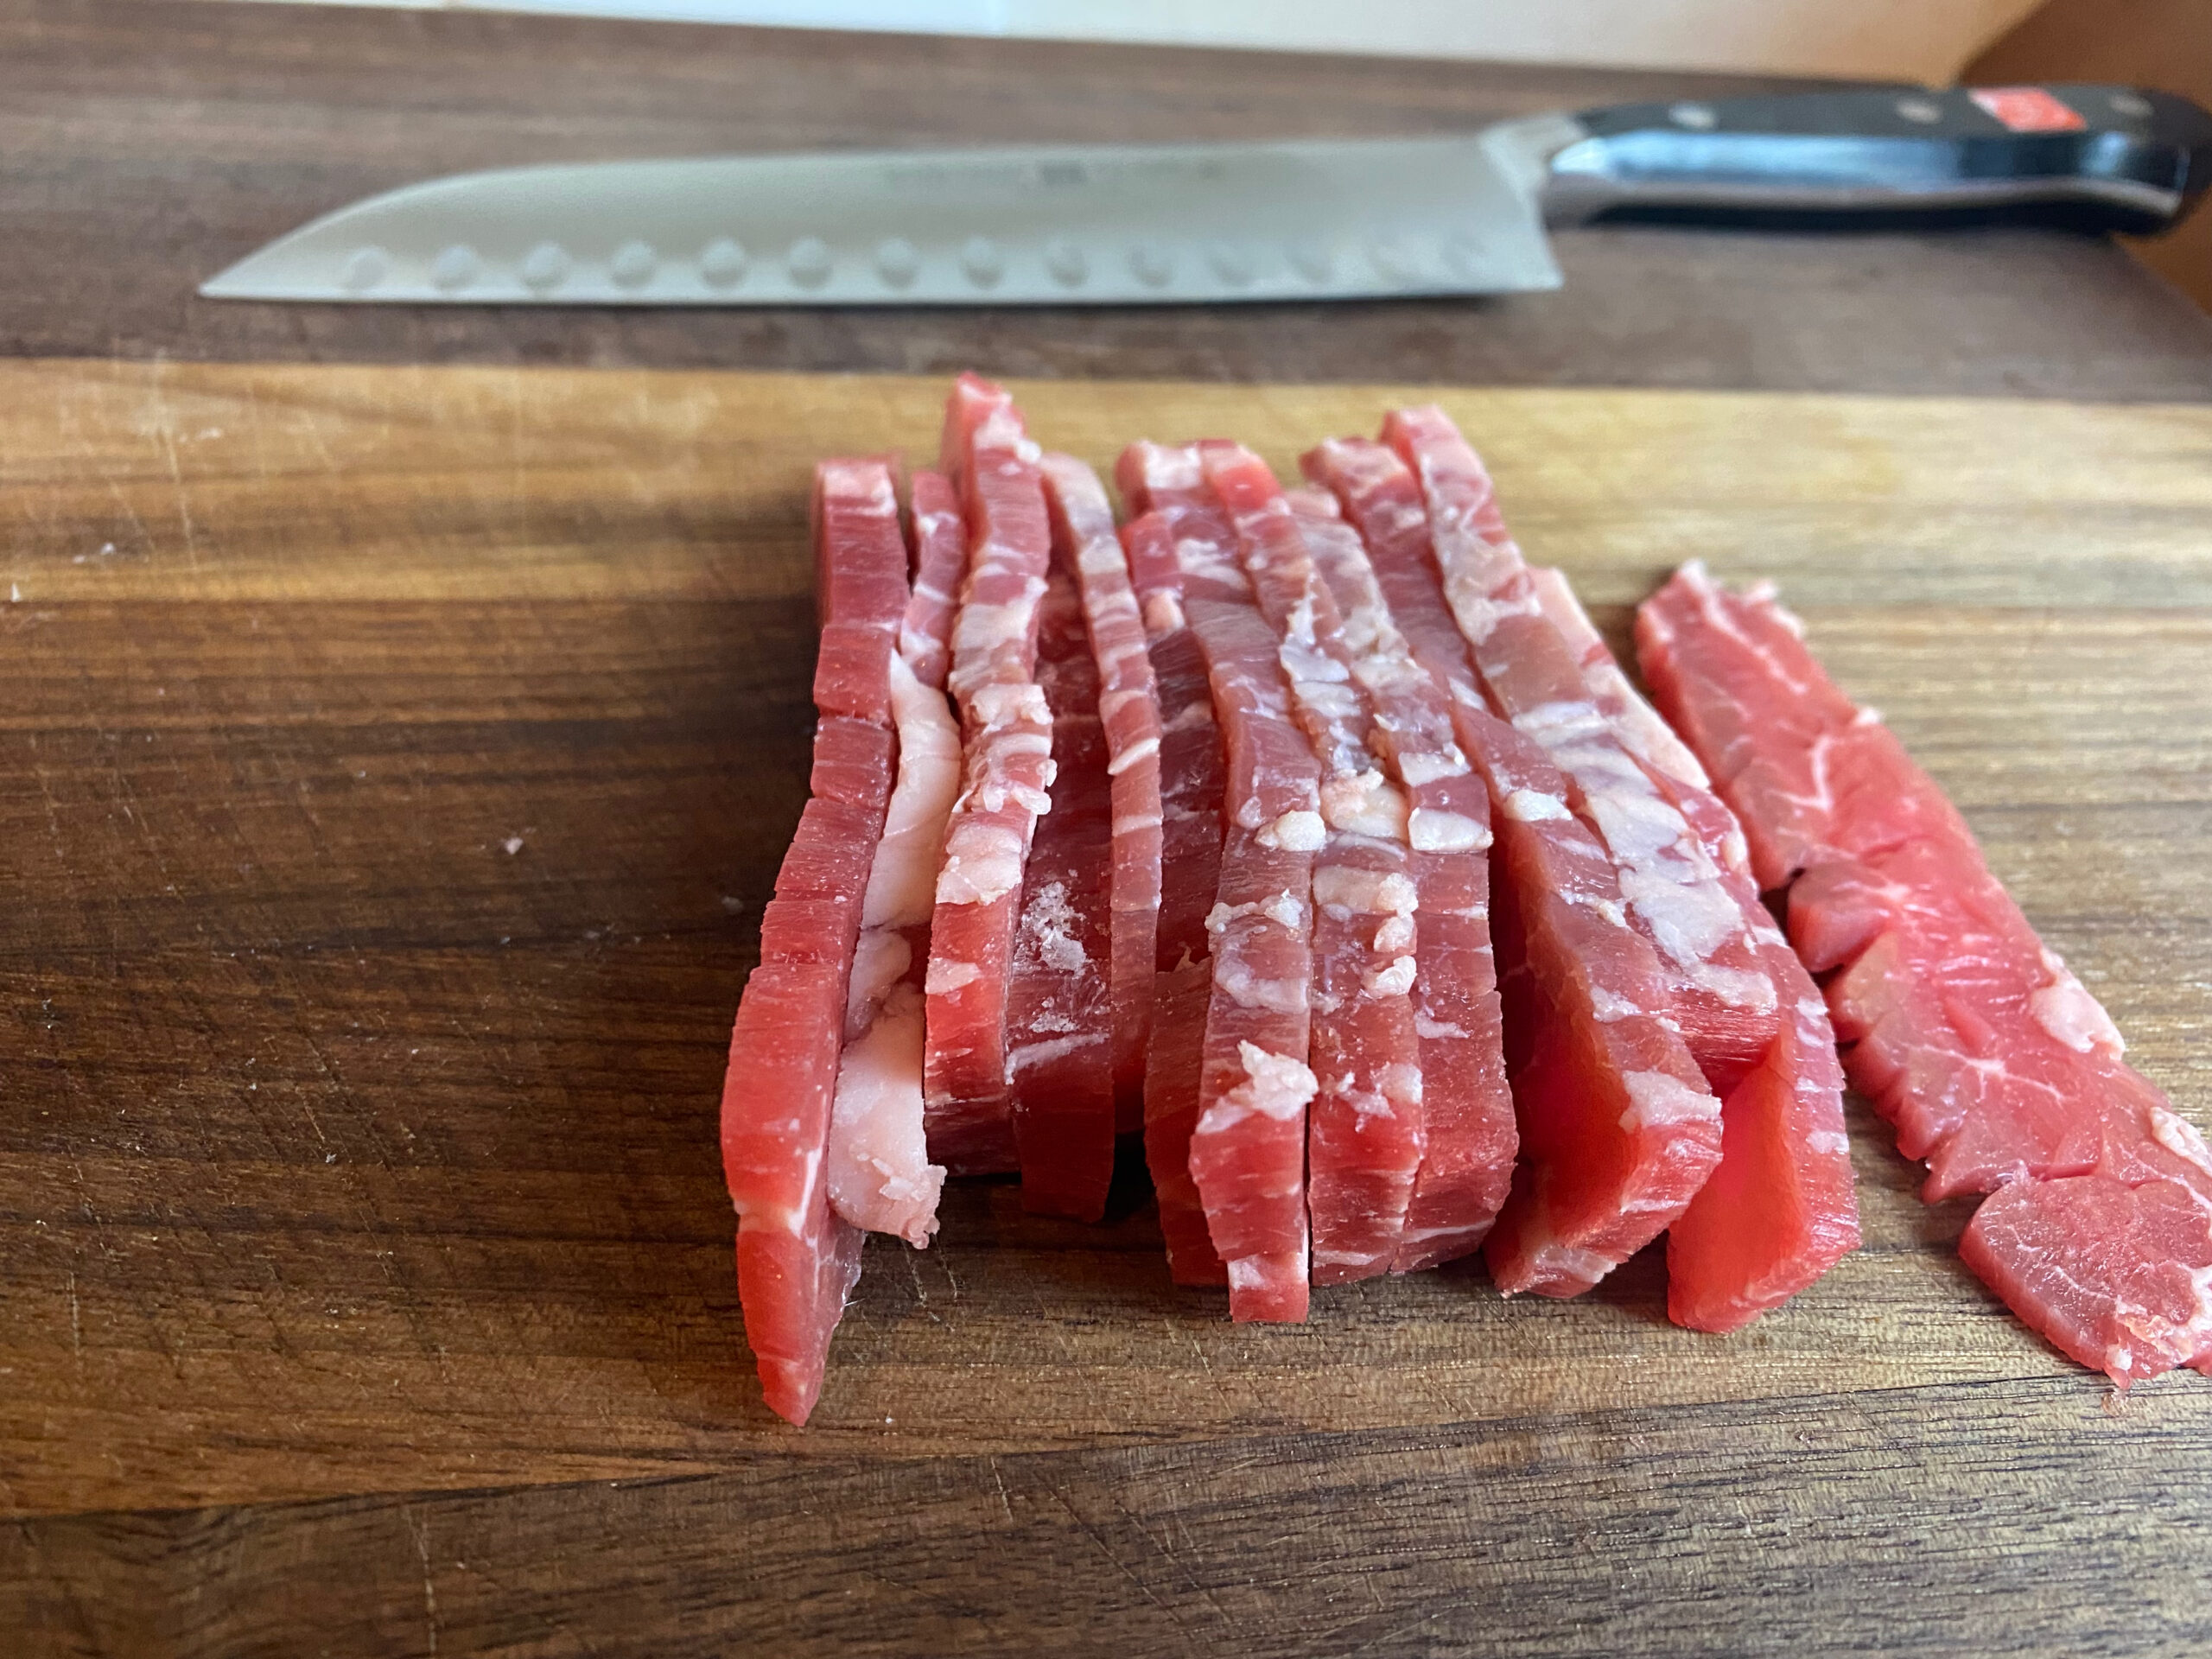
If you find it very difficult to cut, you may have over-frozen the meat. Wait a few minutes and try again. Your finished product should look like this:
Cooking the Ingredients
You’ve reached the final step and are approaching the finish line. For this last step, you’re going to need a pan that you can scrape with metal tongs or a metal spatula – so choose stainless steel or cast iron. You want something without a non-stick coating on it since the scraping will ruin your non-stick coating. Personally I like to use a large stainless steel saute pan.
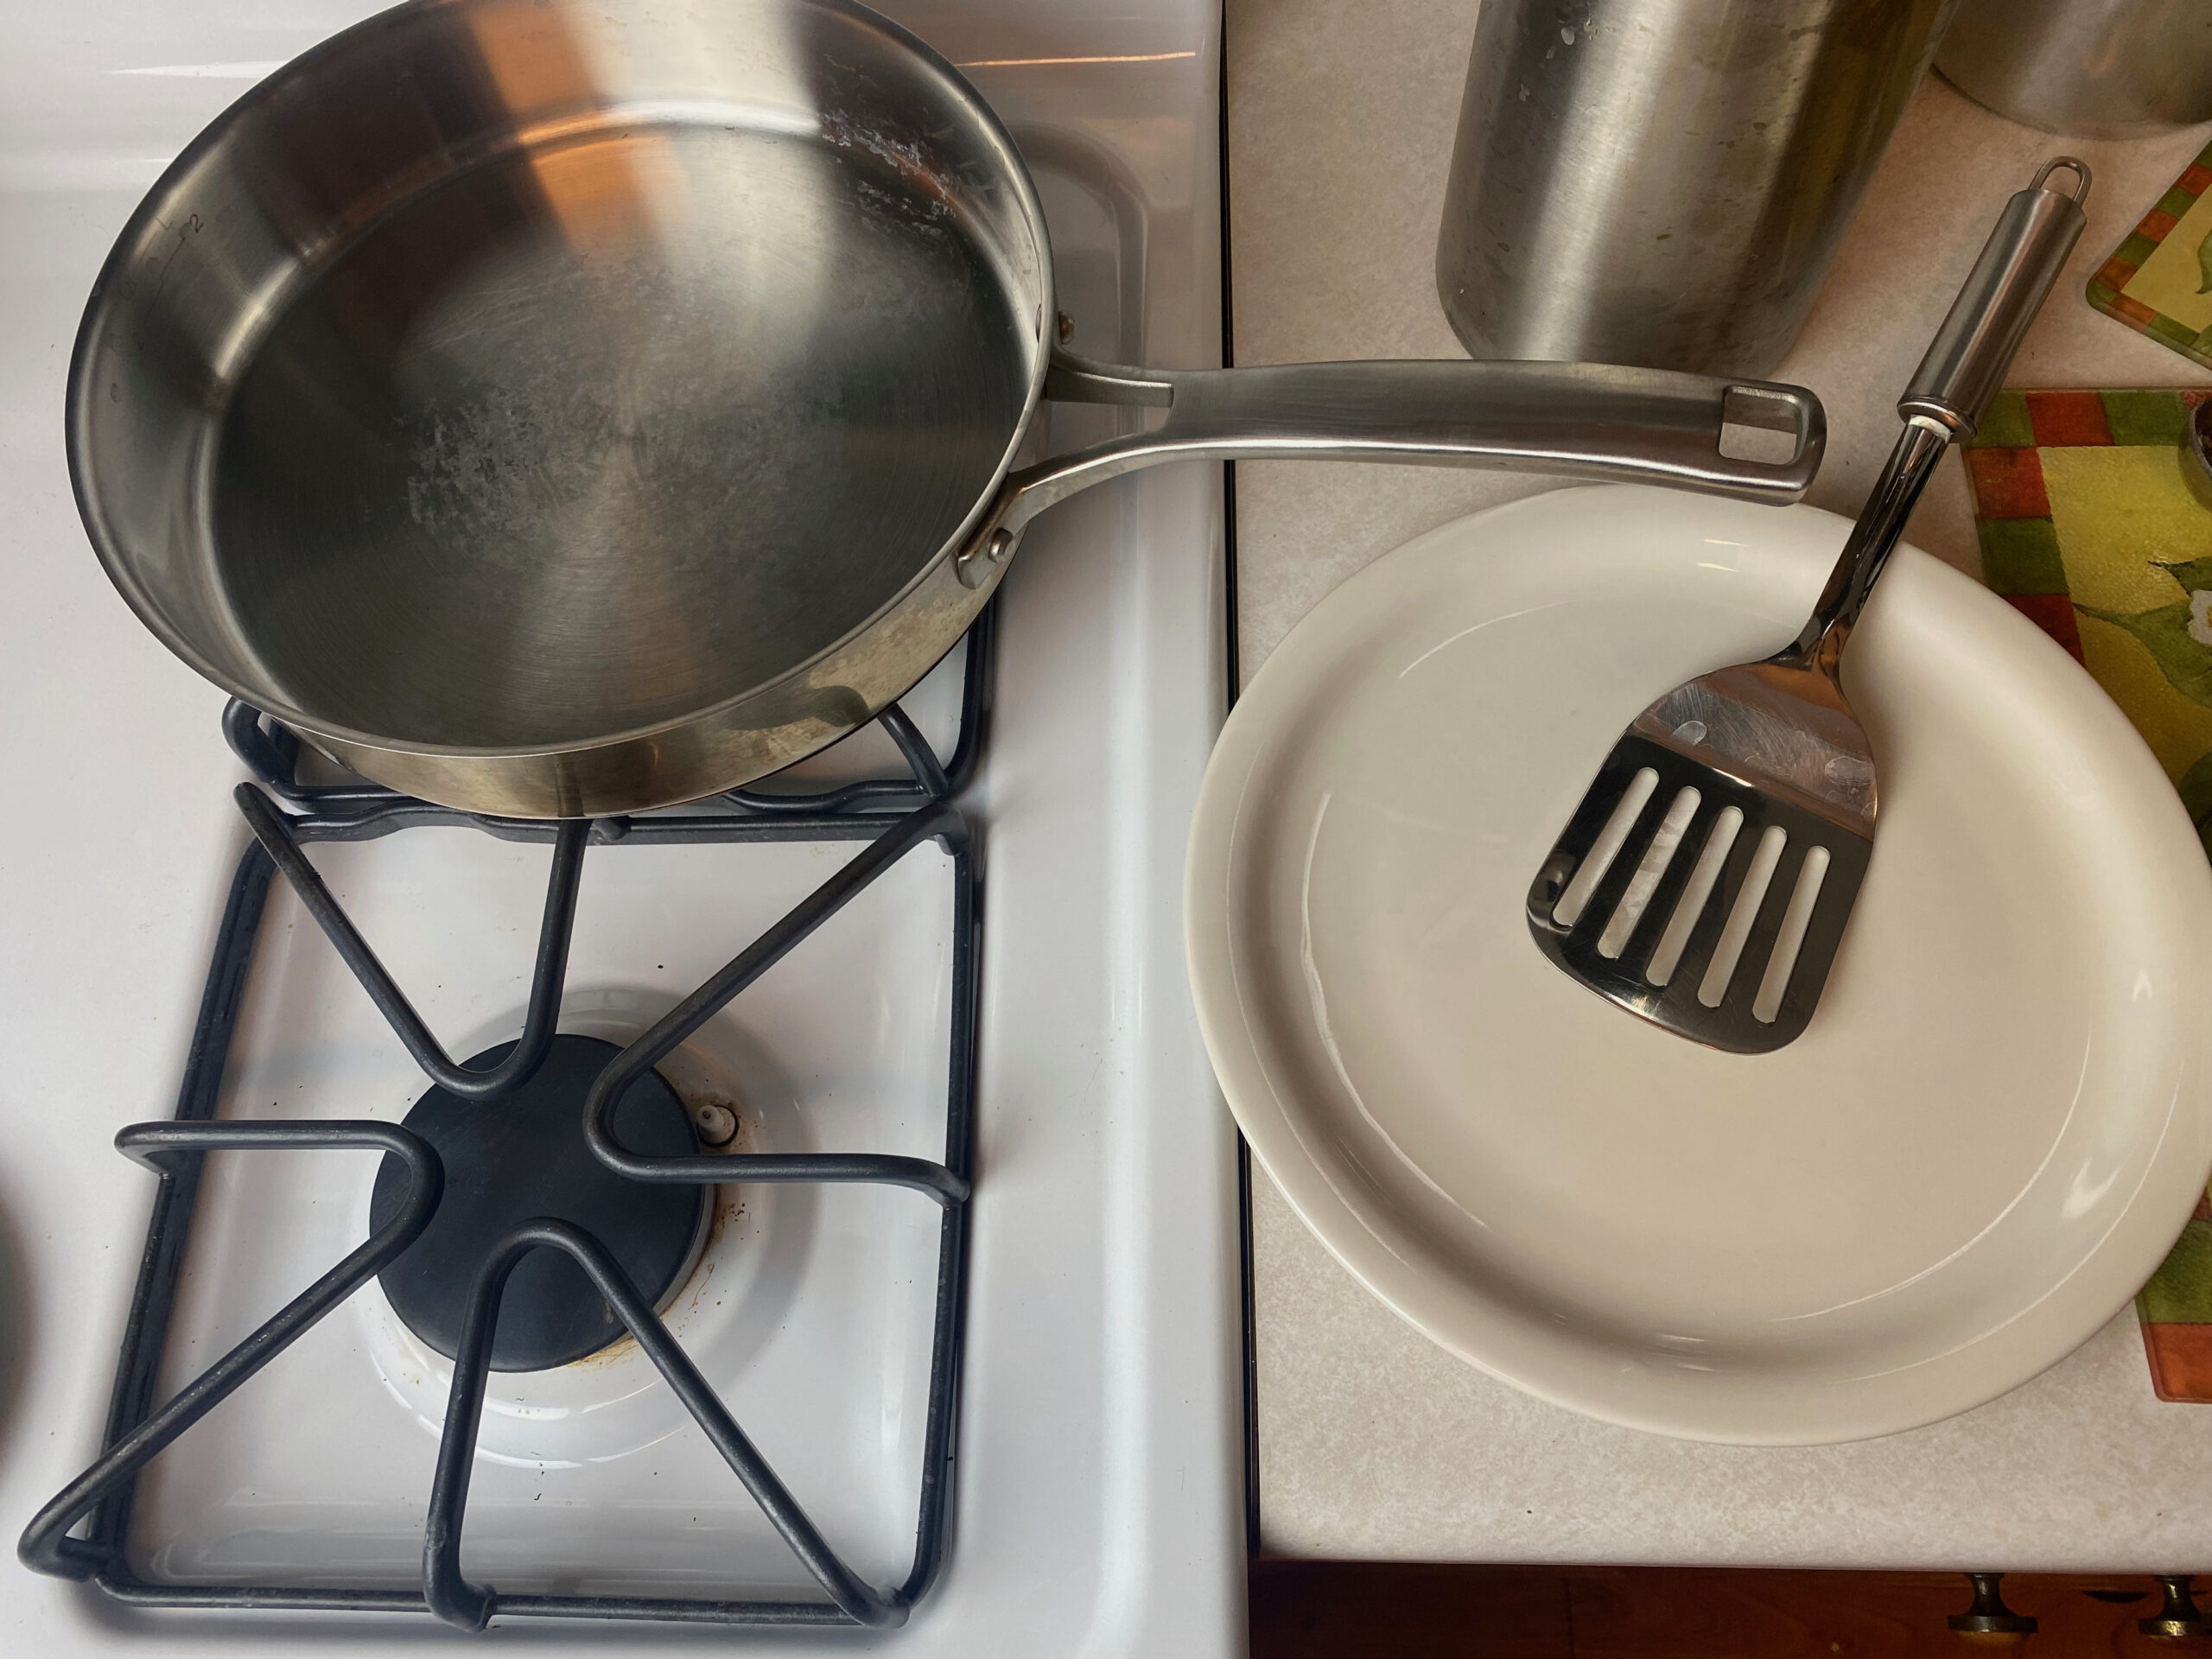
For tongs, I use a good strong steel spatula. Something that can hold up to some good firm scraping of the pan.
Place your pan over high heat for several minutes. Also make sure to turn on your kitchen vent if you are not cooking outside. This dish is supposed to release smoke while cooking, and if you forget to vent that smoke you are liable to set off a fire alarm.
Once the pan has pre-heated, pour in your noodles and spices. Quickly add the steak and stir. Try to make sure the meat is touching the pan on a flat side of the meat so it will cook fully.
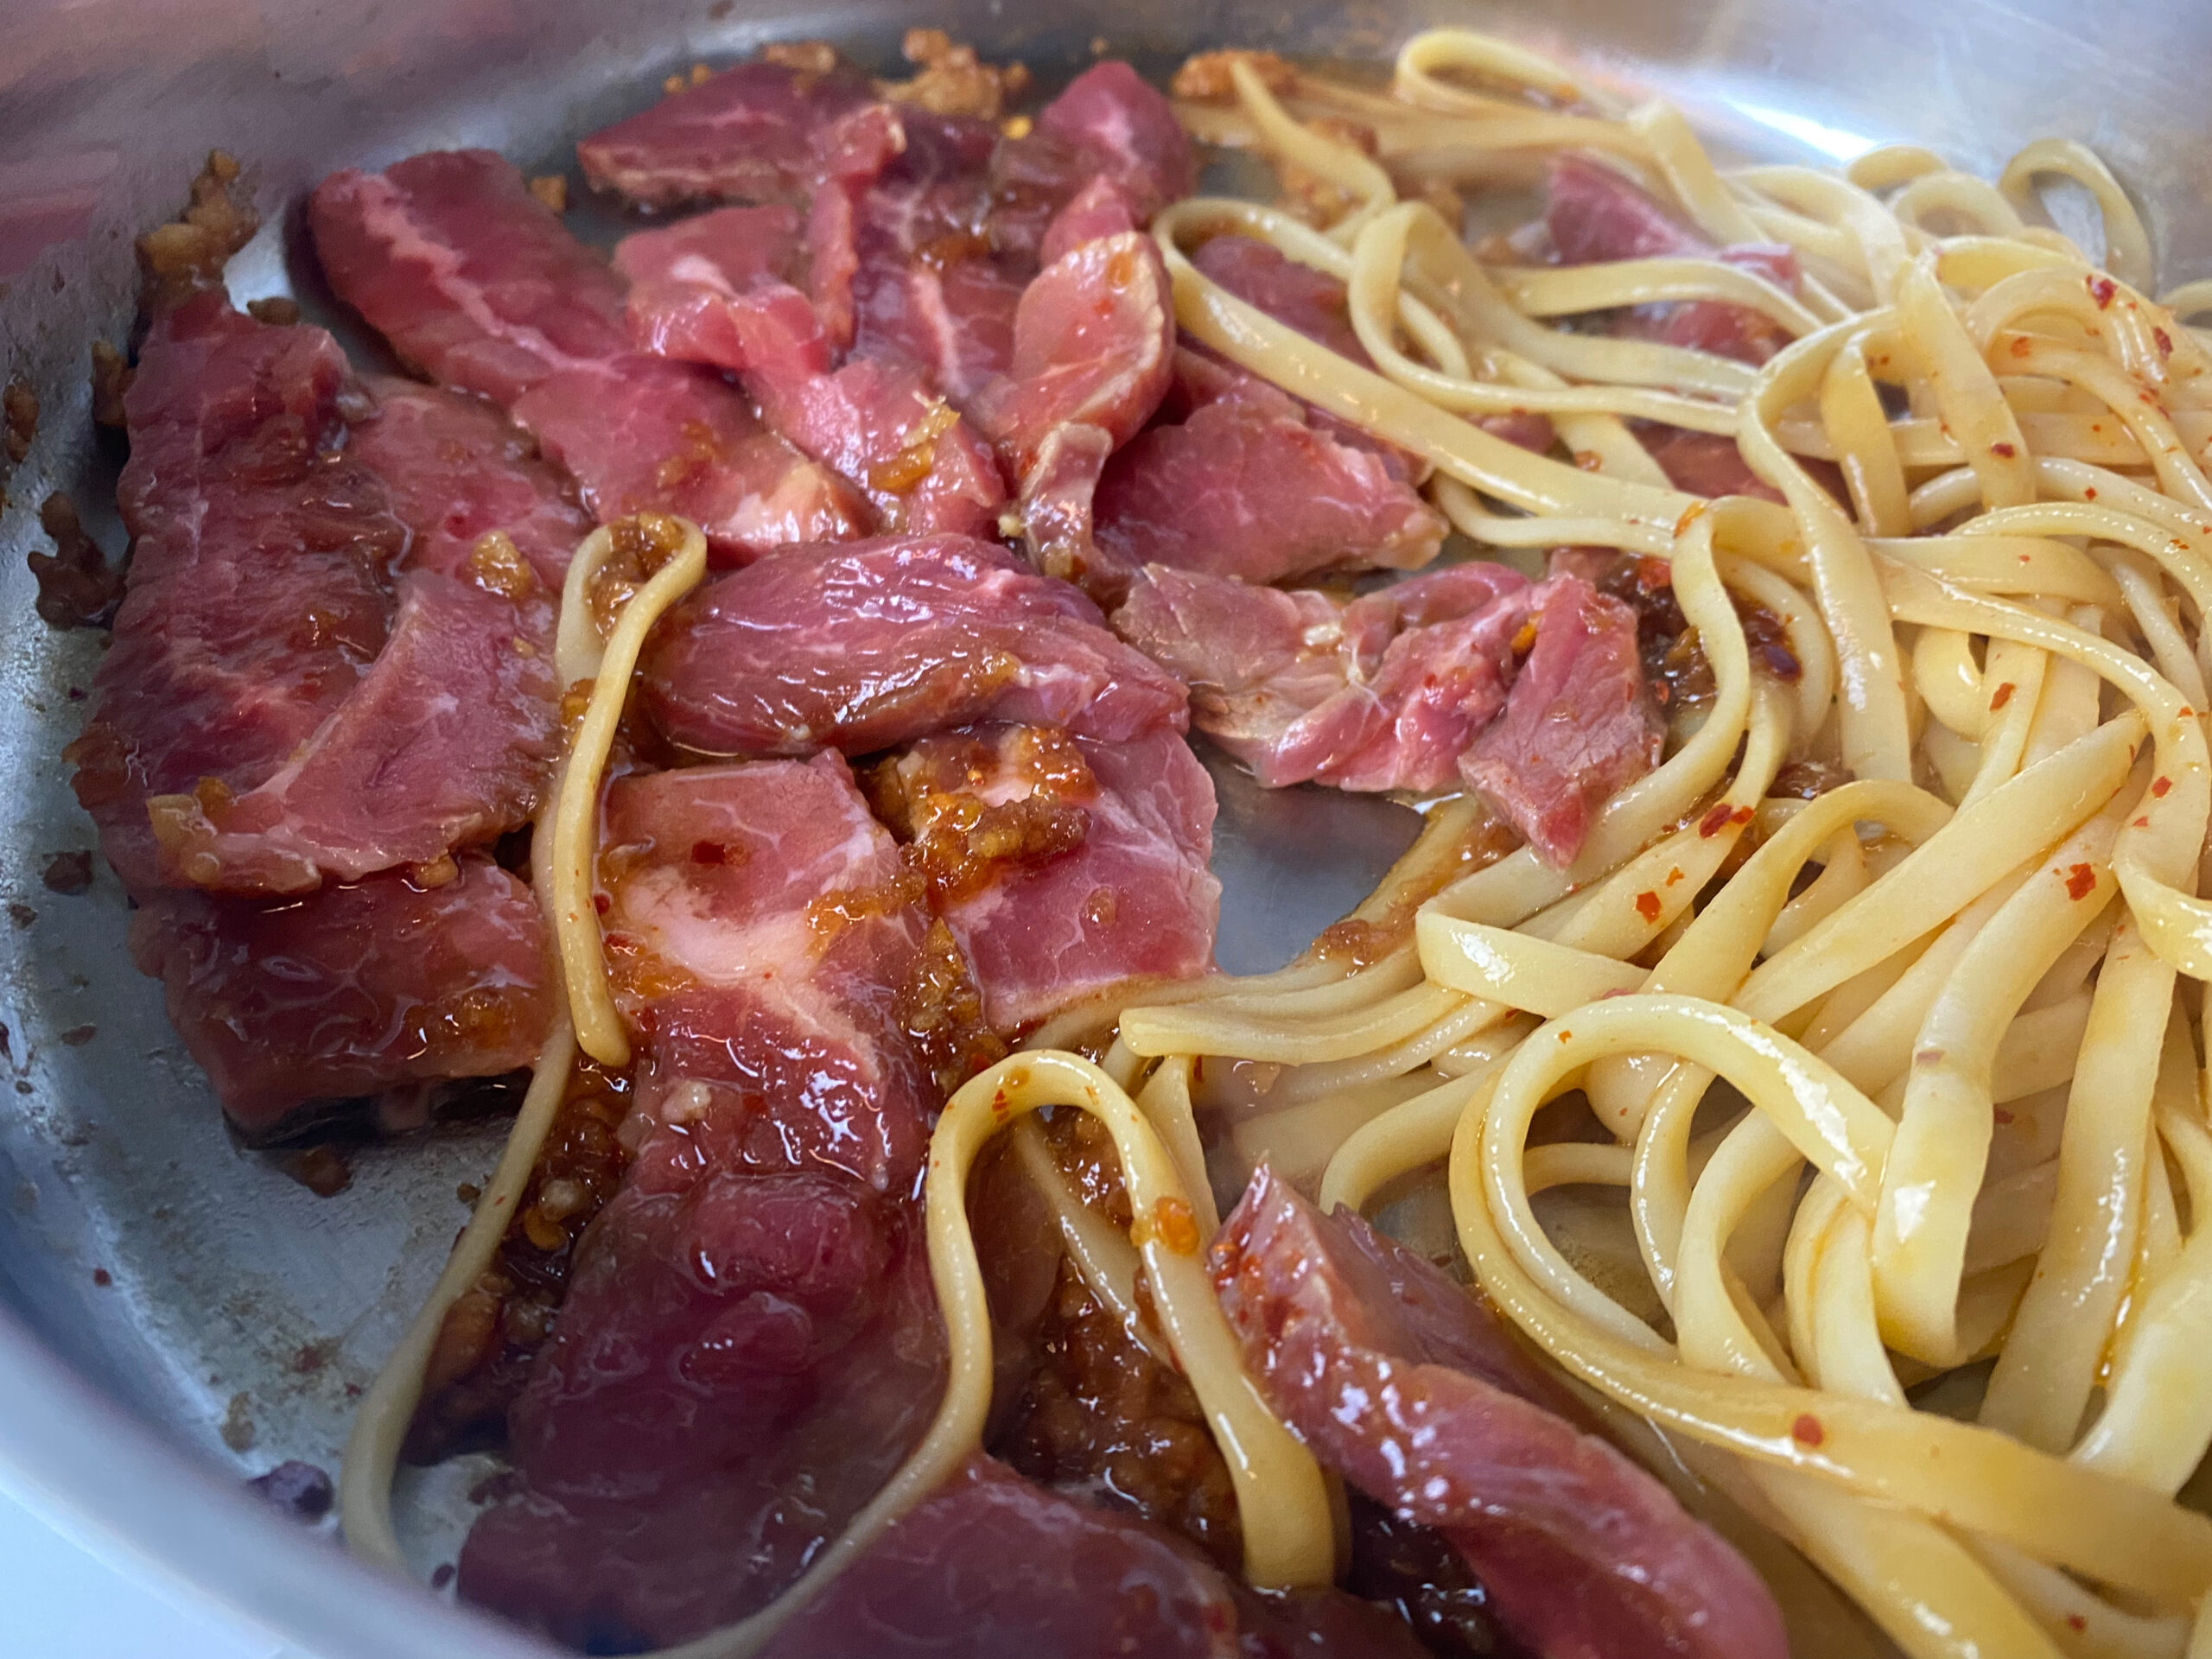
Allow to cook, stirring every ten or fifteen seconds. When the moisture seems to have evaporated, go ahead and throw on a splash of water. About 1/4 cup. Evaporating the water seems to really bring out the flavor of the spices as they stick to the noodles.
Your noodles should take on a darker, more reddish color and a reflective sheen from the oil. It will also inevitably stick to your pan. As soon as it starts sticking, you should be scraping that pan and preventing it from getting too stuck.
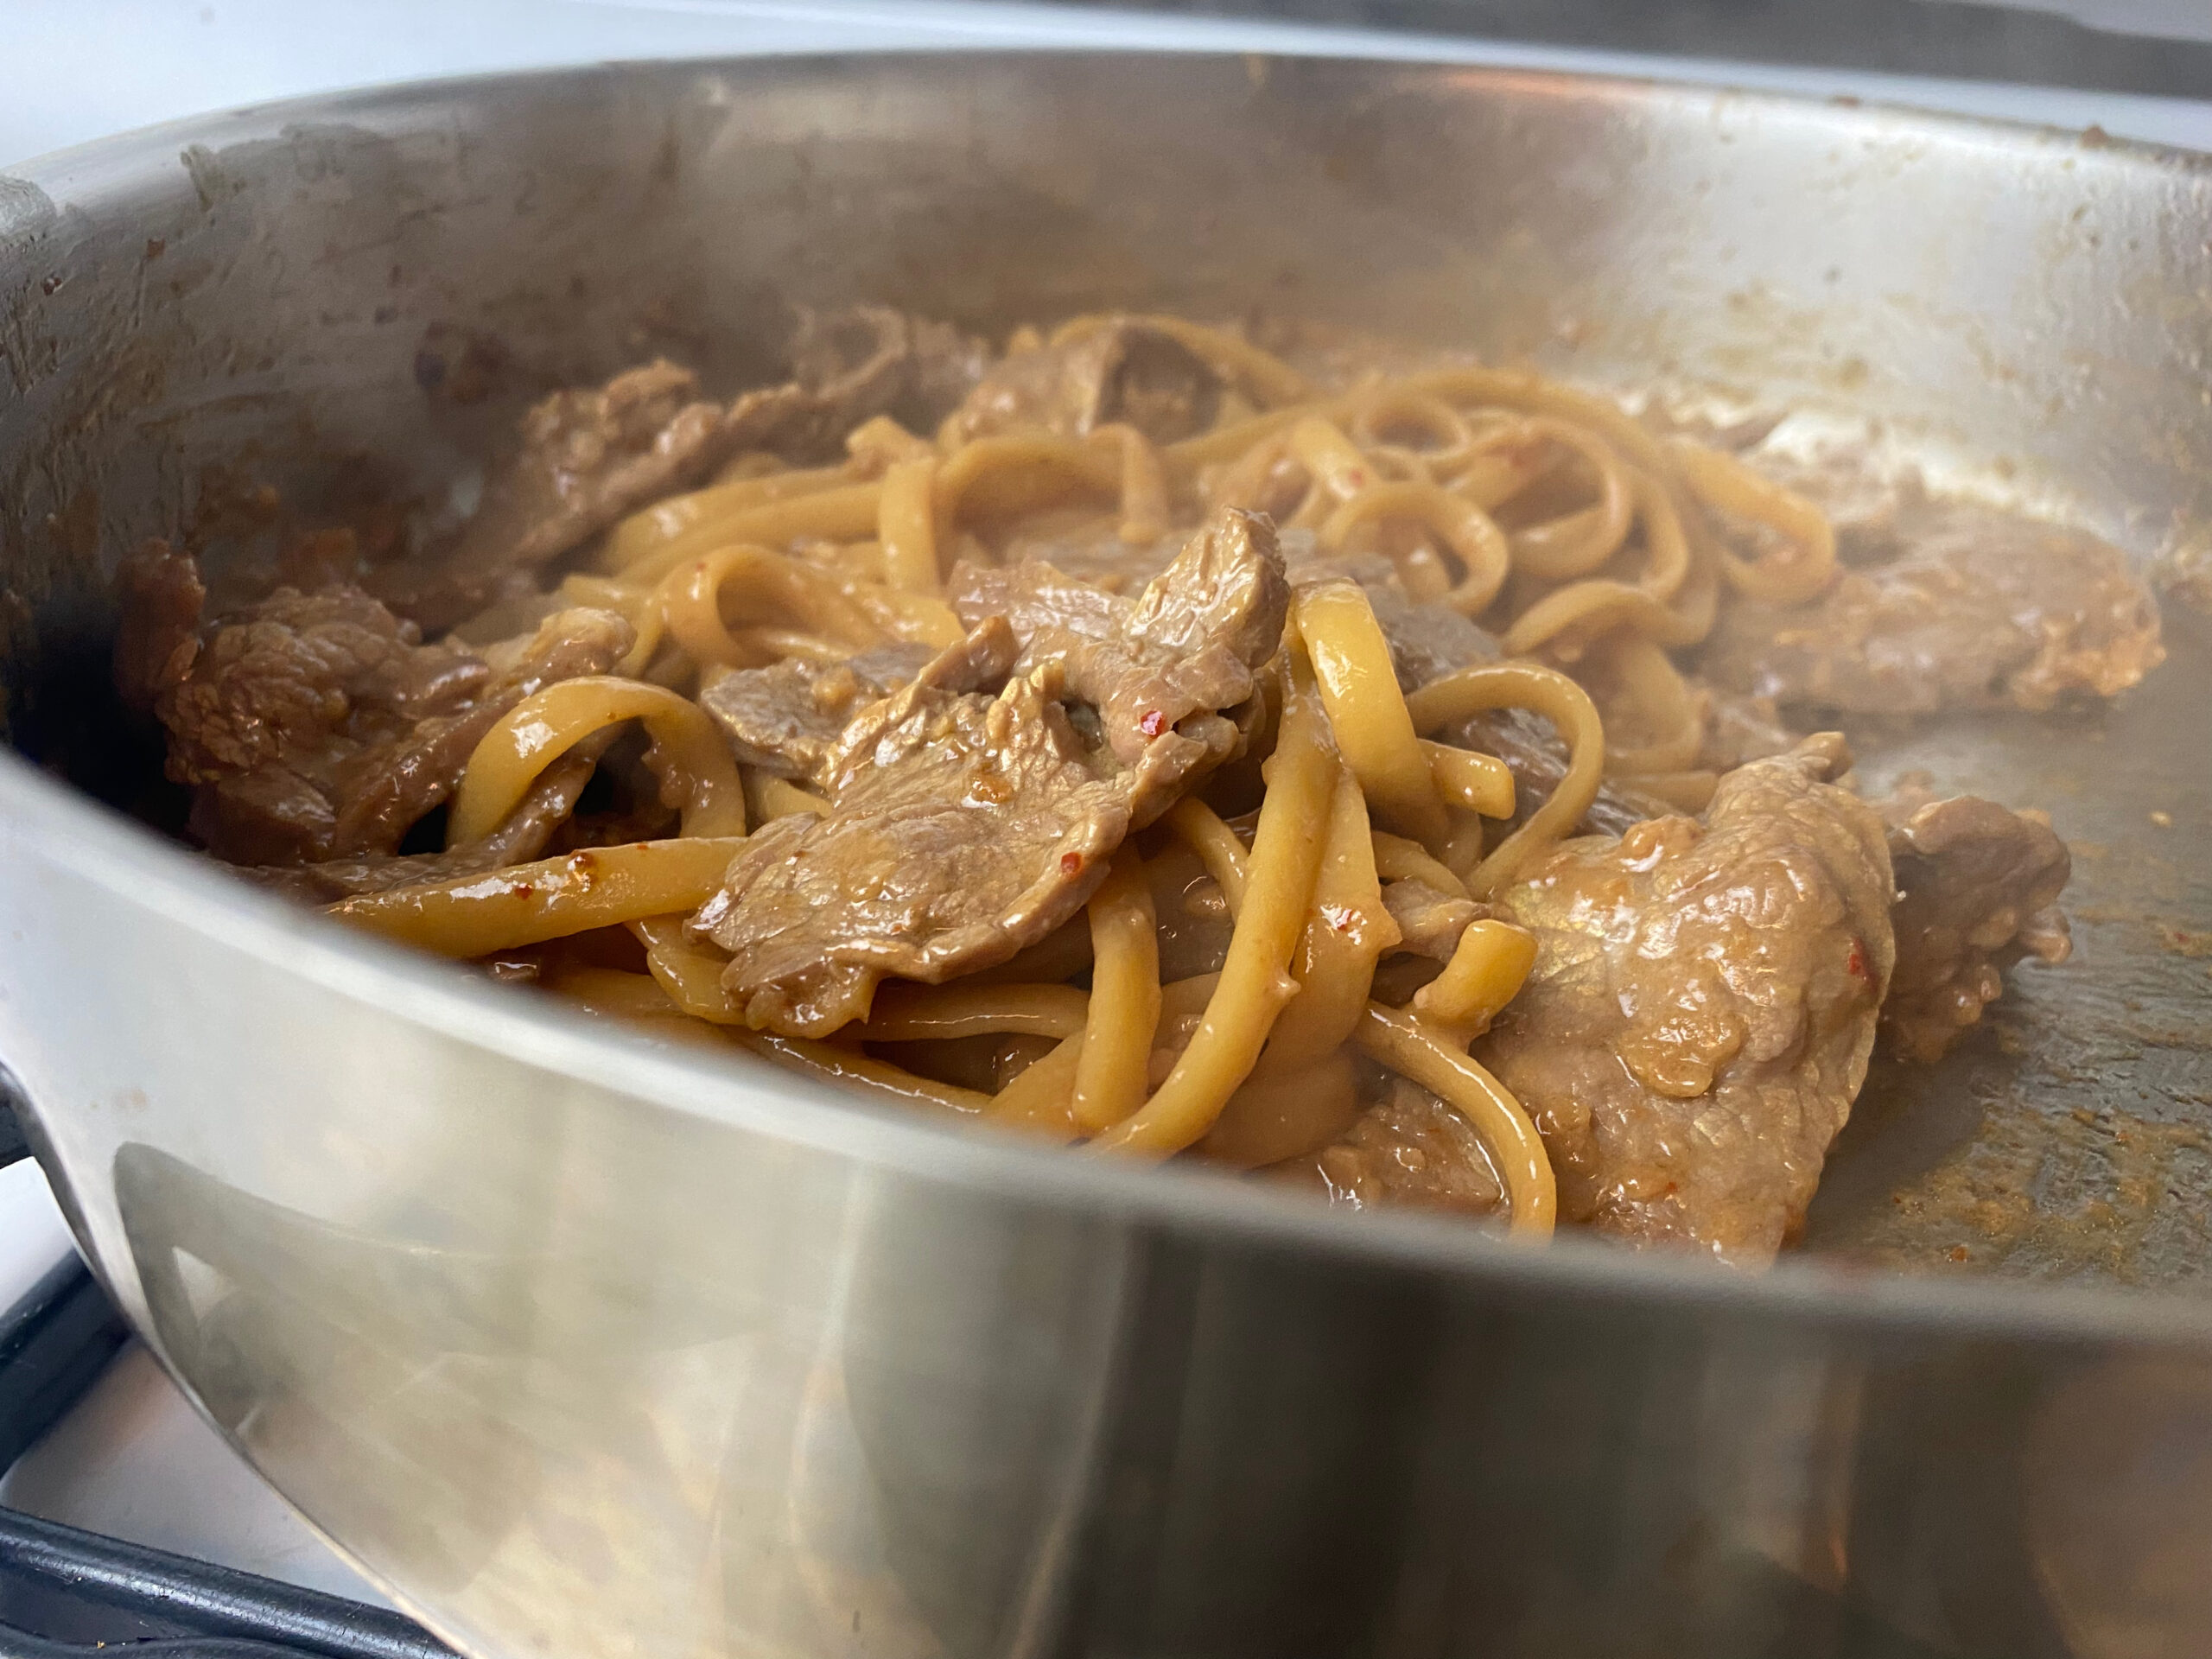
You can evaporate the water a second time if you desire, but once should be enough. Once you’ve evaporated the water and the noodles start to really stick to the pan, go ahead and remove your stir-fry from the heat.
Once you’ve plated your meal and allowed it to cool, you’re ready to eat.
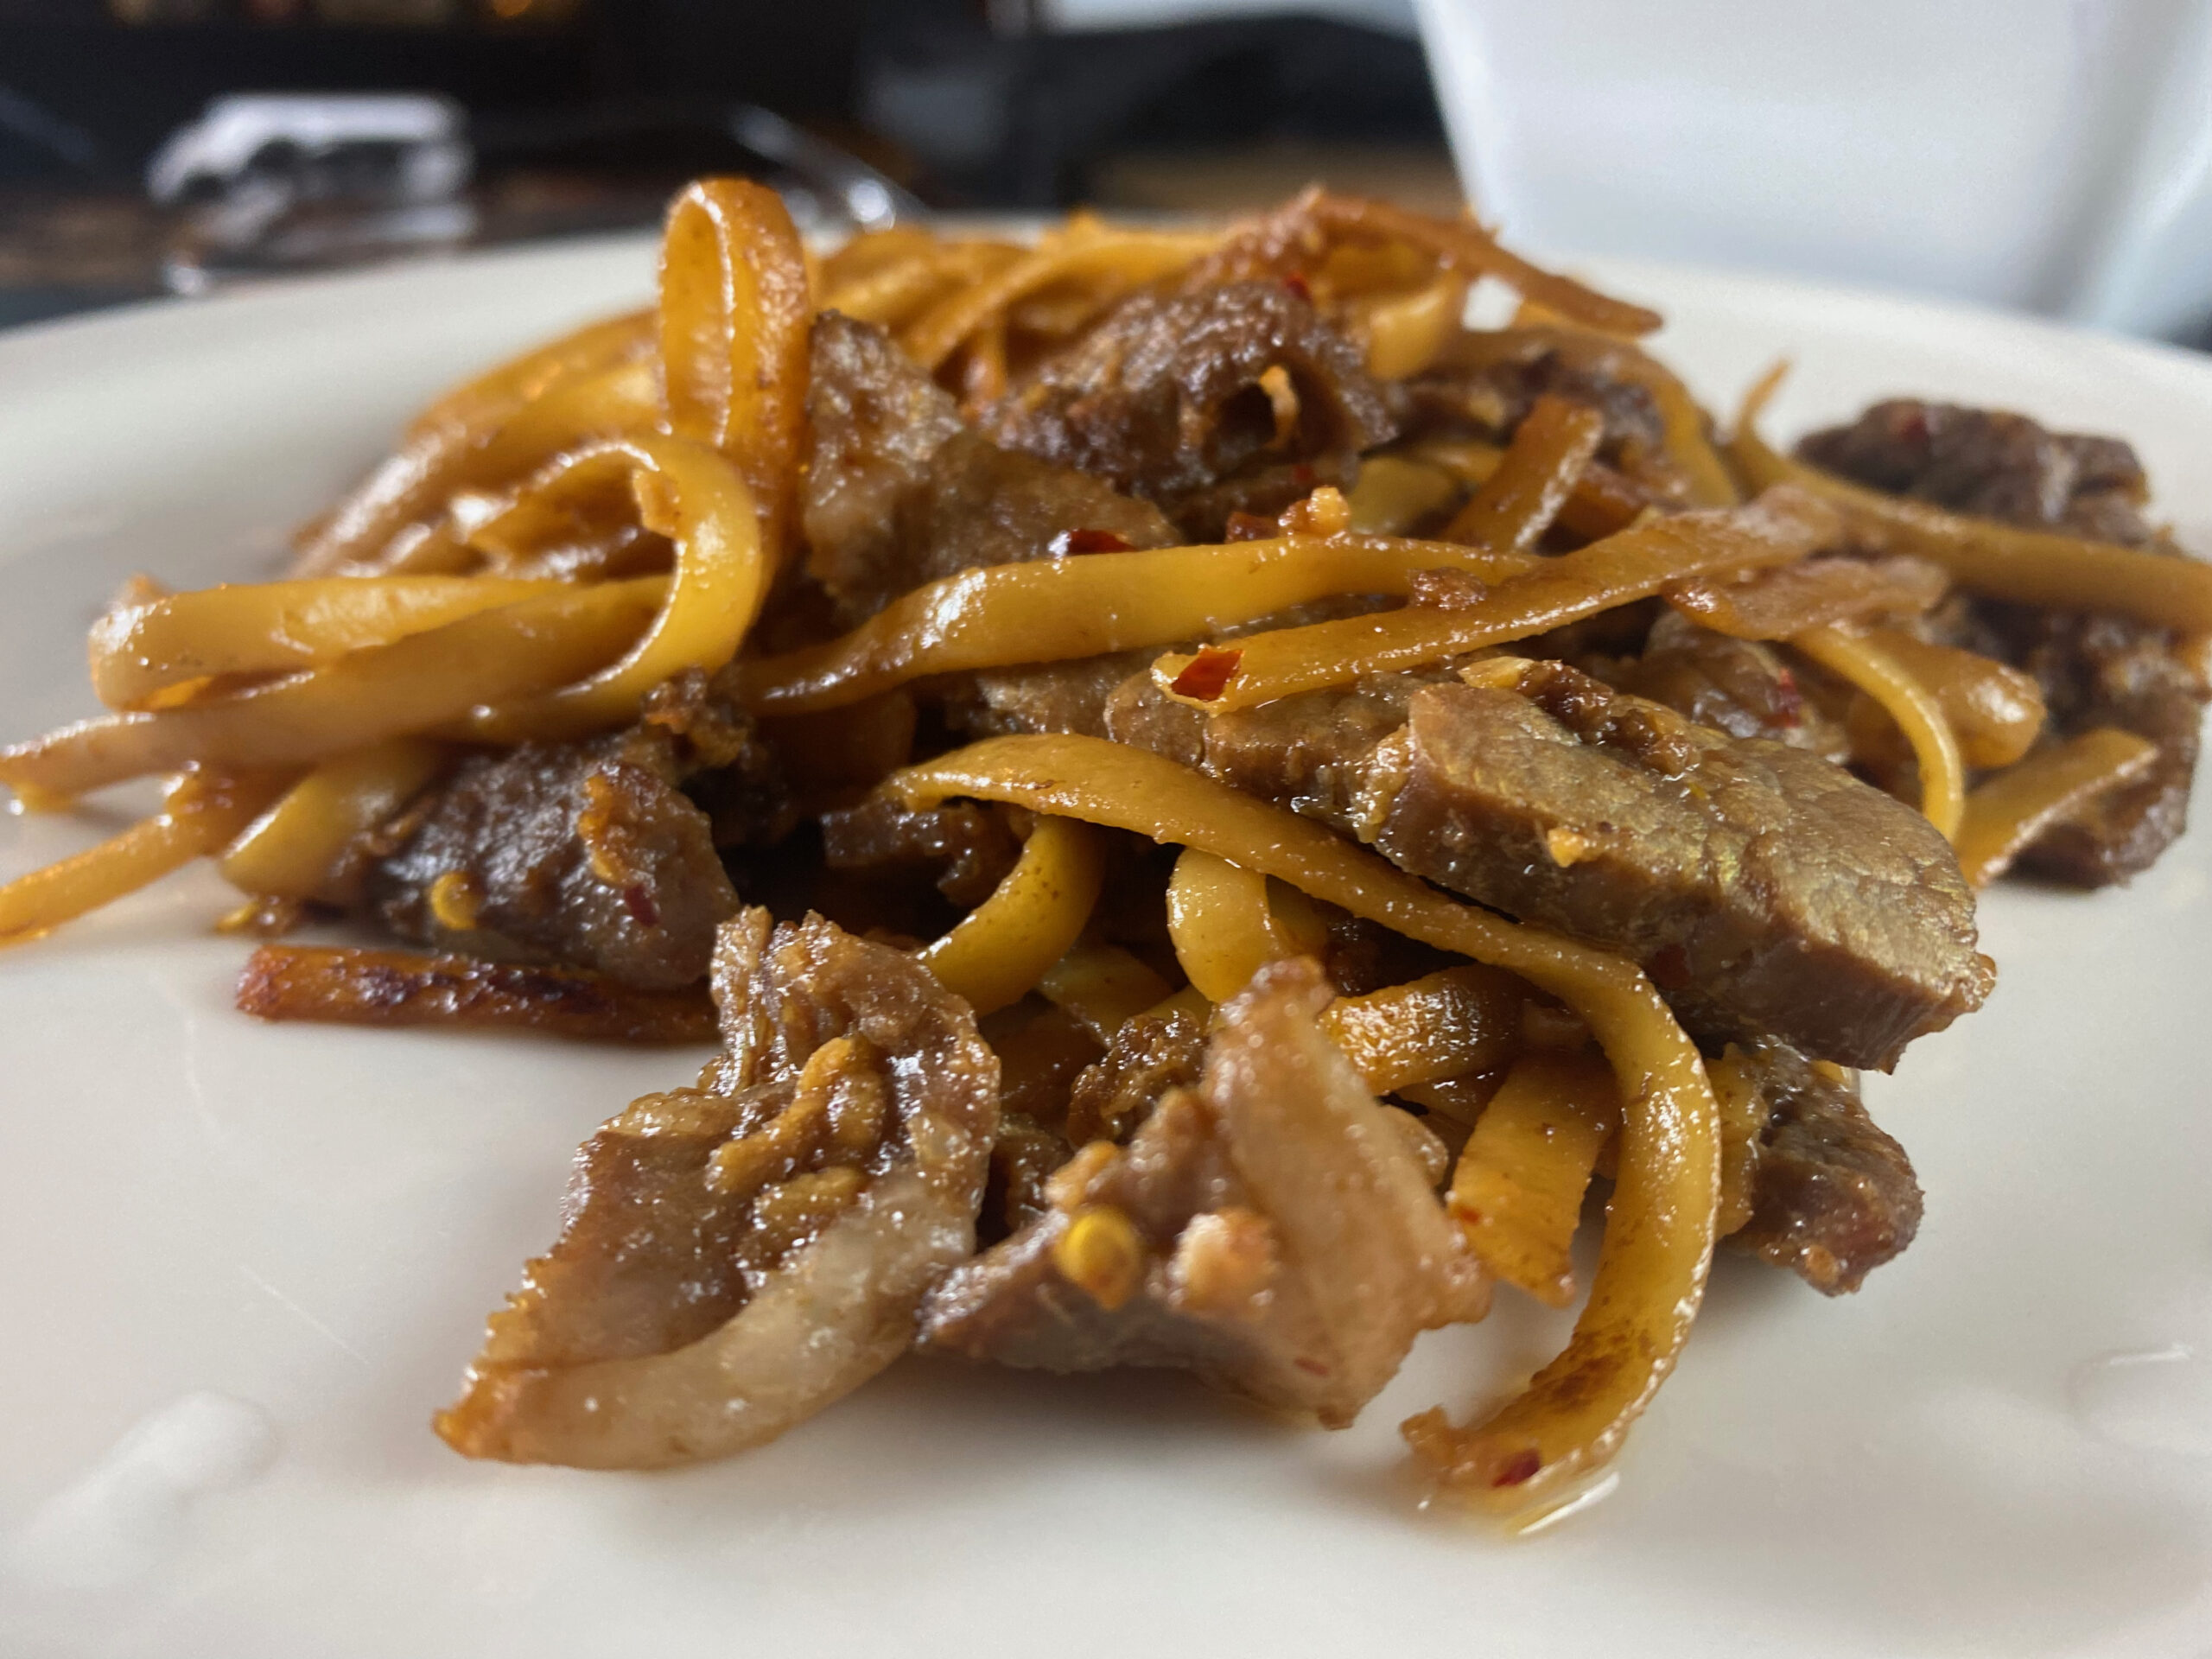
Enjoy!
Additional Notes
I like to have this with some plain brown rice, crepes, and egg drop soup. If it’s too spicy, I just mix in some of the rice and it absorbs some of the heat.
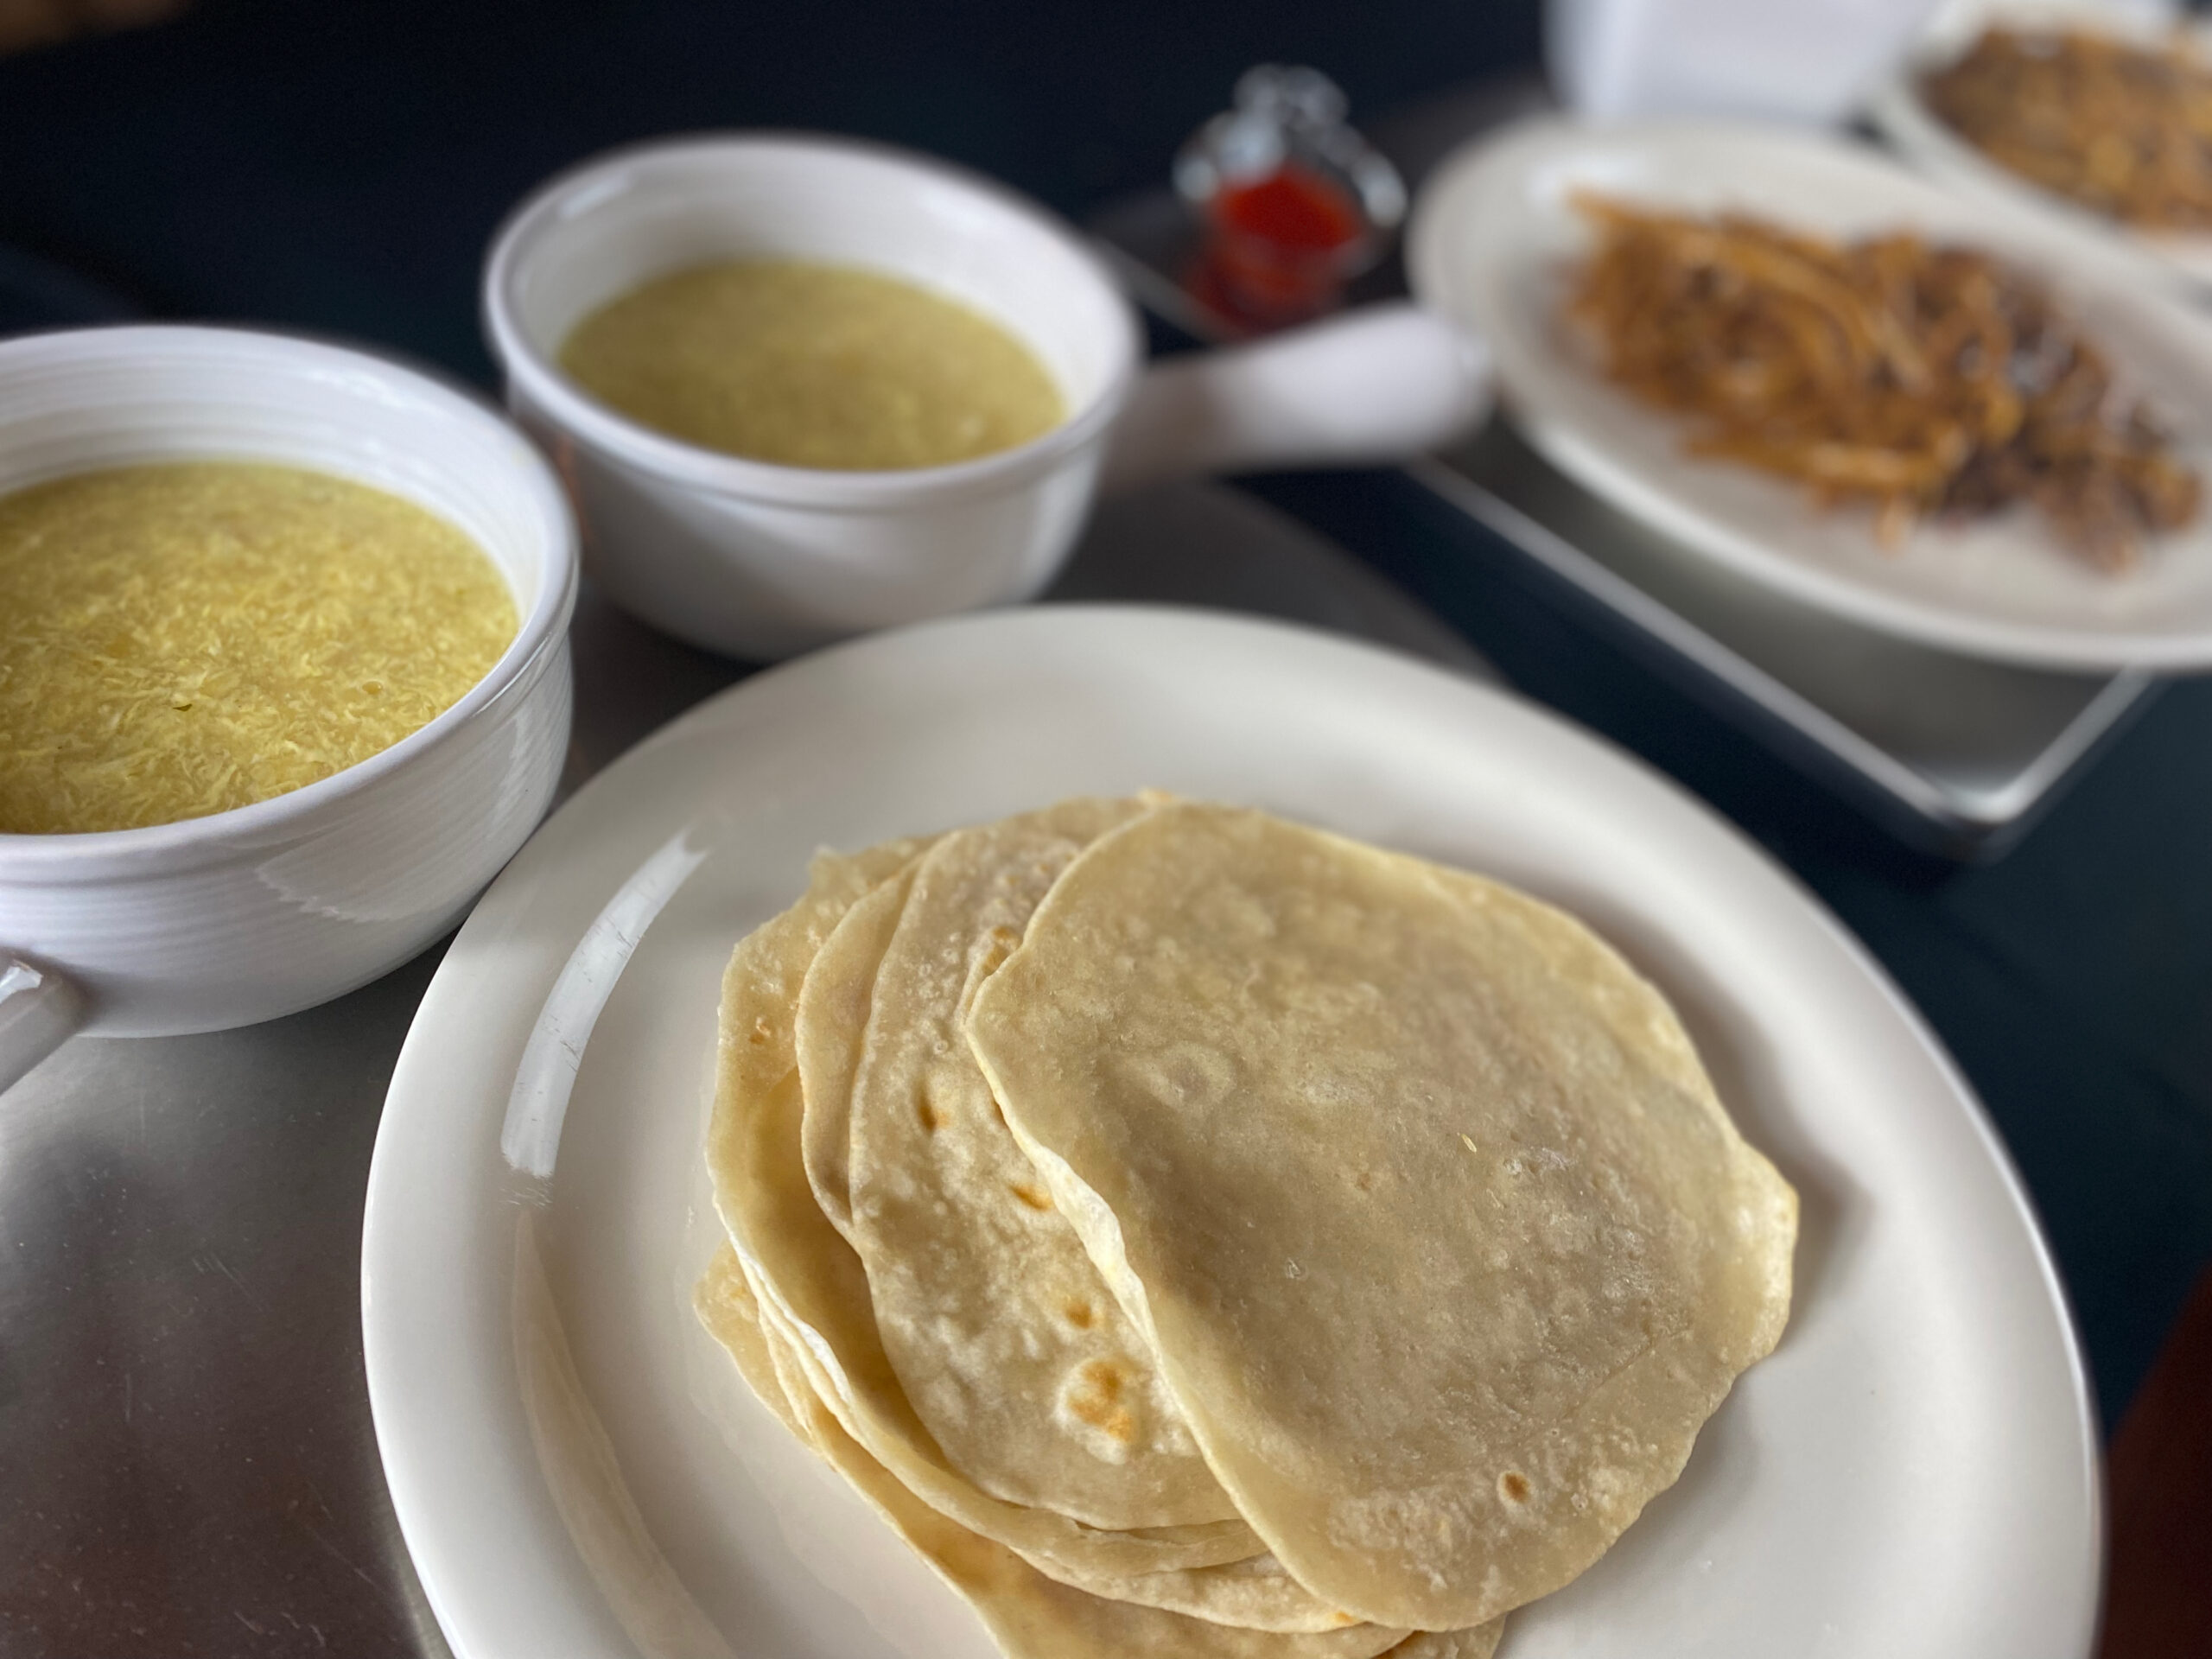
It’s also fun to take some of the stir-fry and place it within a crepe. Fold one side over the food. Take another side (not the opposite site, but one of the other two sides) and start rolling. You’ll end up with a burrito, full of stir-fry, with one end open. Now just start eating from the open end. To spice things up, squirt on some sriracha sauce to season each bite.
Print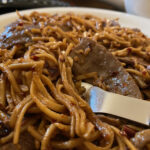
Mongolian Barbecue Recipe
5 Stars 4 Stars 3 Stars 2 Stars 1 Star
No reviews
- Author: derek
Description
Restaurant quality Mongolian barbecue is easy to reproduce, but may take a little bit of practice. Just follow these steps and you’ll be enjoying that delicious stir-fry in no time.
Ingredients listed are per serving, so adjust accordingly. I typically cook 3 servings at a time because flank steak is sold in 1 lb. packages where I live.
Ingredients
1/3 lb. Flank Steak
2 1/2 oz. Linguine Noodles
2 Tbsp. Soy Sauce
1 Tbsp. Sesame Oil
1 Tsp. Oyster Sauce
1/2 – 3 Tsp. Chinese Red Pepper Flakes (adjust depending on potency)
4–5 Garlic Cloves, Peeled
Instructions
- Boil the pasta until noodles are cooked all the way through.
- Stop the cook immediately by placing the pasta into a strainer and running cool water over over the top. (You may also use ice to quickly lower the temperature.)
- Set pasta aside.
- Use a garlic press to press your garlic cloves into a paste.
- Combine the spices. Portion the spices according to a single serving, as you will be cooking one serving at a time.
- Once the spices are portioned out for each serving, set aside for later.
- Remove your steak from the freezer and place on a cutting board.
- Using a large knife, cut thin slices of steak, going against the grain. Make these slices as thin as you can.
- Preheat a cast iron or stainless steel skillet over high heat for two minutes.
- If indoors, turn on the kitchen exhaust fan.
- Add a single serving of noodles, steak, and spices to the pan. Stir immediately to prevent sticking.
- Continue stirring periodically – every fifteen to twenty seconds or so.
- Once the initial moisture has evaporated, add 1/4 cup of water and stir. (You may now wait for thirty seconds or longer between stirring.)
- Keep cooking and stirring until the water also evaporates and the food begins to stick.
- Remove from heat and serve. Repeat steps 10-13 for each additional serving.
Notes
The red chiles can vary widely in heat, so start out small and add more if desired.
After cooking the pasta, you may stir in a little bit of oil to keep the noodles from sticking to each other. This method adds calories though, so I don’t recommend it.
Adding peanut oil can increase that authentic restaurant flavor but will increase the calories as well.
Other kinds of noodle may work just as well, but linguine is my preferred choice.
If you lack a garlic press, simple chop up the garlic into extra-small pieces and crush with the broad side of your knife.
If the steak is wobbly or mushy when you go to cut it, it needs to freeze for longer. If it is too hard, it needs to thaw.
Please rate and comment below if you made this recipe. It would really help us a lot.
My Equipment:
Boos Block Cutting Board – Walnut Edge Grain – 18″ X 12″ X 1.5″
